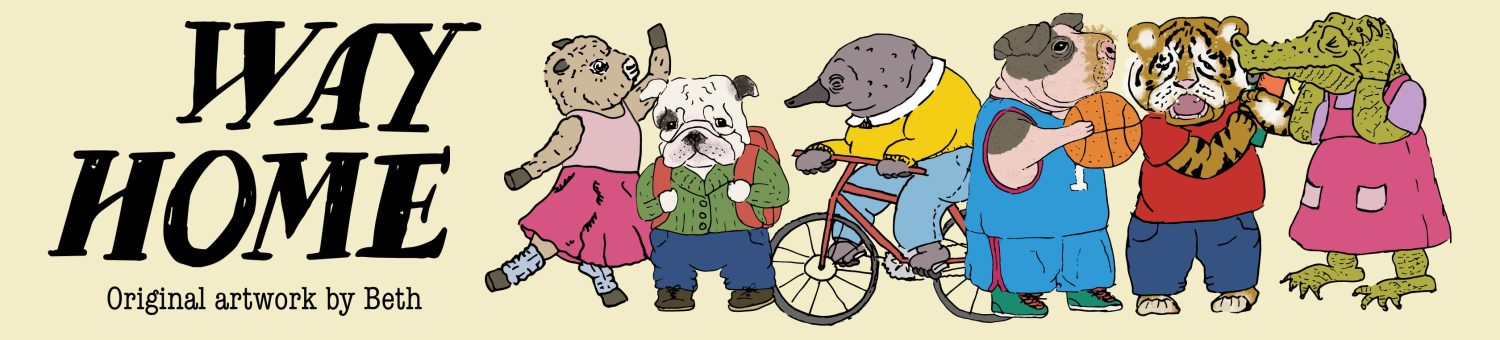
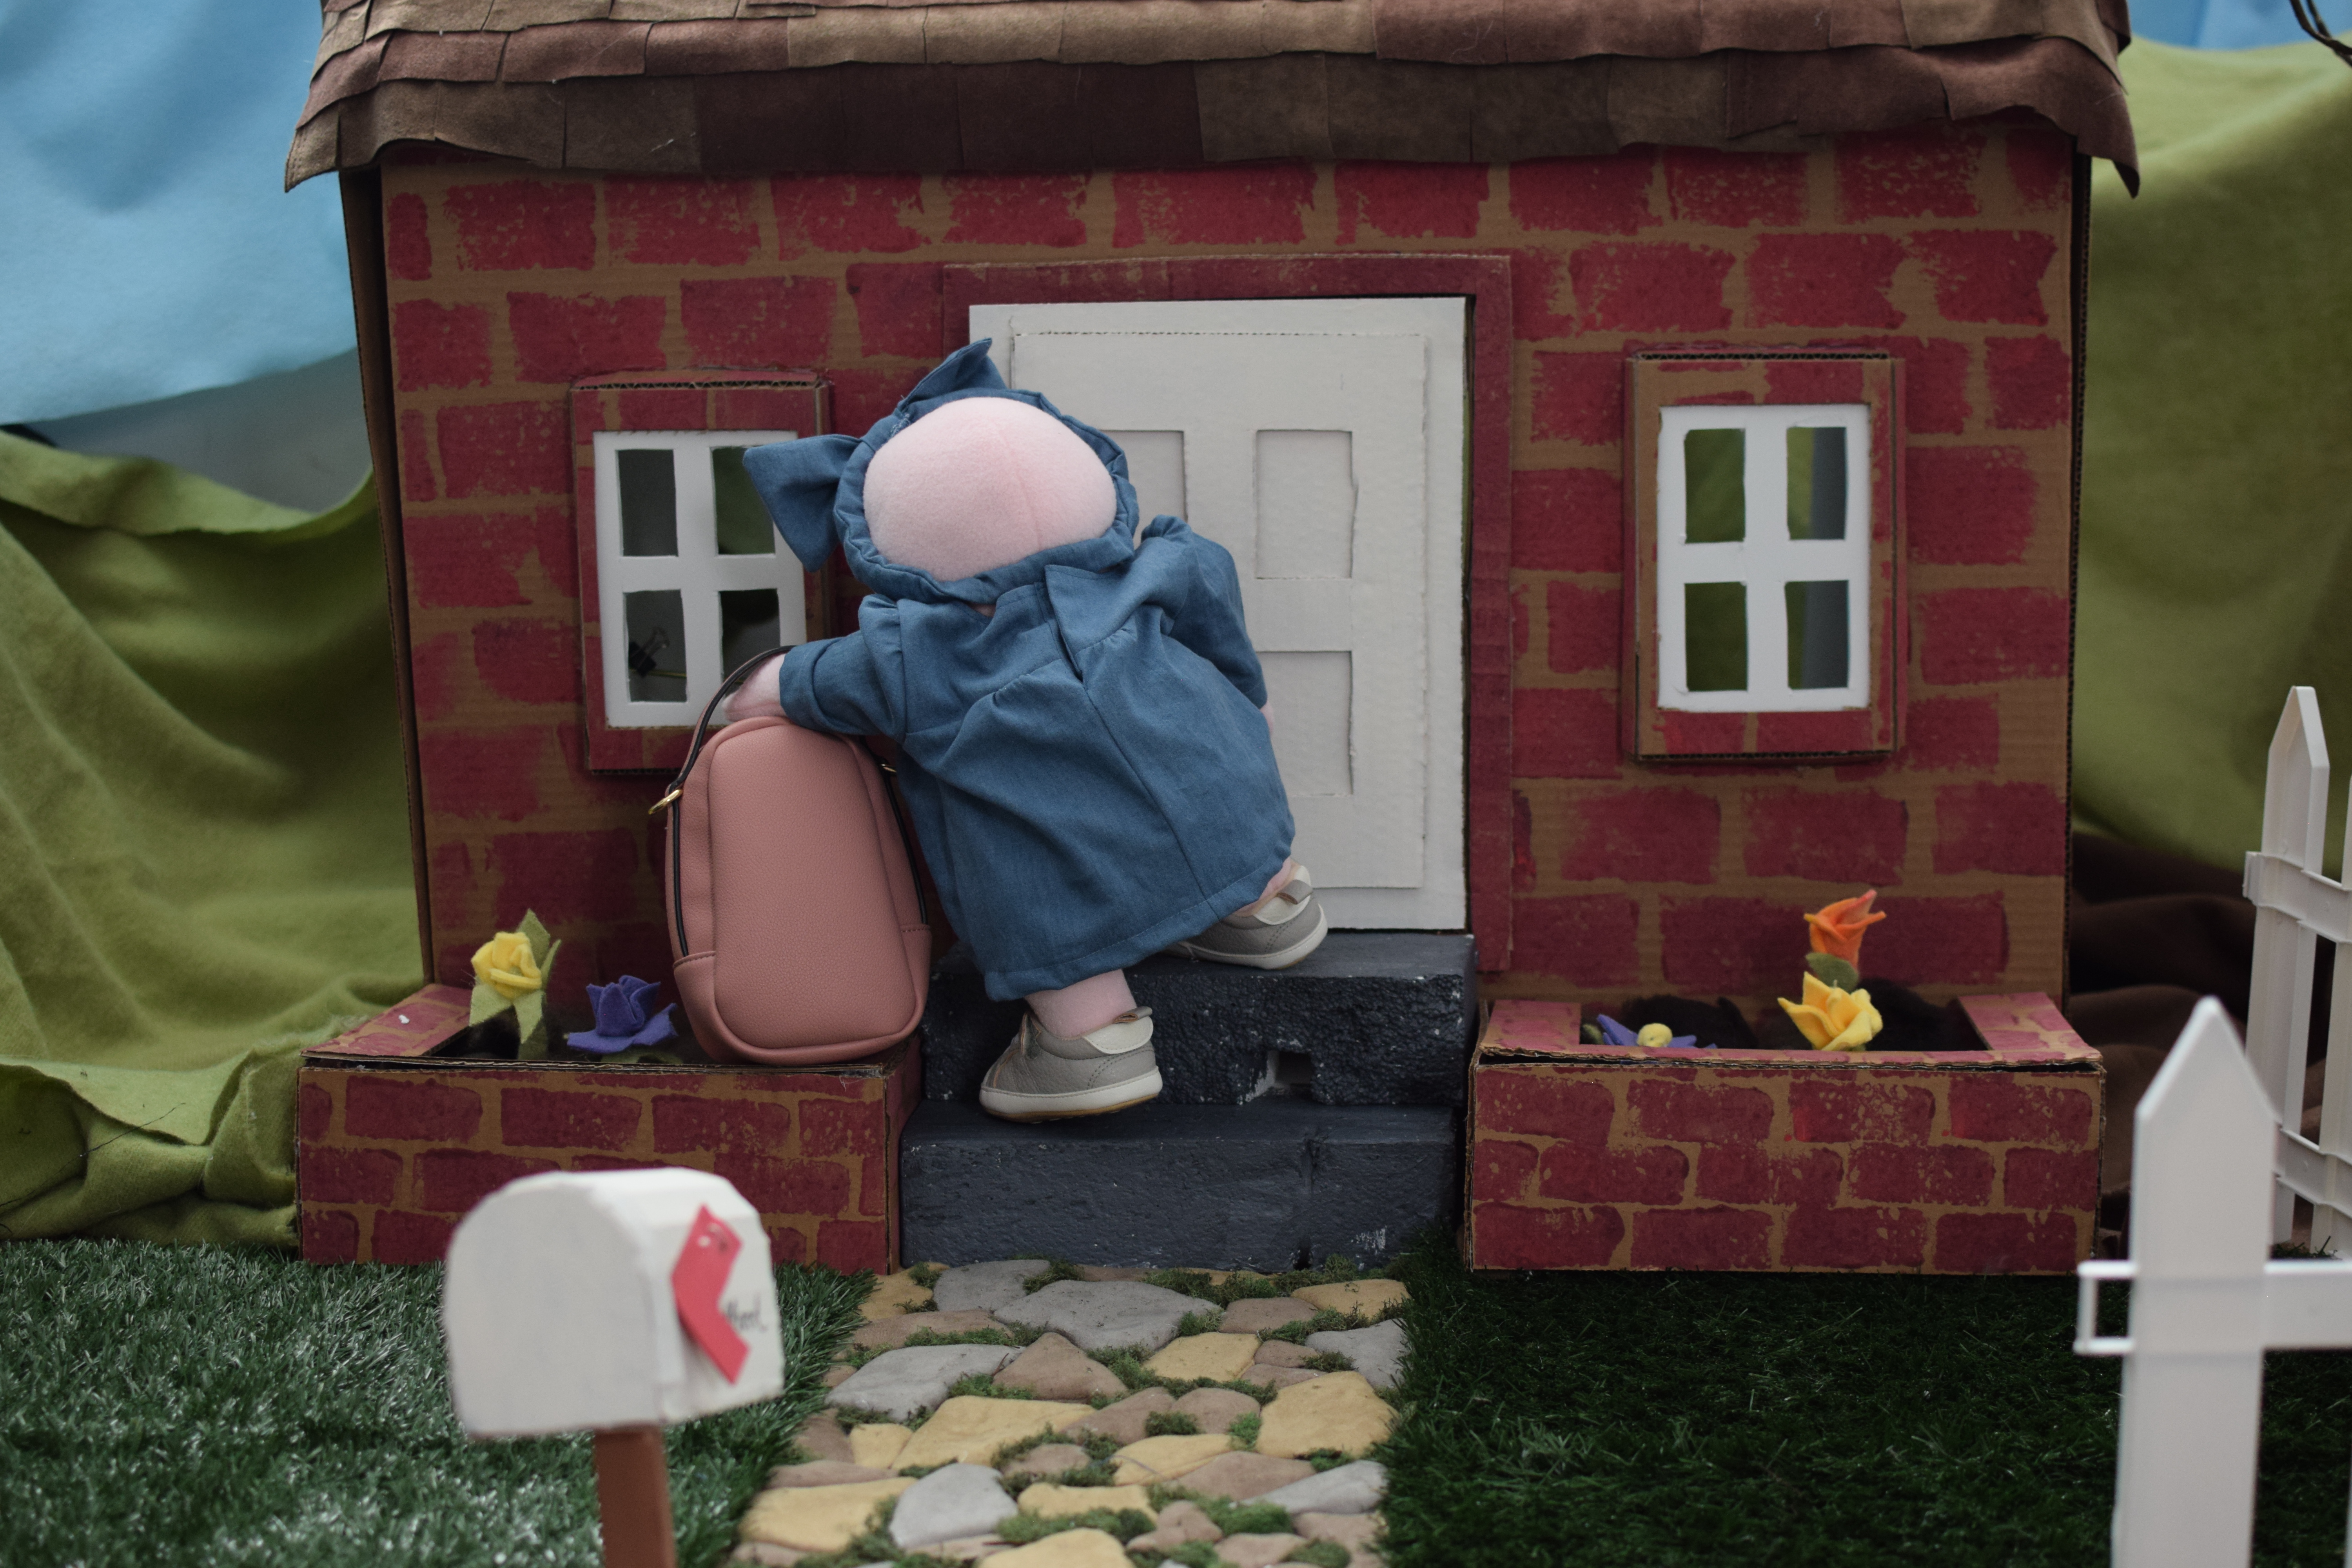
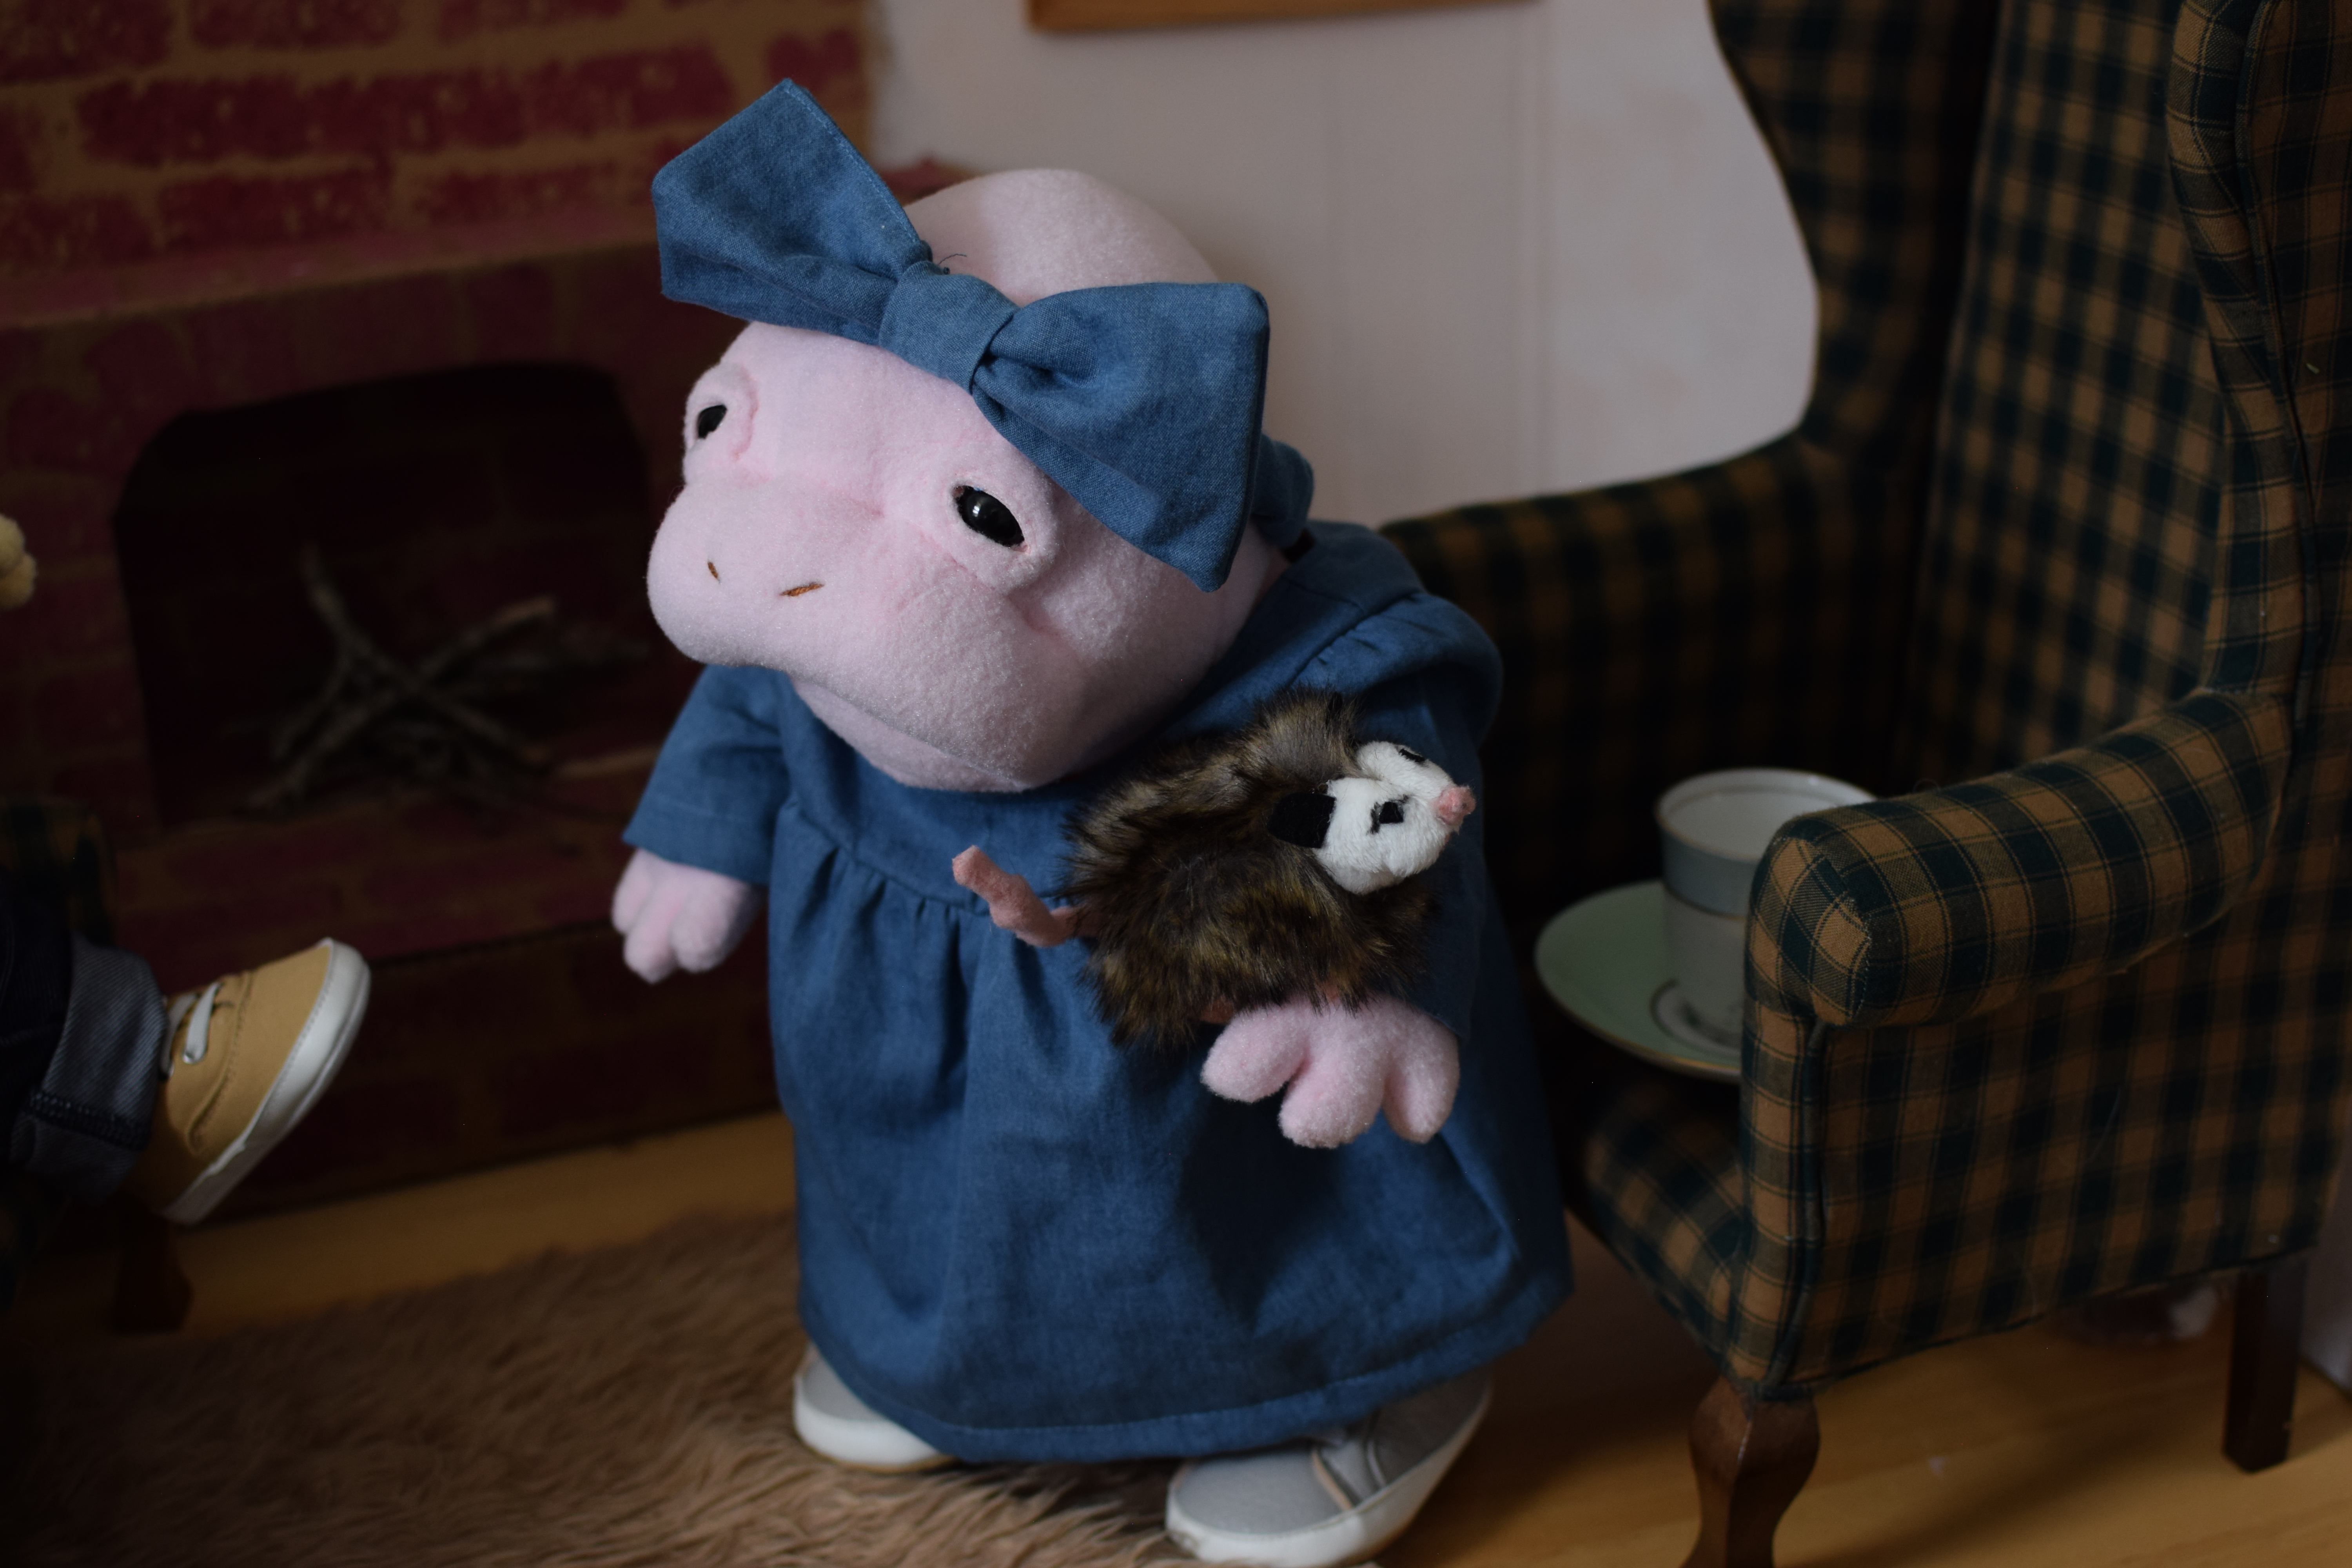
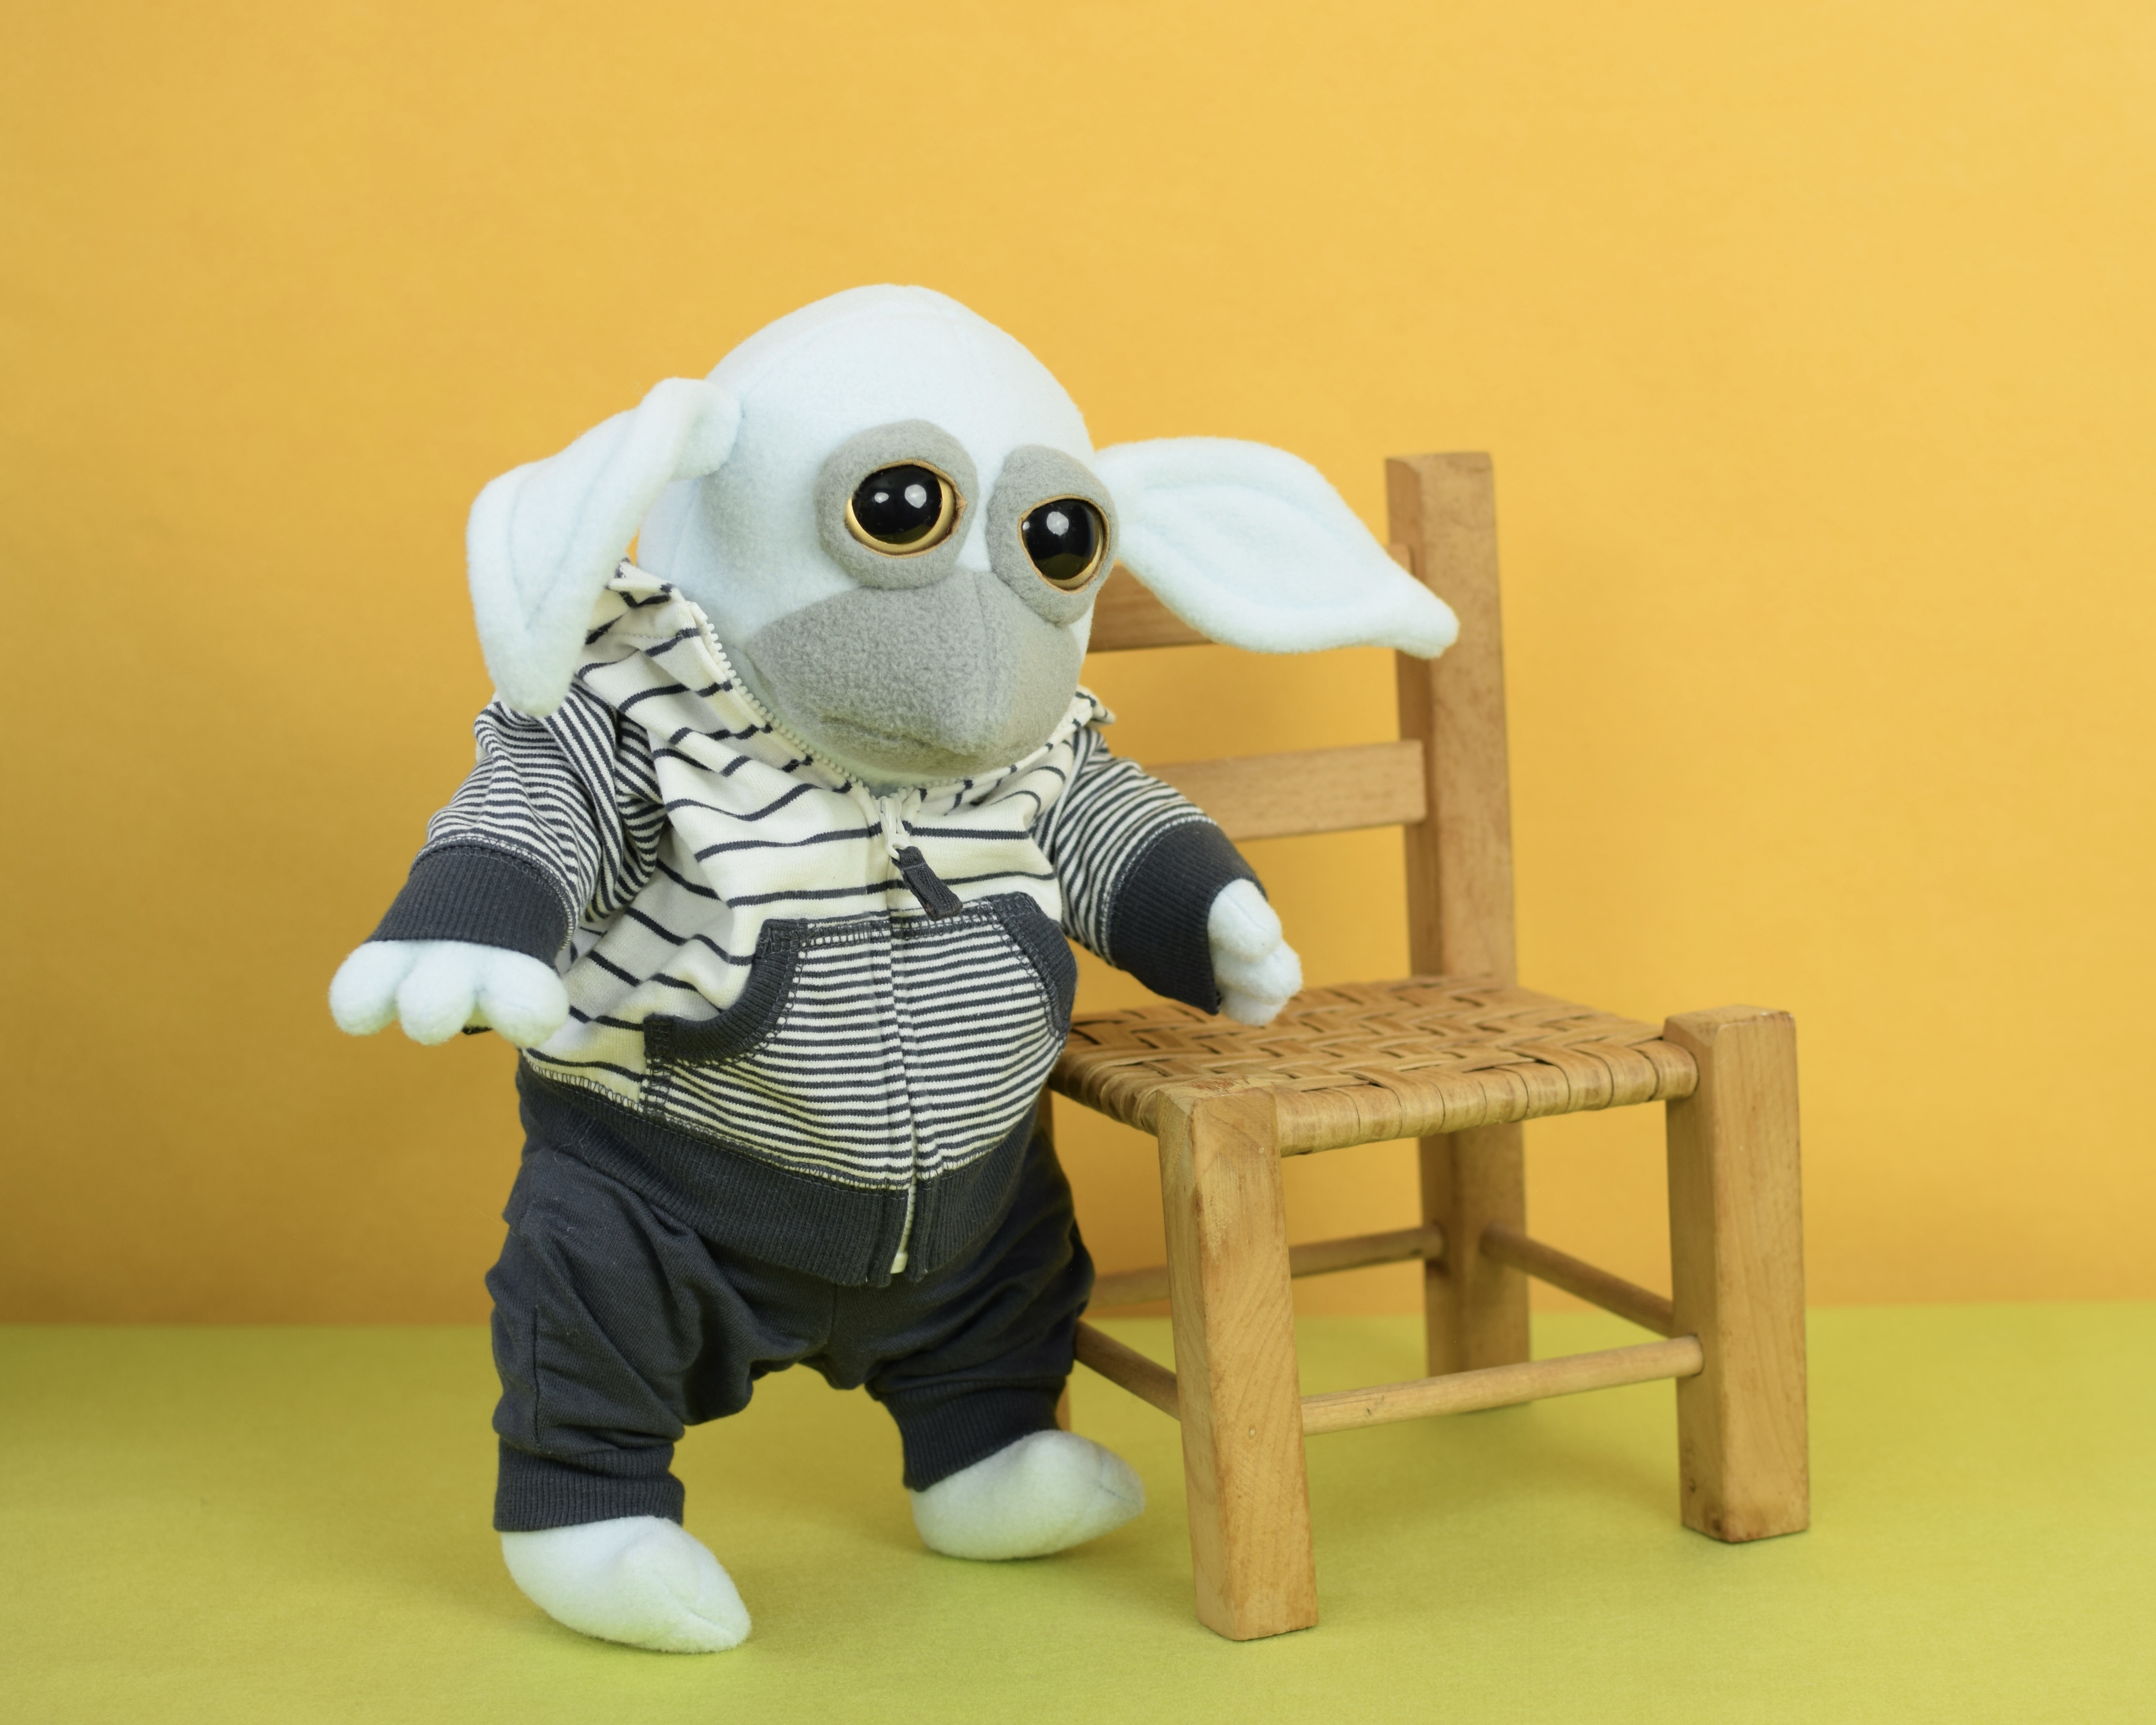
I had been thinking for a while of adding an additional creature that would look like a relative of Willard–resembling him, but not identical to him in terms of his facial features. I knew I wanted it to be a female and made of baby pink fabric to match Willard’s baby/pastel tone skin.
At first I thought of making it his mother, but then was leaning more toward a sister. My 89-year-old grandmother, who has become very invested in the Willard storyline, apparently had some of the same thoughts because she suggested a sister named either WillAnn or Wiletta. I settled on Willette.
I fell in love with Willette as soon as I made her. Typically, I make creatures and sell them and they don’t spend much time in my Way Home creature universe. But now that I’ve developed more of a narrative around Willard, I really want to start making dolls that I can keep and continue using in my story telling. This also gives me a good excuse to go shopping for adorable shoes and buy fun fabrics to make outfits for these dolls (and of course, if people want their own versions, I can always do more made-to-order replicas.
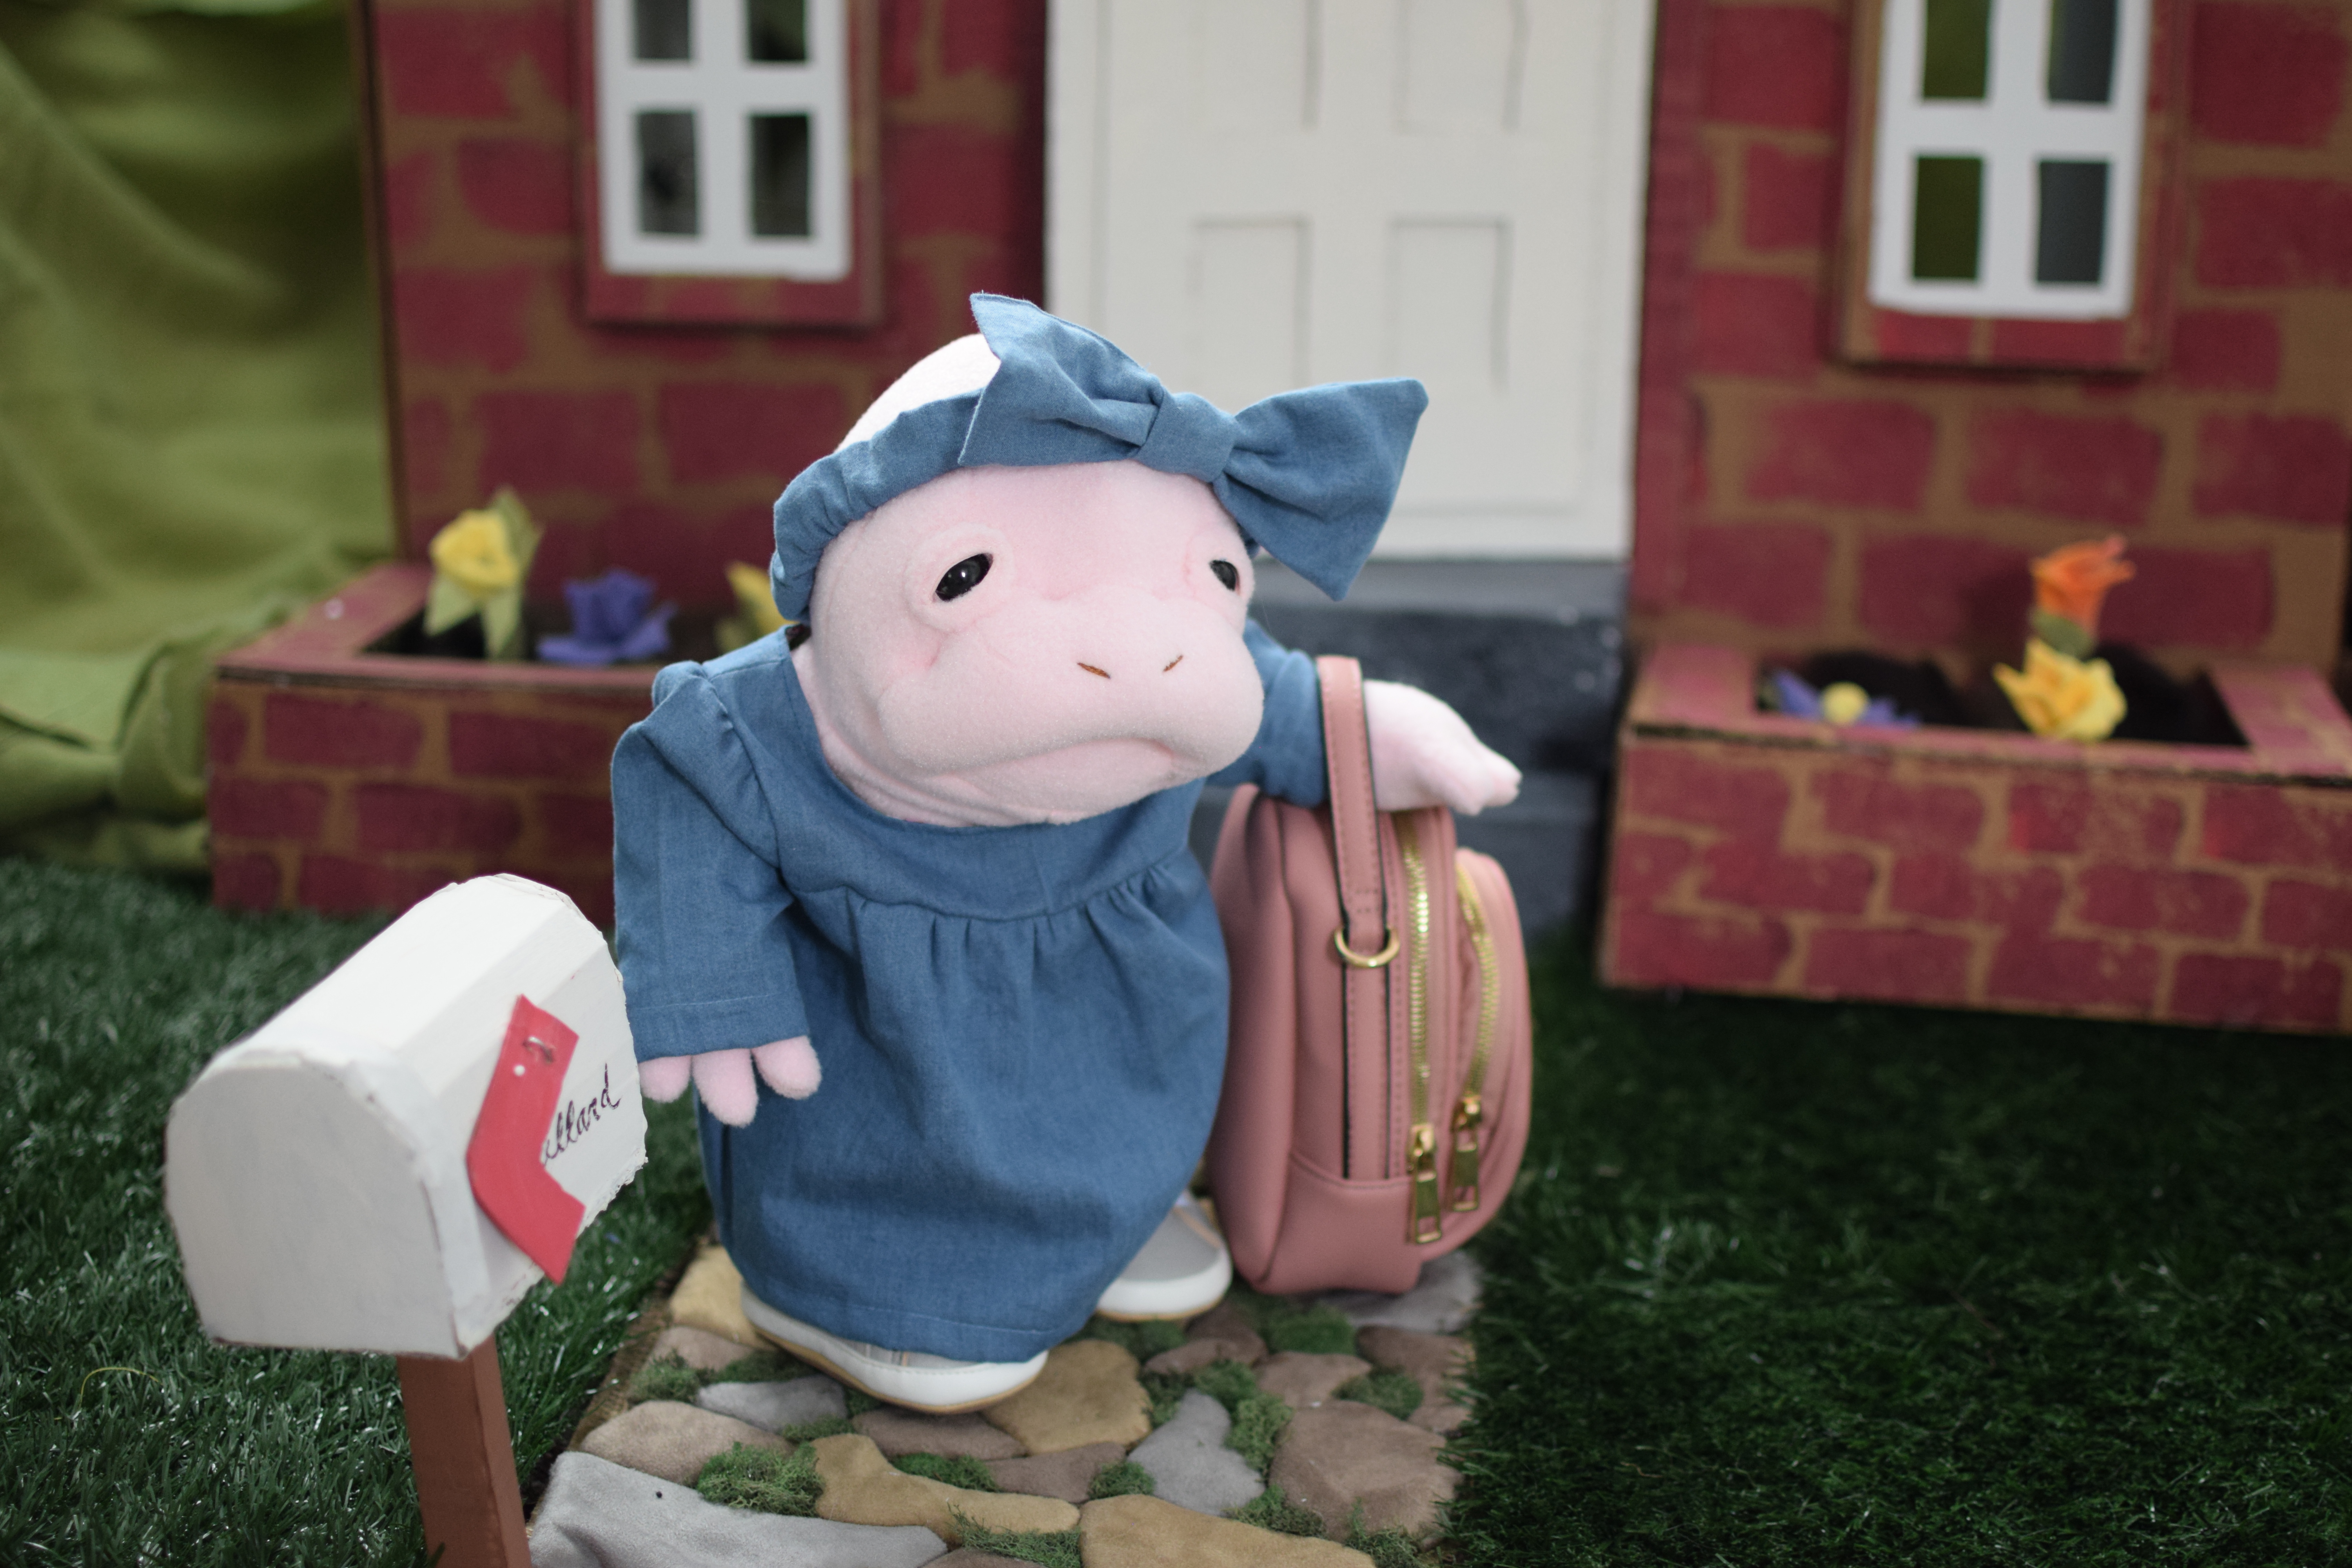
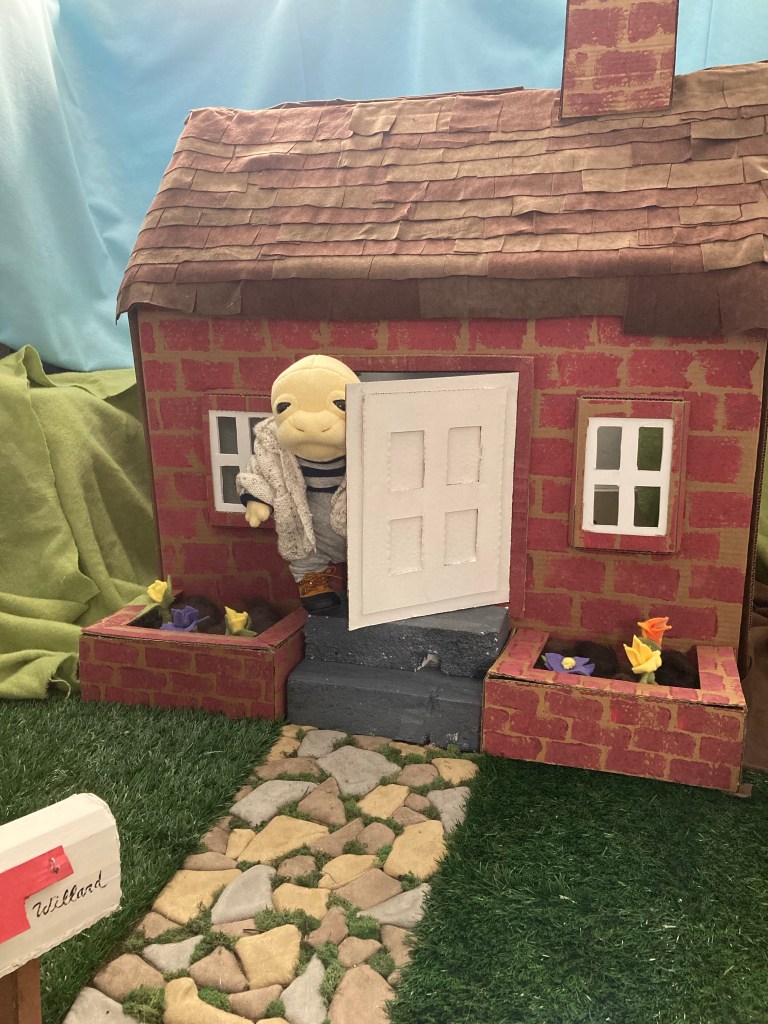
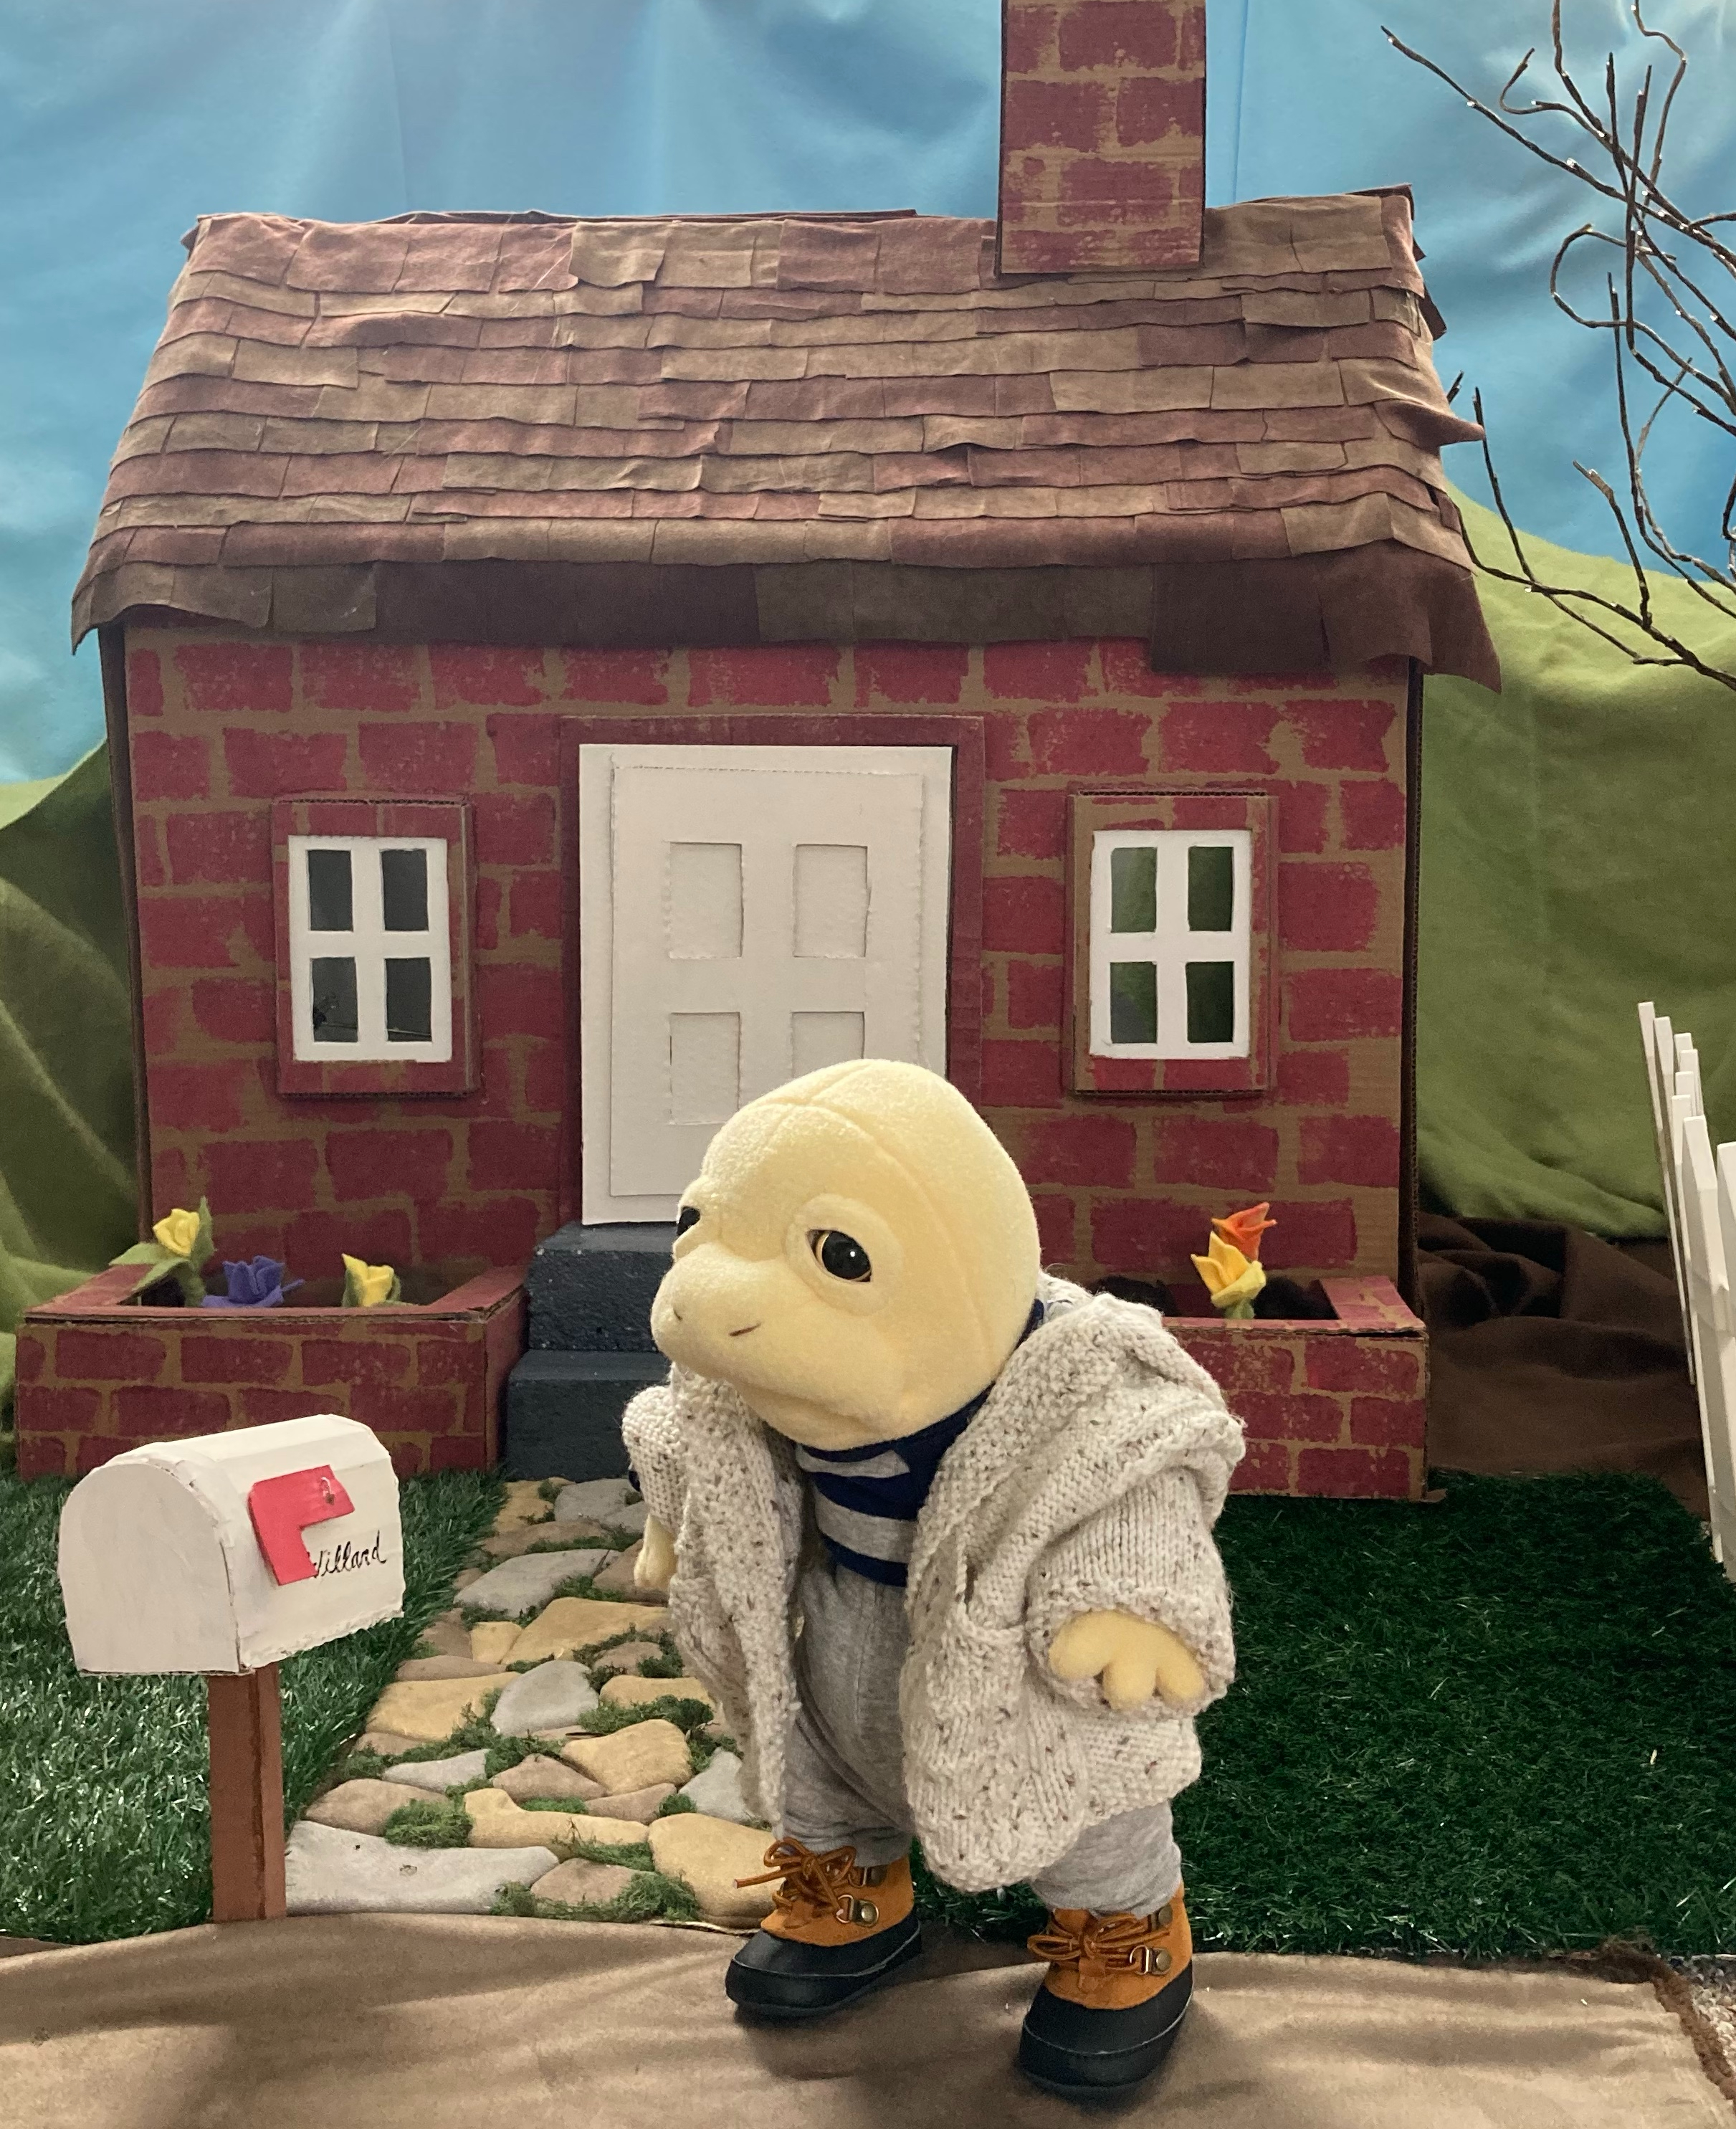
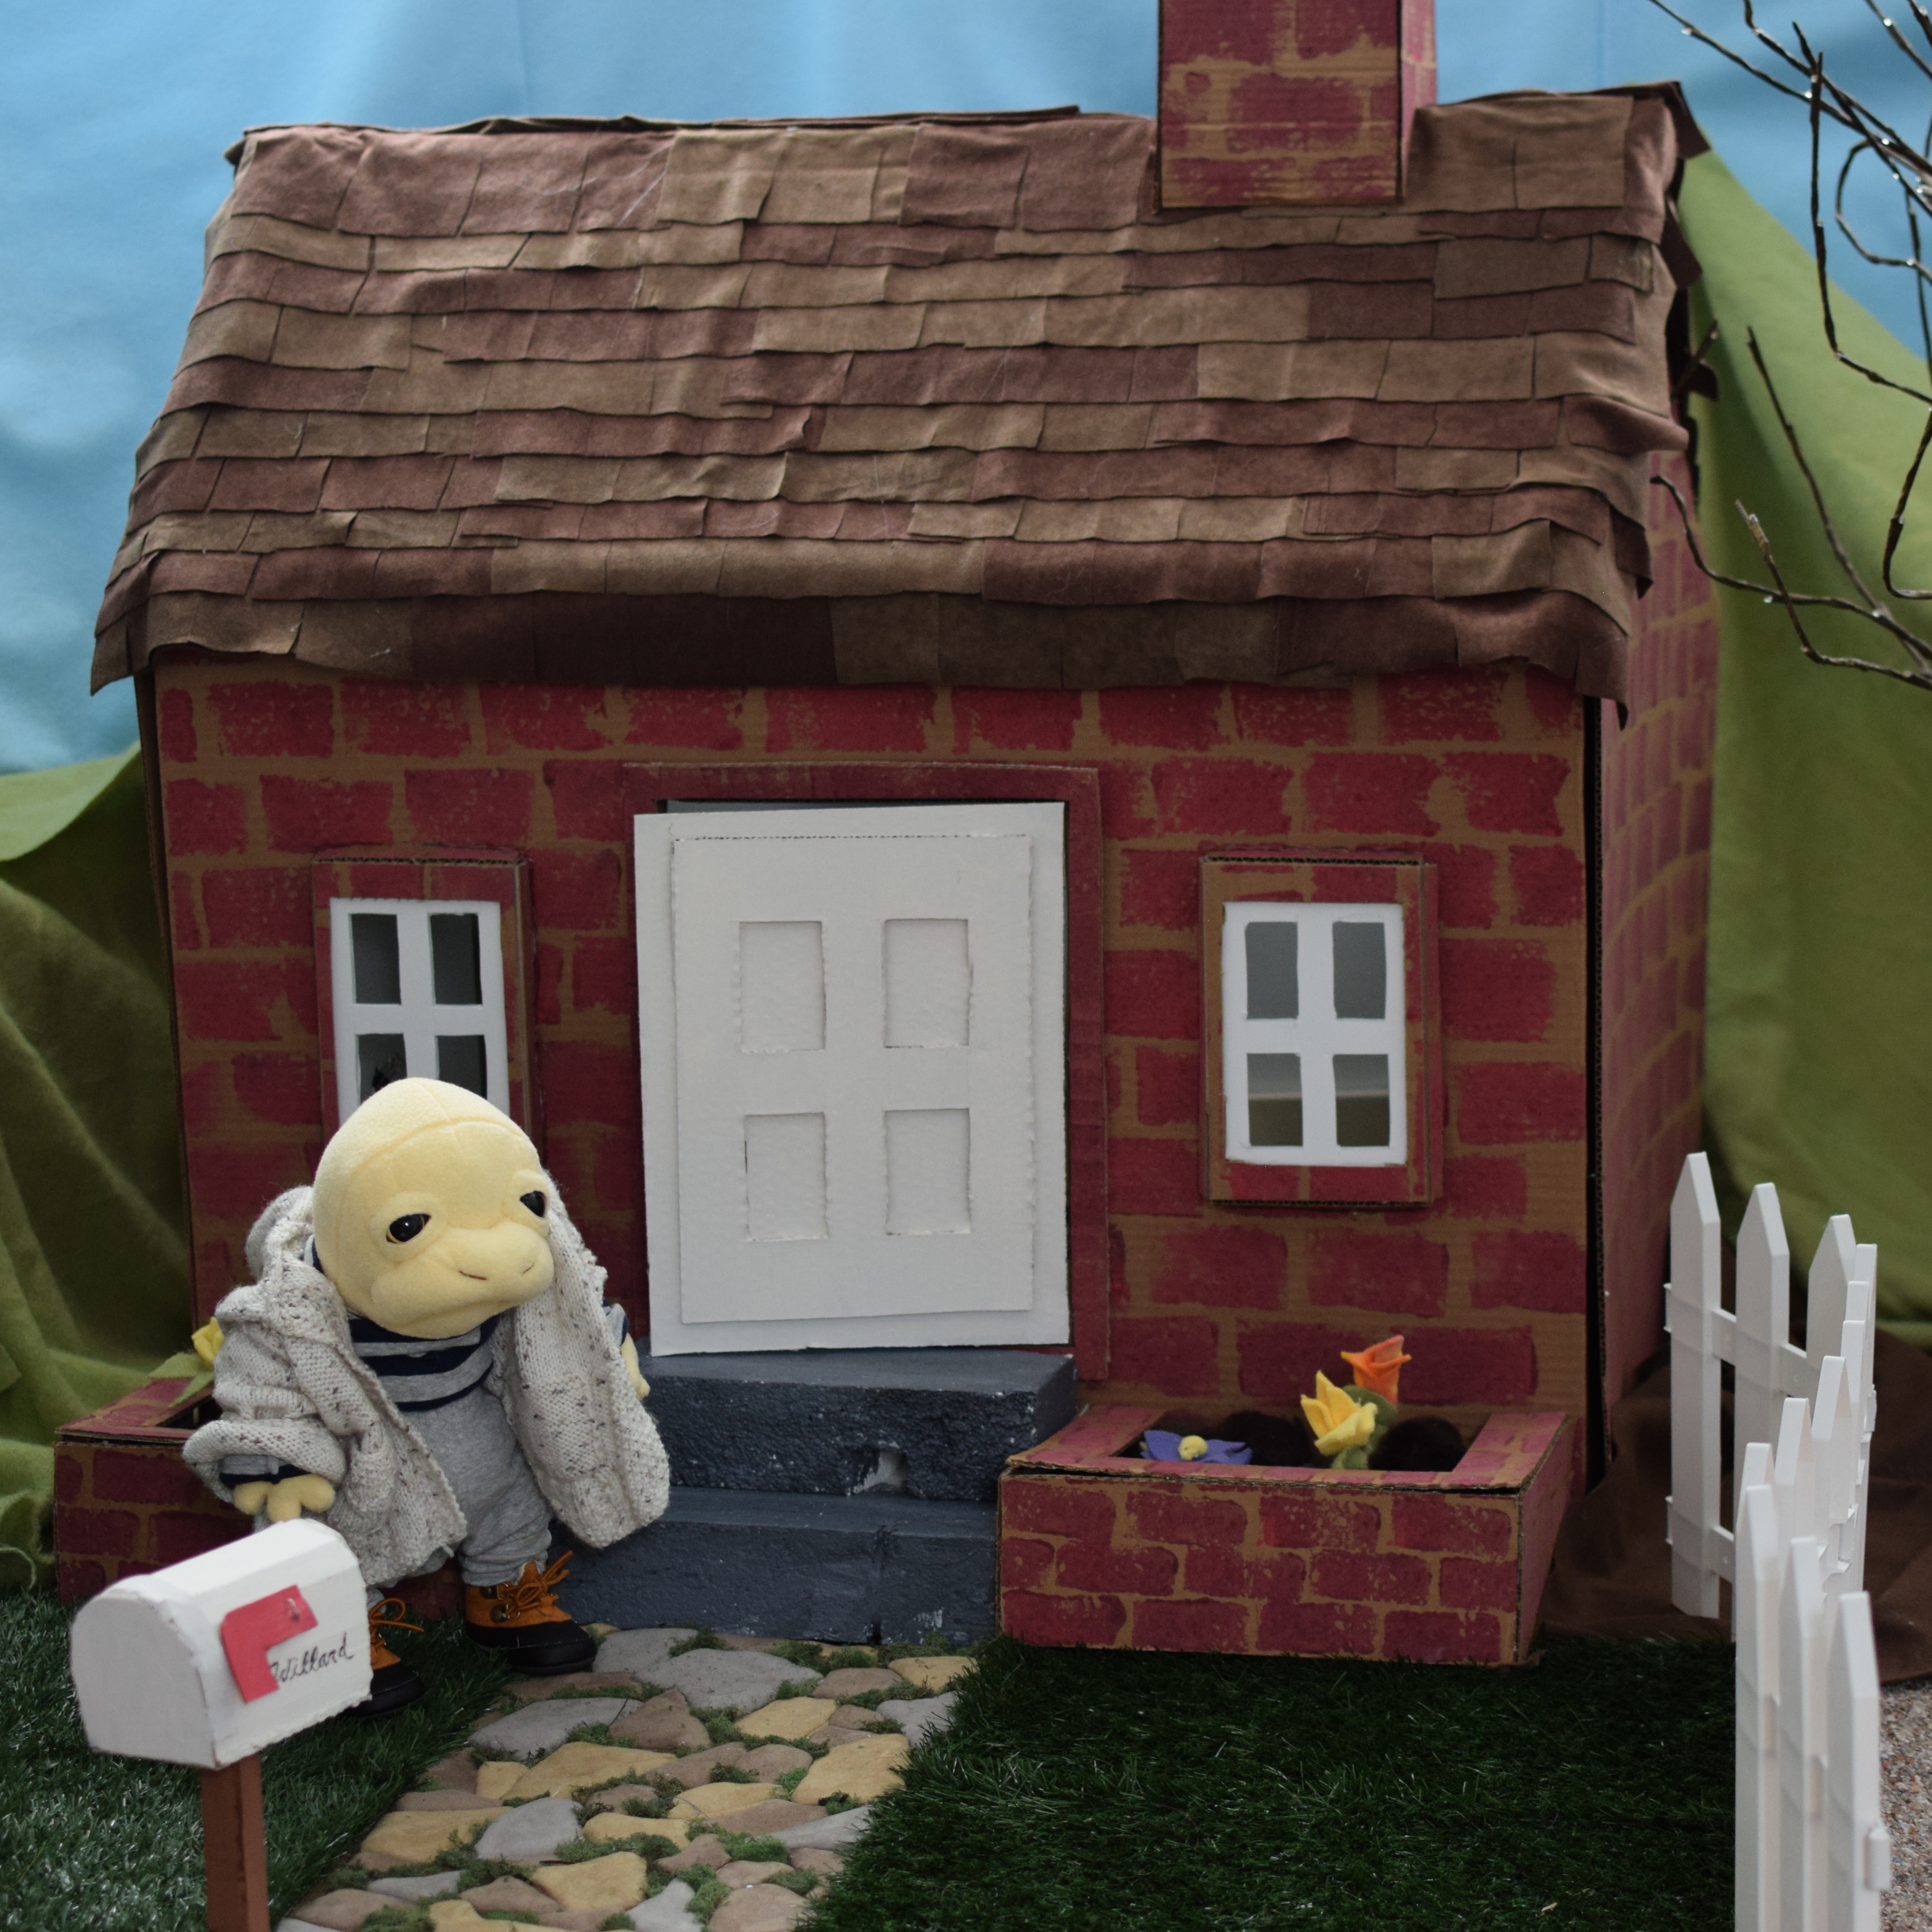
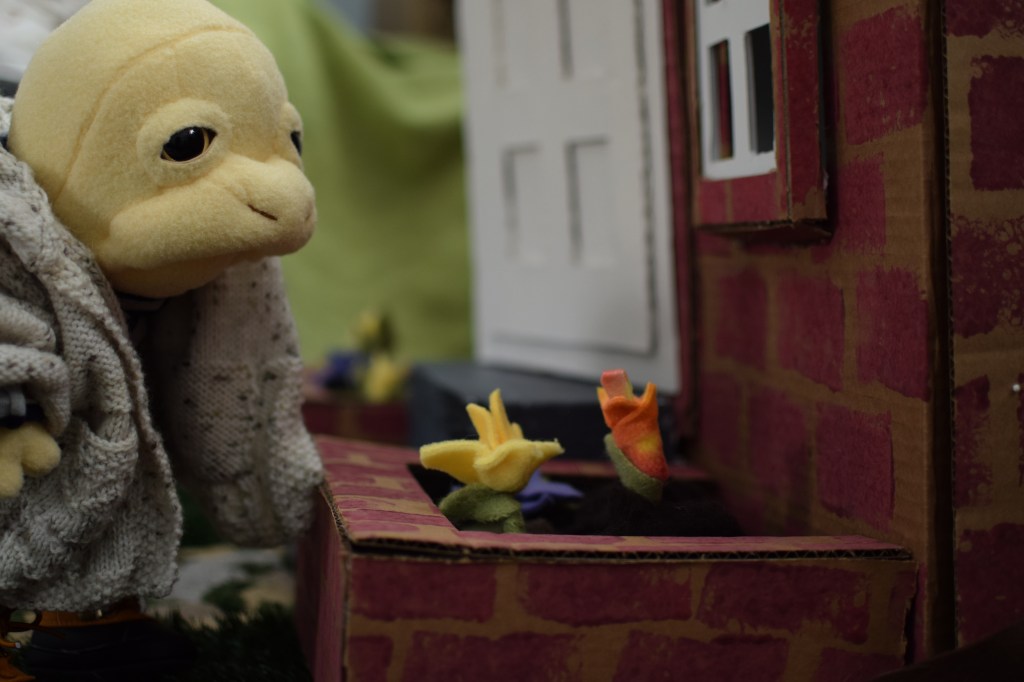
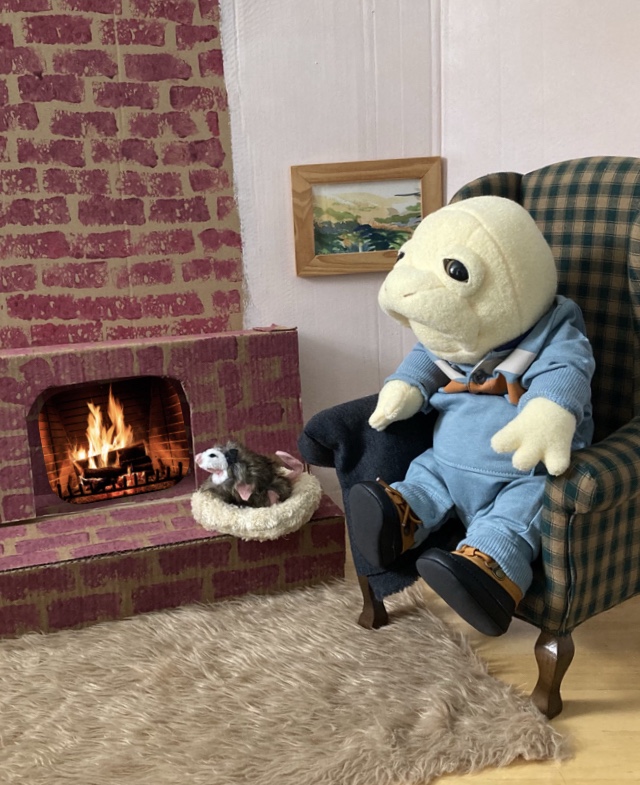
If you follow my Instagram you know that Willette contacted Willard online, where she found him after they had been separated at birth. They had a Facetime chat and made plans for a visit, which is what you see below.
I had so much fun making Willard’s house! I have been wanting to create more of an enhanced universe for Willard and Friends for some time now, but couldn’t quite decide how I wanted to do so, and how I could do it within limited space and going too crazy.
The house comes apart if necessary and is made of found cardboard and foam. The only things I purchased were the grass and fence.
I have spent the last six years obsessed with learning how to make patterns to sew my own dolls and soft toys, and I had spent the ten or so years prior to that learning how to make my own patterns for women’s clothing. The method I primarily use is called flat pattern drafting and it helps you make three dimensional, sculptural plush (like most of the stuffed animals that you might see in the stores). I will be offering trainings on this topic soon. However, I want to spend some time on some basic concepts that don’t really require this knowledge, and one of those is what I call 2D plush.
What are 2D plush (I started using this term a long time ago but recently realized some others do, as well, so I’m not sure who coined it)? Basically, this is how I refer to plush that are created by creating one, flat shape, sewing two pieces of fabric together in that shape, (usually) turning it and then stuffing it. Of course, once stuffed, it isn’t truly two-dimensional anymore, but three-dimensional! But it doesn’t rely on the pattern to create any of that dimension. And, it’s not nearly as 3d or shapely as a more complicated pattern.
I’ll admit, I didn’t really enjoy 2D plush when handmade plush first started getting more popular. I didn’t like how flat they looked and I also have a habit of wanting things to be as complicated as possible for no good reason–while these seemed simple. I still don’t often make fully 2D plush, but I often use a combination of 2D and 3D flat pattern drafting with my dolls and soft toys. And I have really come around to some of their merits.
If you stick around long enough to learn 3D flat pattern drafting from me, you’ll see it can be a lot of work. There are some situations where 2D is truly the better choice, so why make it harder than it needs to be!
Here are some advantages of 2D:
2D plush is really good to use with fabrics that are fluffy and really difficult to work with. Cutting these fabrics (think Luxe Cuddle) is often agonizing, what with the shedding and slipping around. So a very simple pattern reduces cutting time. In fact, one of the biggest advantages of a 2D pattern is that you can simply trace the shape (without seam allowance) onto the backside of the folded fabric, pin it, and sew on the line. You do still have to cut it out, but in this case you don’t need to worry as much about the fabric pieces staying together properly and slipping around.
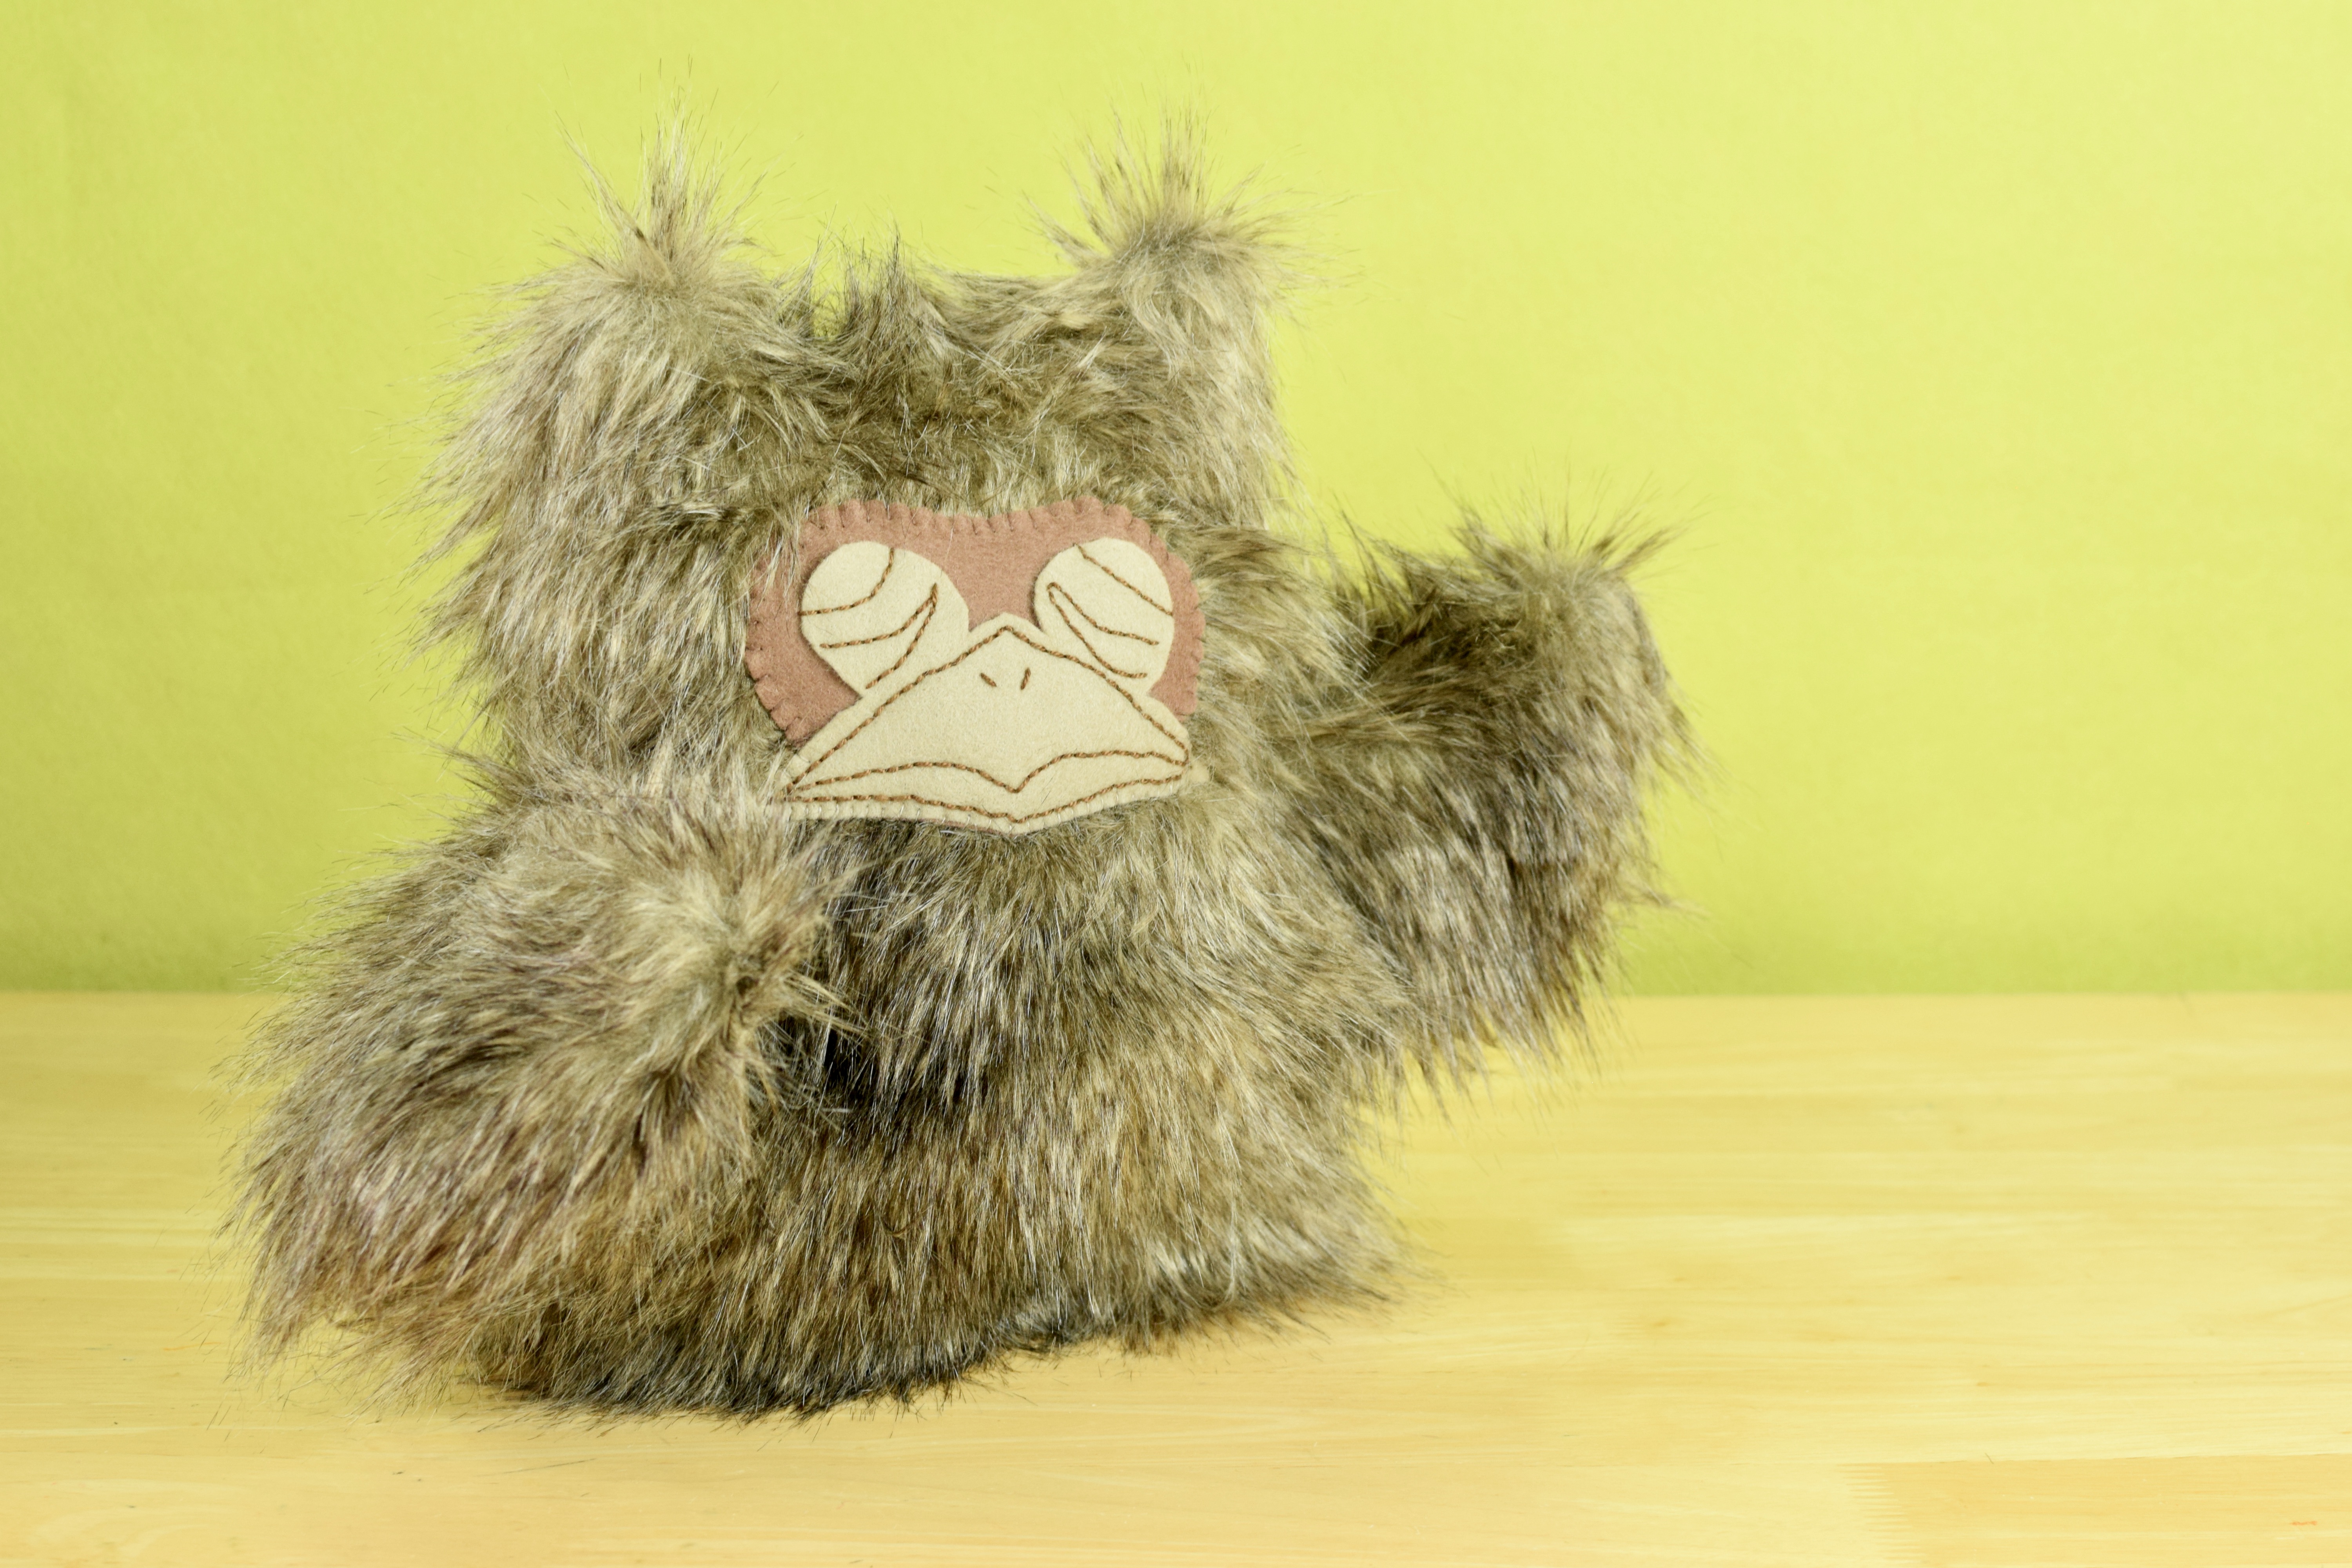
On a similar note, a 2D pattern often allows these fun and fluffy, yet FUSSY, fabrics to shine. Seamlines from a more complicated pattern will often be obscured by the longer fibers anyway, so why create extra work for yourself? The owl above is a 2D pattern with lots of dimension thanks to the fabric.
2D plush are great for stretchy fabrics. Many Waldorf dollmakers use a full body 2D doll pattern that has no darts at all. The fabric is so stretchy and stuffed so firmly that the doll will look round and full, and they use other techniques to add details like elbows and such. Making a more detailed pattern is actually counter productive if you’re using fabric with true stretch.
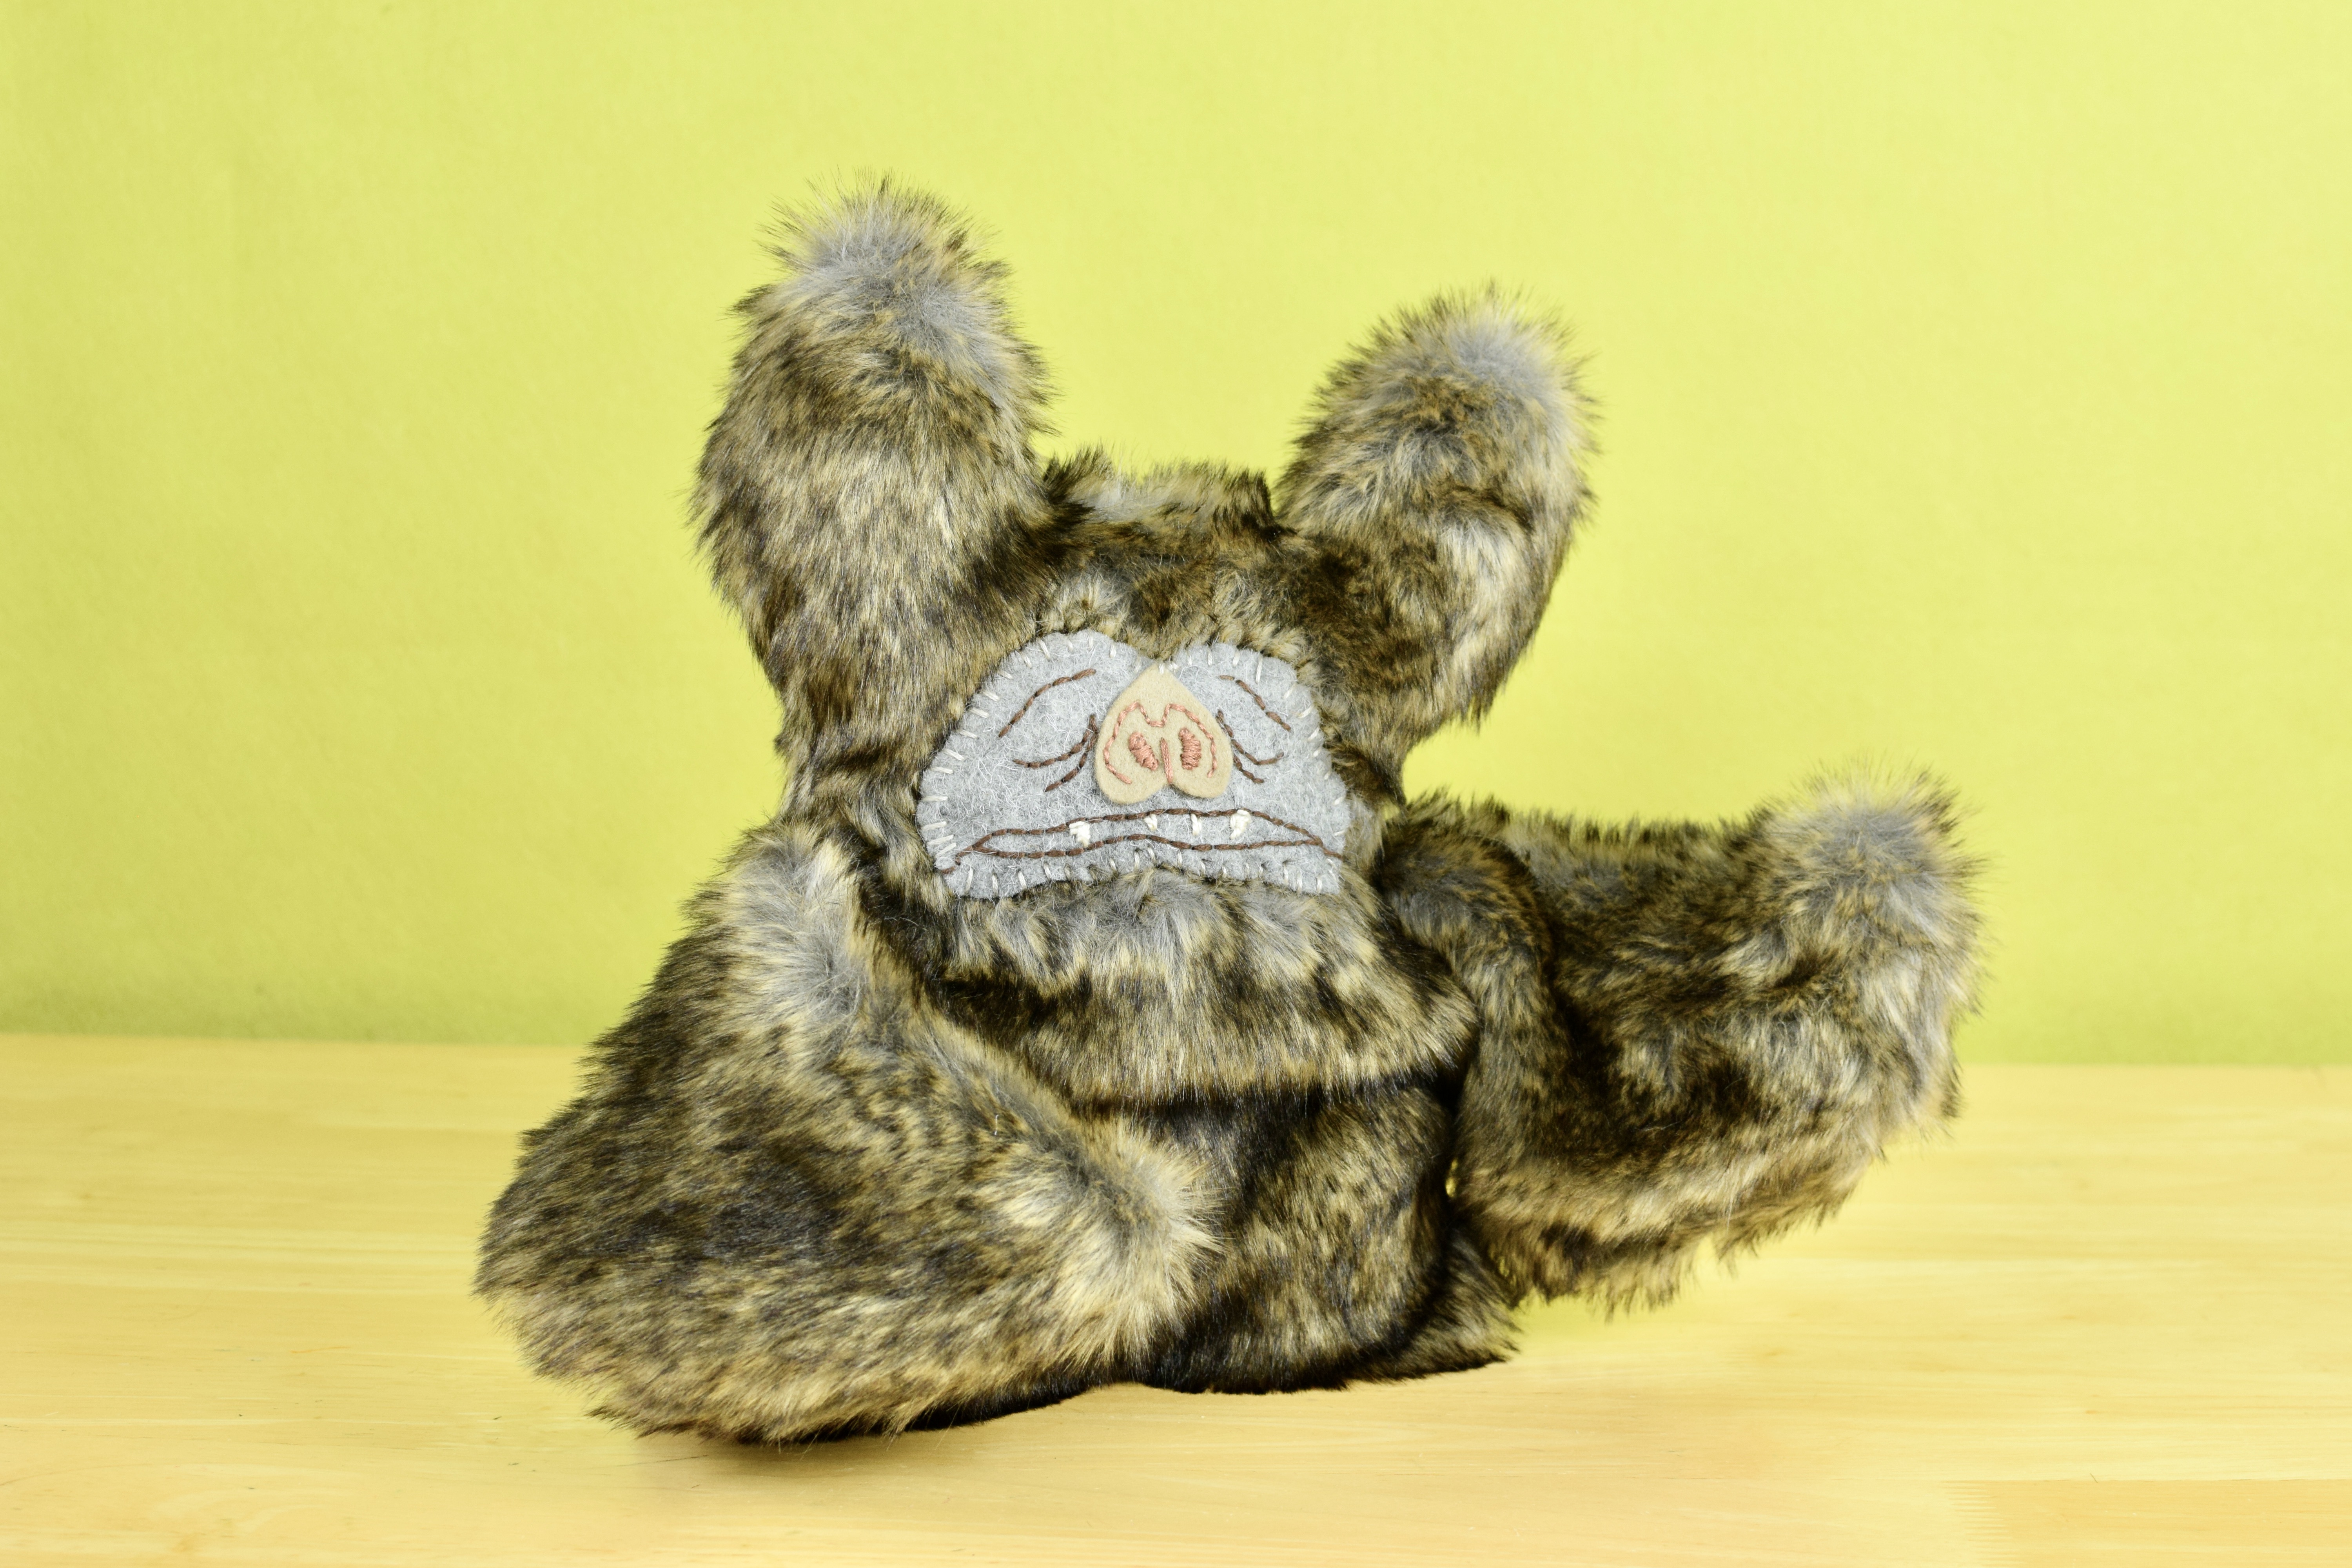
2D plush are great if you want to weight the plush heavily. This is a similar situation as above in that the extra amount of weight is going to sink down which means that any dimension you create with your seams will not be upheld the way it would with stuffing. The bat and owl shown above are heavily weighted.
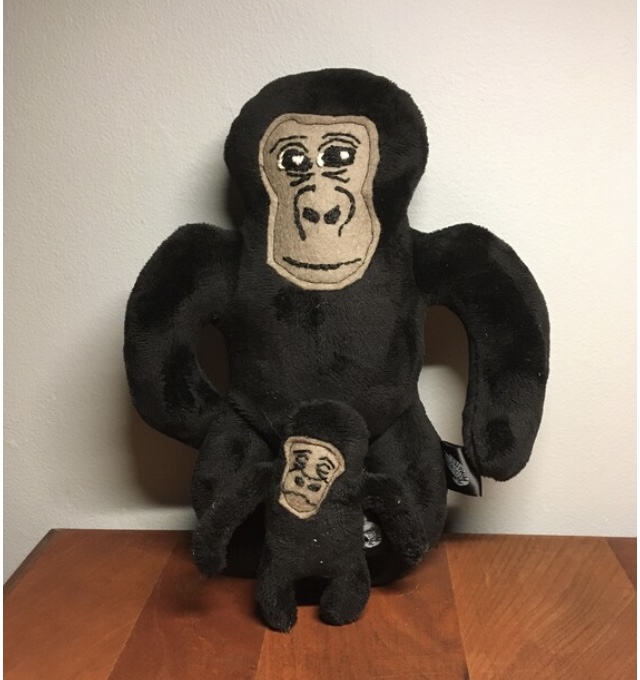
2D plush is a great choice when you’re making something tiny. The itsy-bitsy ape babies shown below are less than 5″ long. At that scale, you don’t want to be fussing with darts and seams.
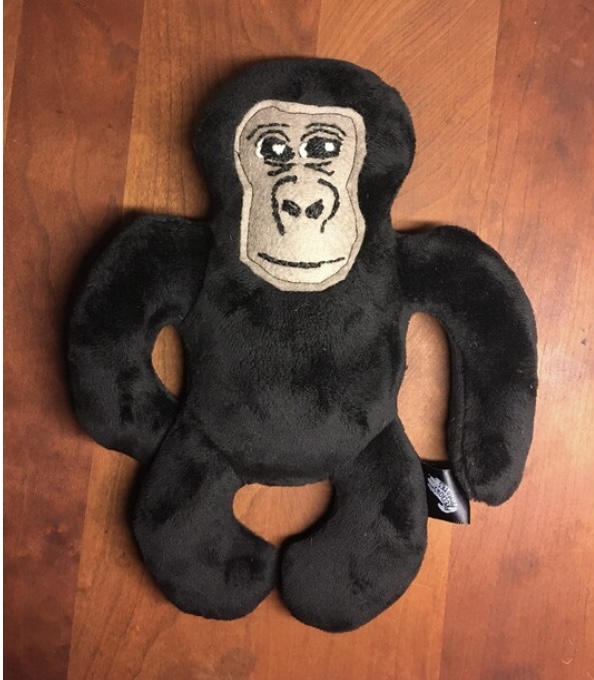
Finally, 2D plush is great if you want to use embroidery, appliqué or other embellishments as the primary feature of your plush. I like usually like to communicate expression and facial and body shape through the patterning itself (3D) but sometimes it’s fun to use the fabric almost as a canvas where you embroider, appliqué fabric pieces or even paint on it. In this case you want a flat surface without extra seams so that you can easily use these techniques, perhaps even in an embroidery hoop, so 2D is perfect. All of the 2D plush pictured in this post have tons of embroidered expression (that is, if you can pardon the poor photo quality).
So there you have it: 2D plush has a lot of room for possibility while keeping the pattern-making and machine sewing aspect nice and simple. It also means that you can dive right in as a plush-maker newbie and familiarize yourself with the fundamentals of fabric choice, sewing, and basic patterning. What questions do you have?
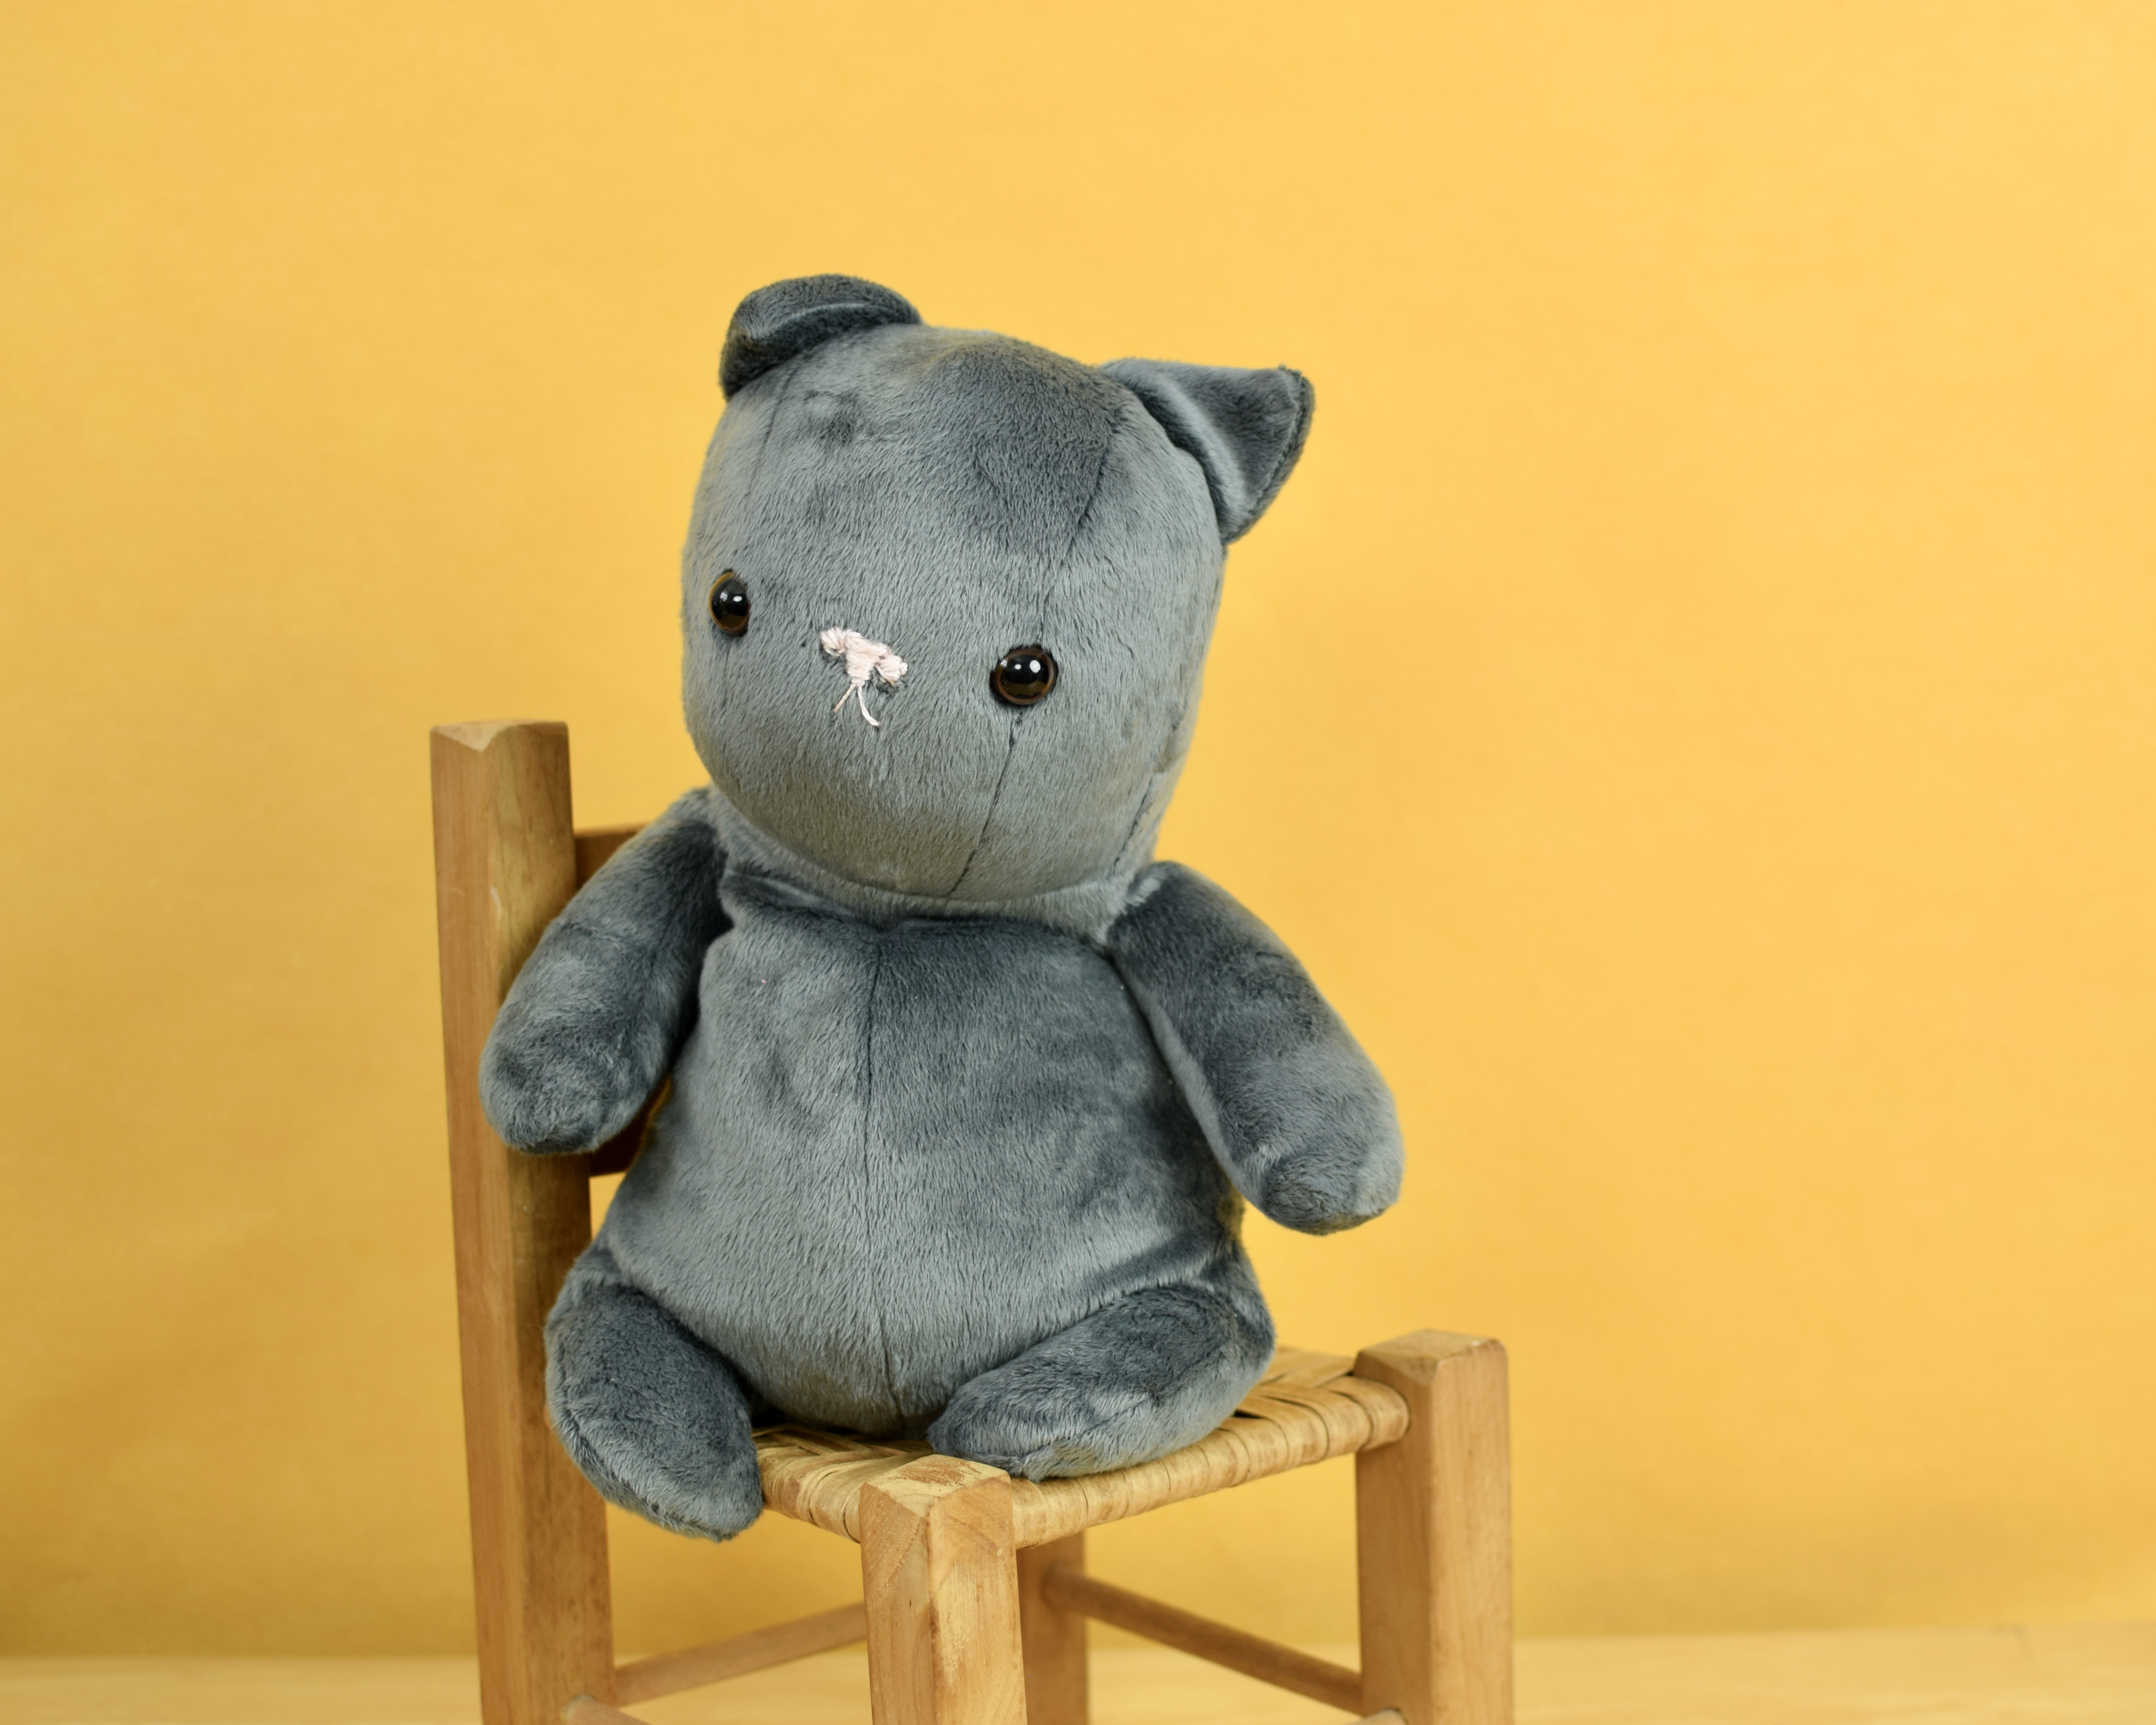
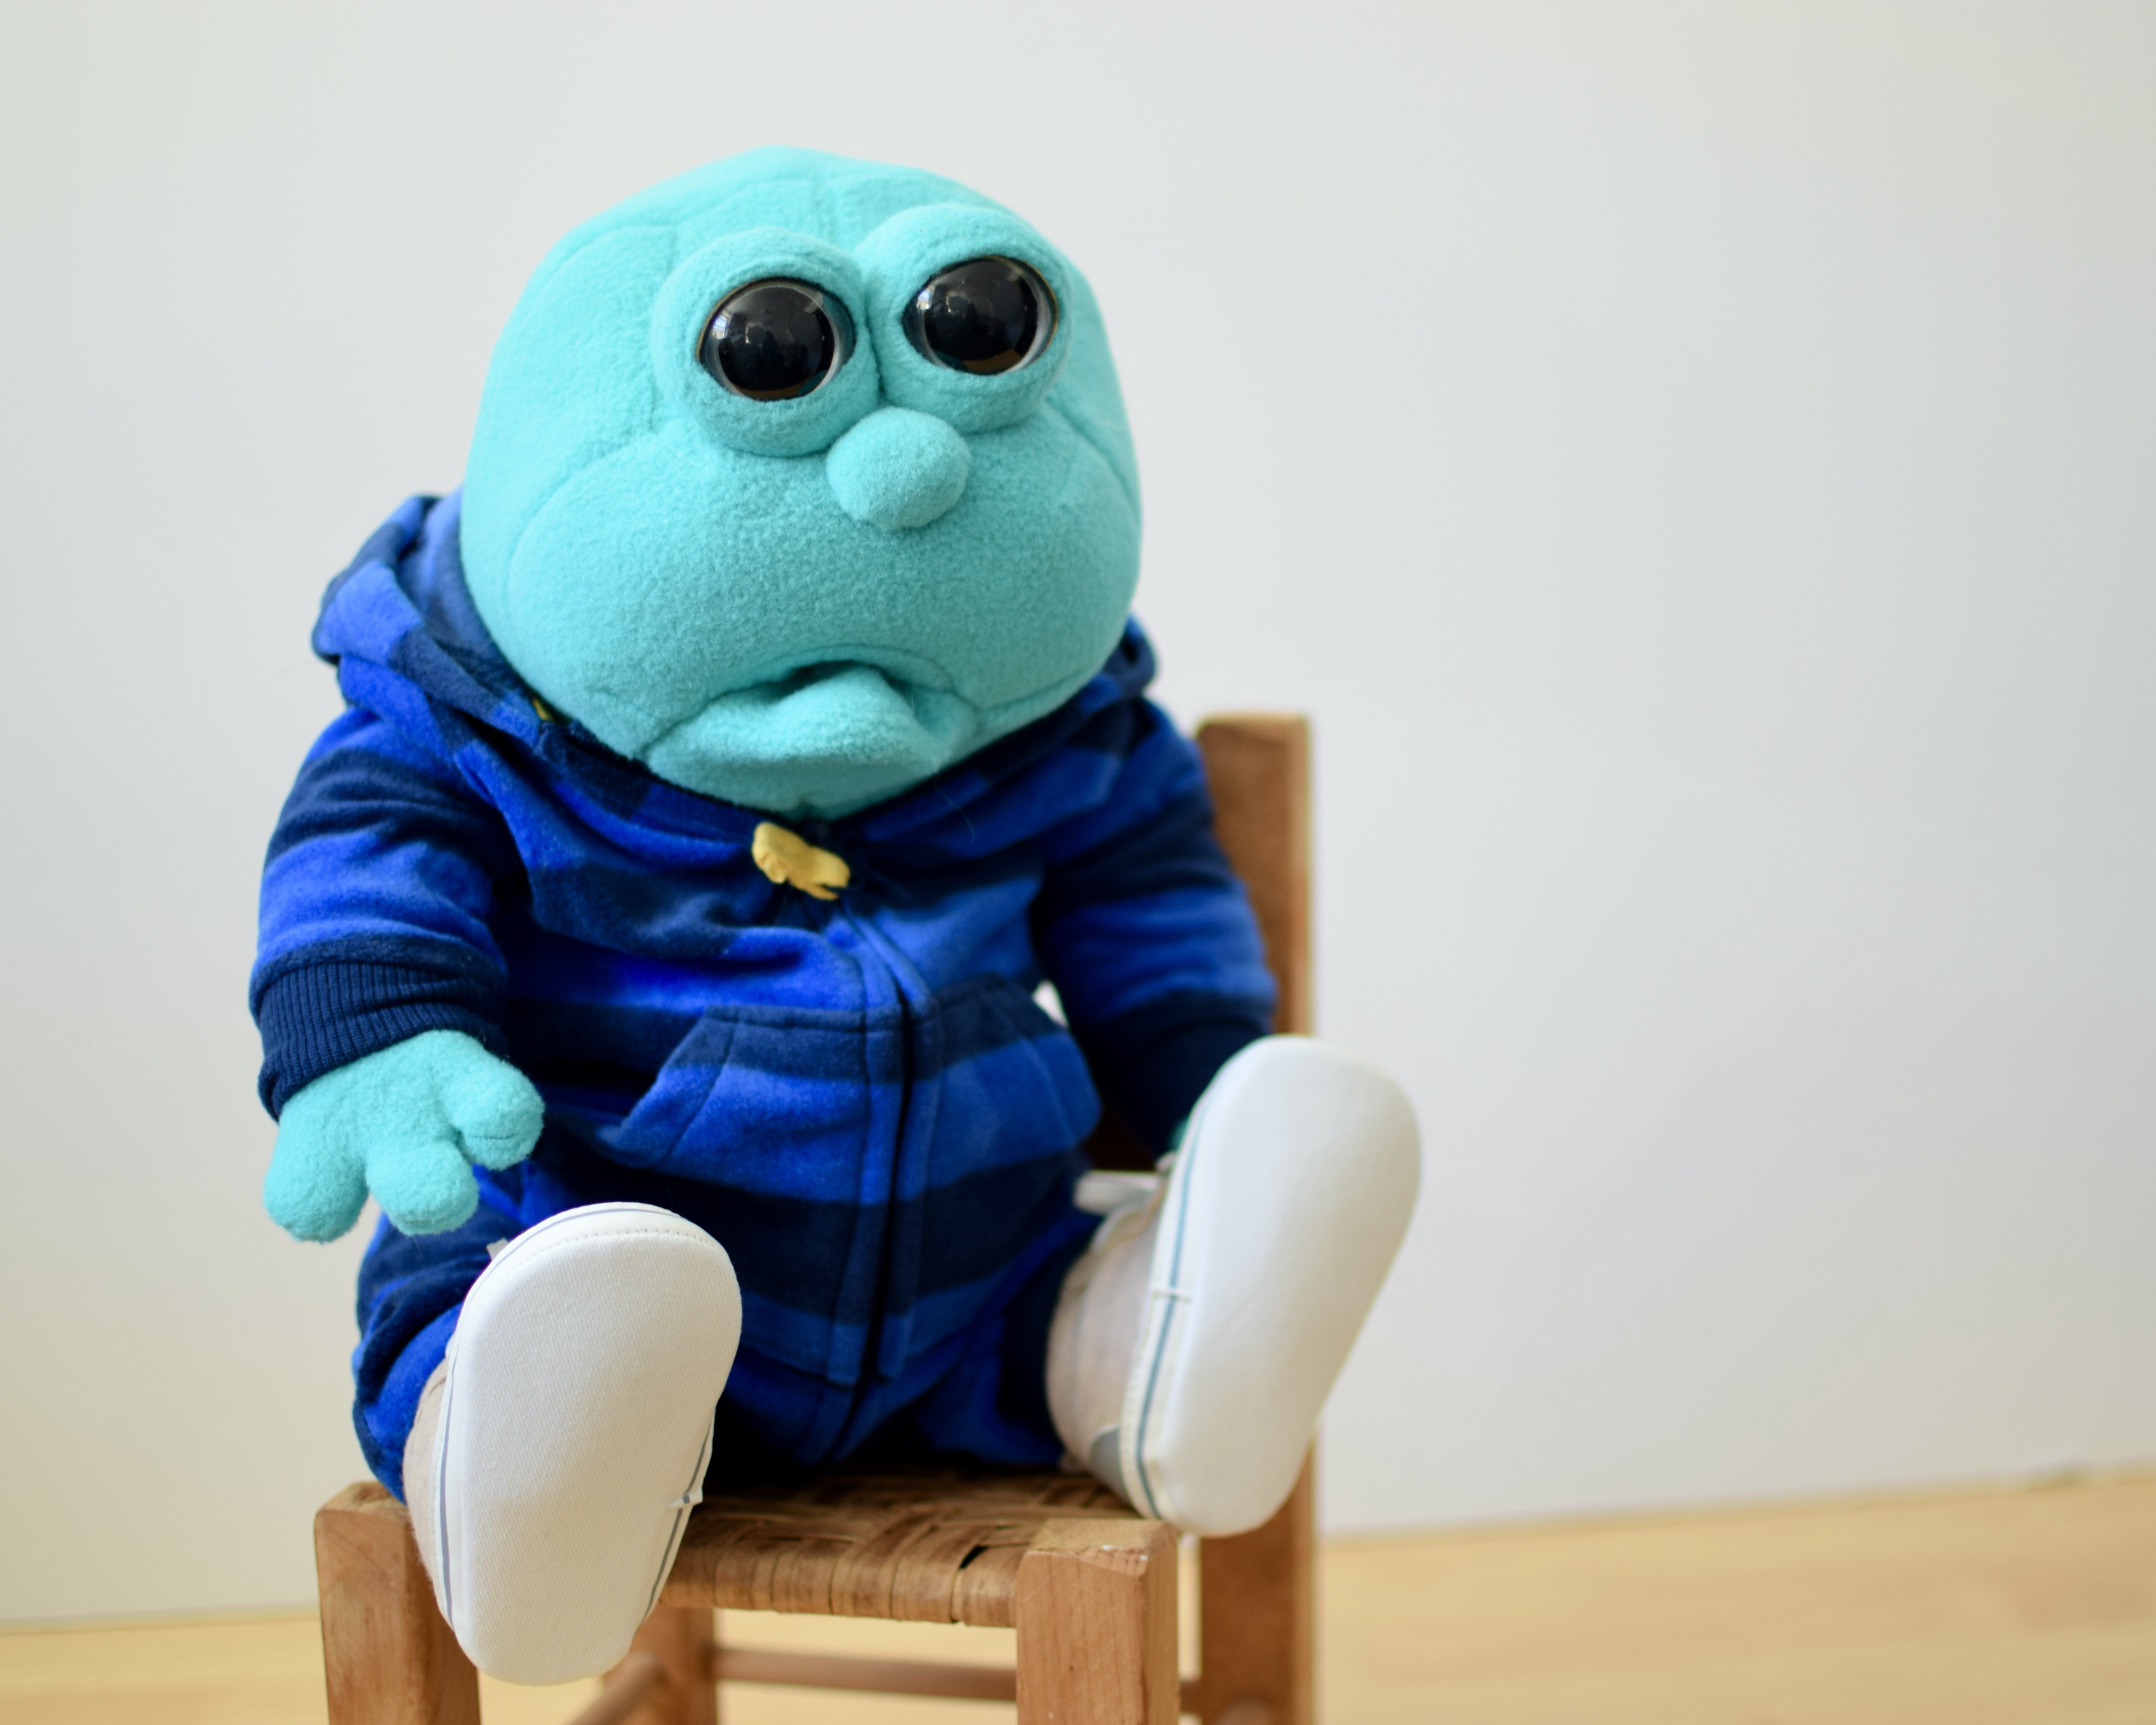
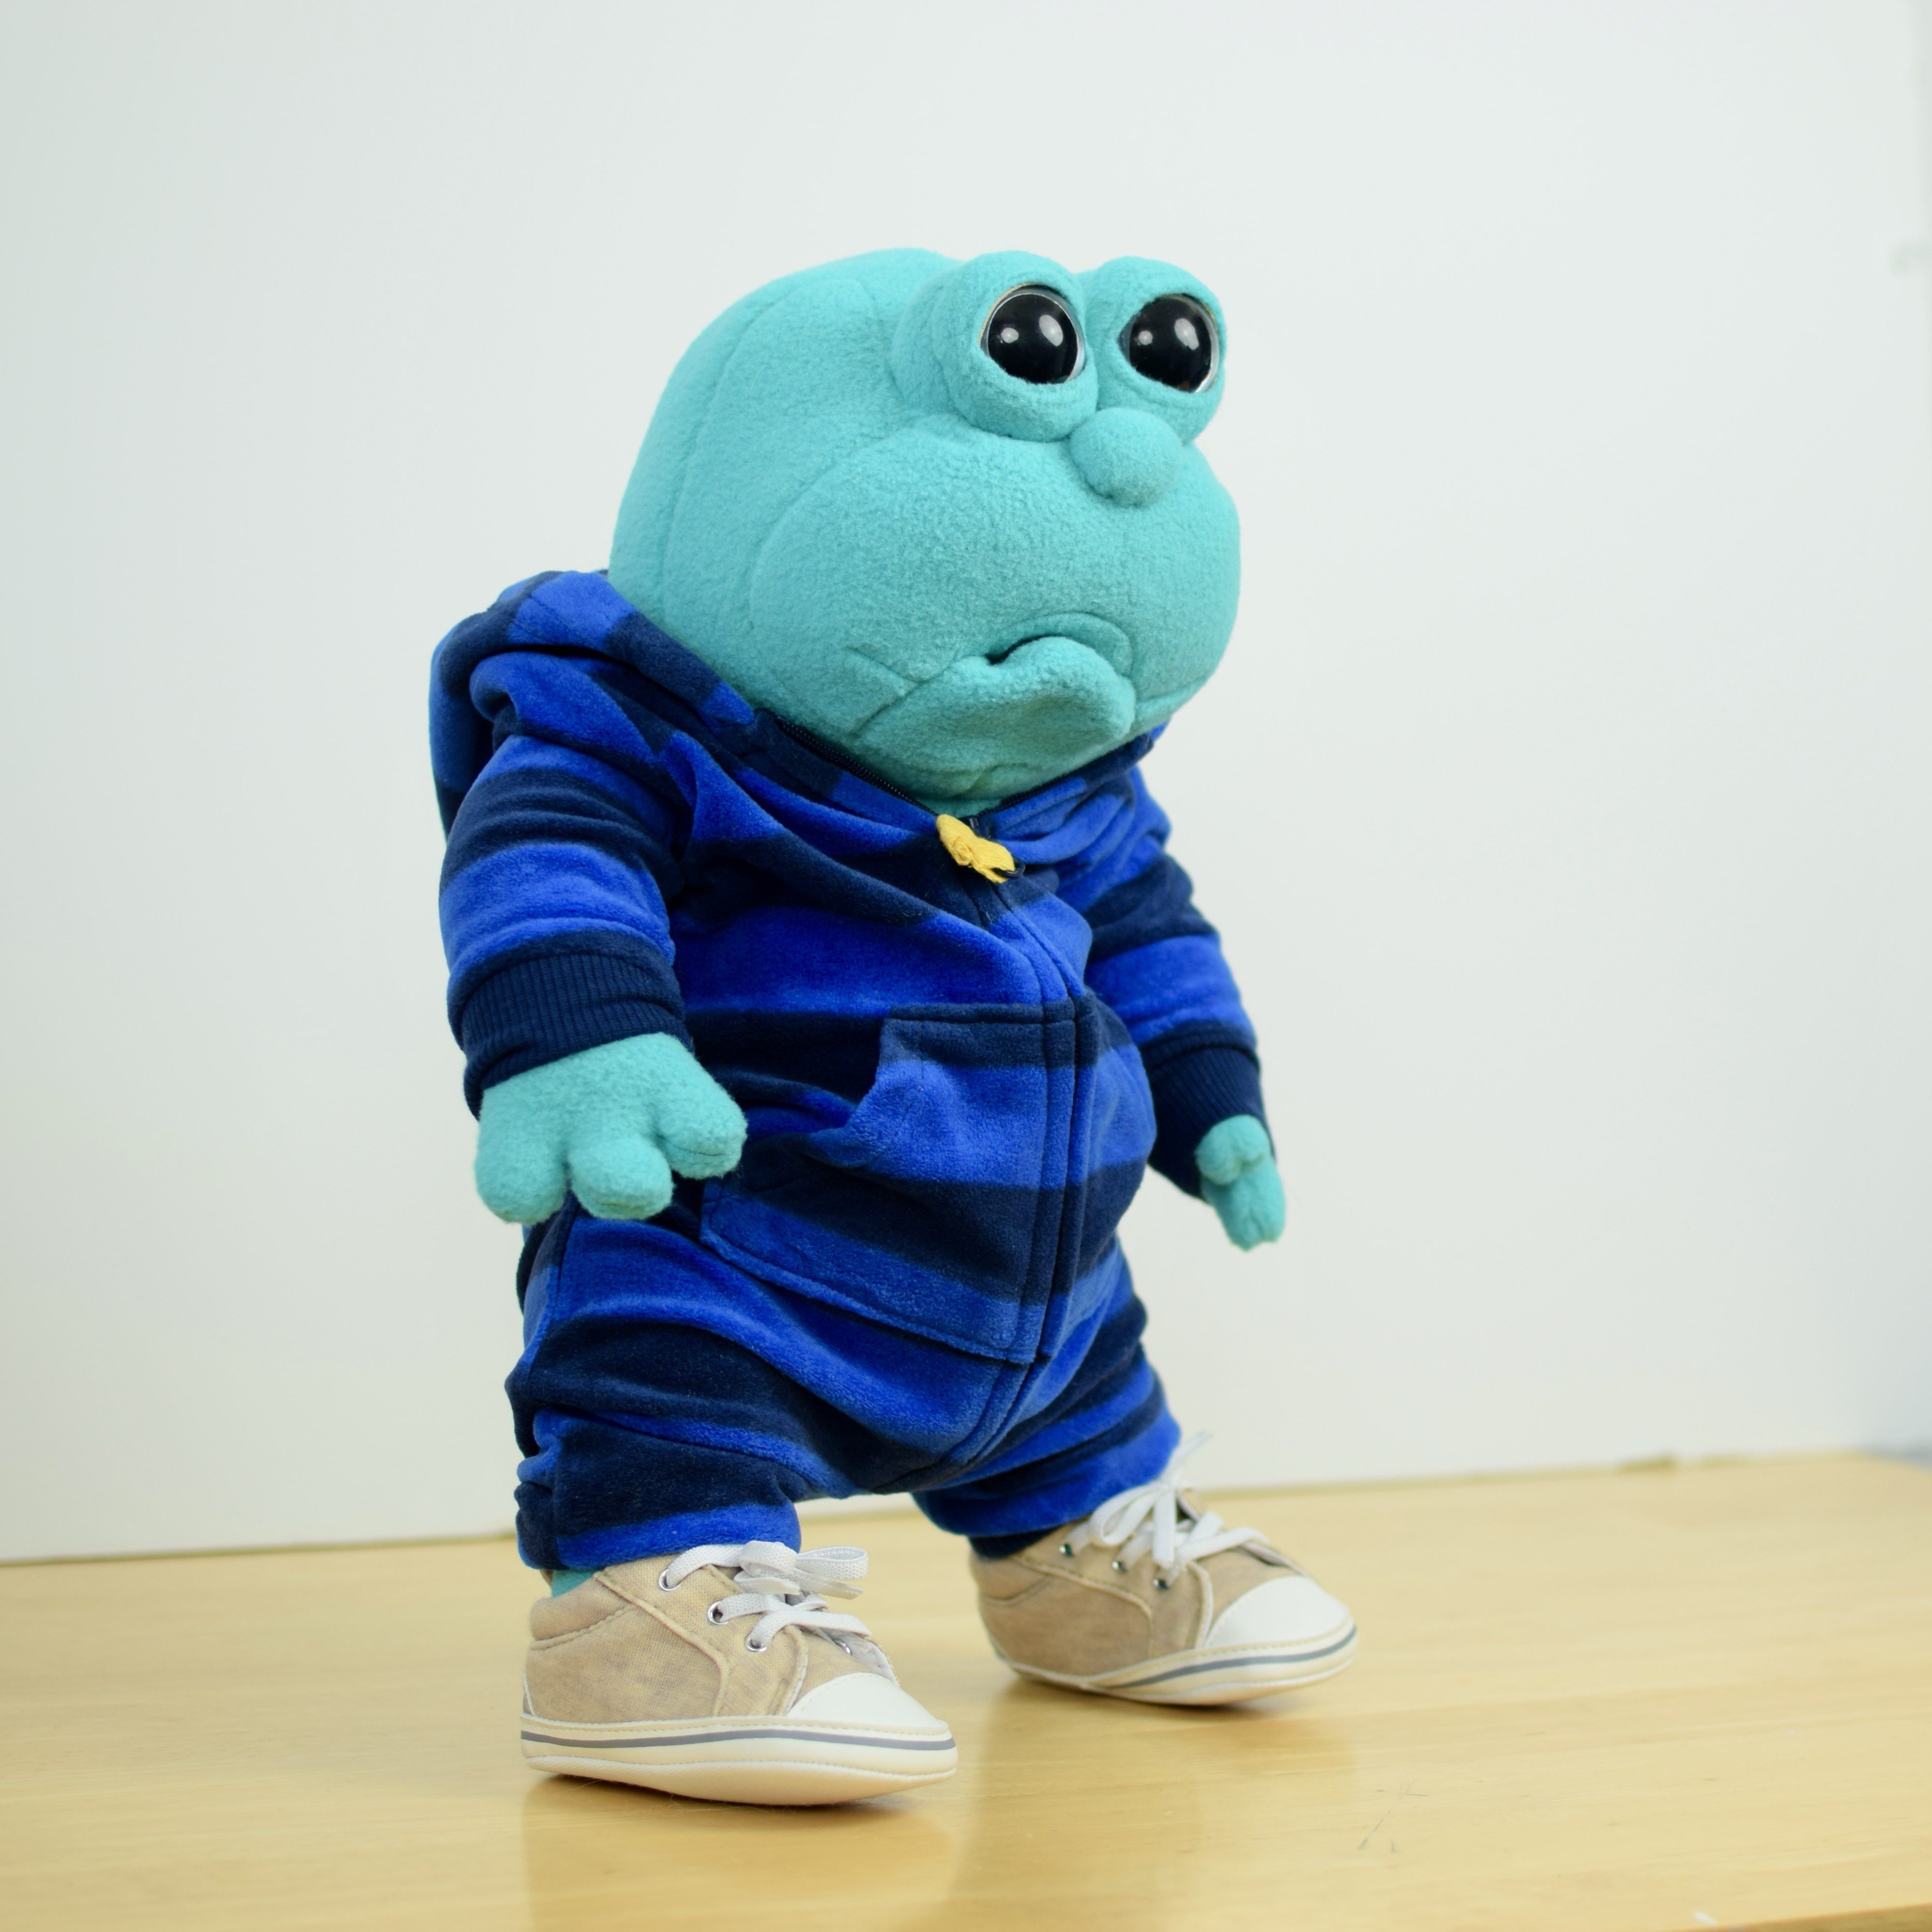
This past fall, I really wanted to play with a new body style. I wanted it to be floppy and droopy and a bit simpler than my regular patterns. I also wanted it to be a pattern that is sewn completely on machine and is ready to turn and stuff once sewn (with the exception of the eyes and face features). I thought it would be nice to have a simpler pattern that could have more sensory features, like silky minky fabric and more weight, and also be less involved in terms of facial features.
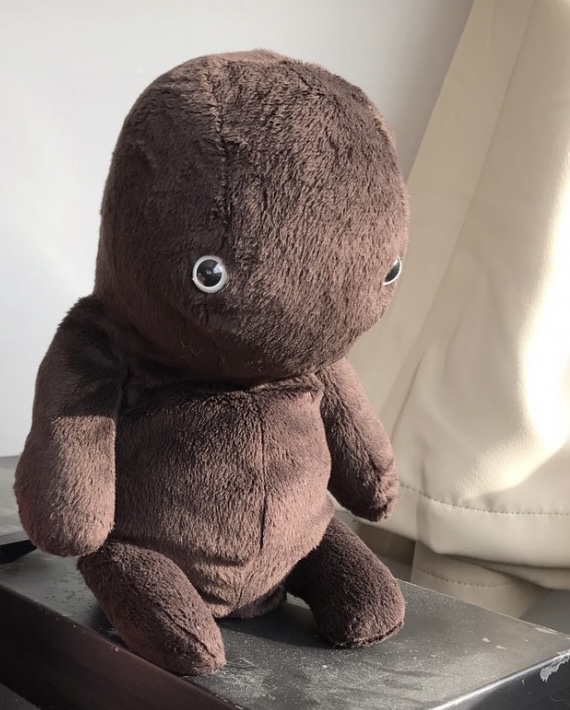
The very first doll I made in this style is below: I kept for myself and I’m proud to say I sleep with it like a teddy bear!
I then made an actual teddy bear version which was sold just after the New Year.
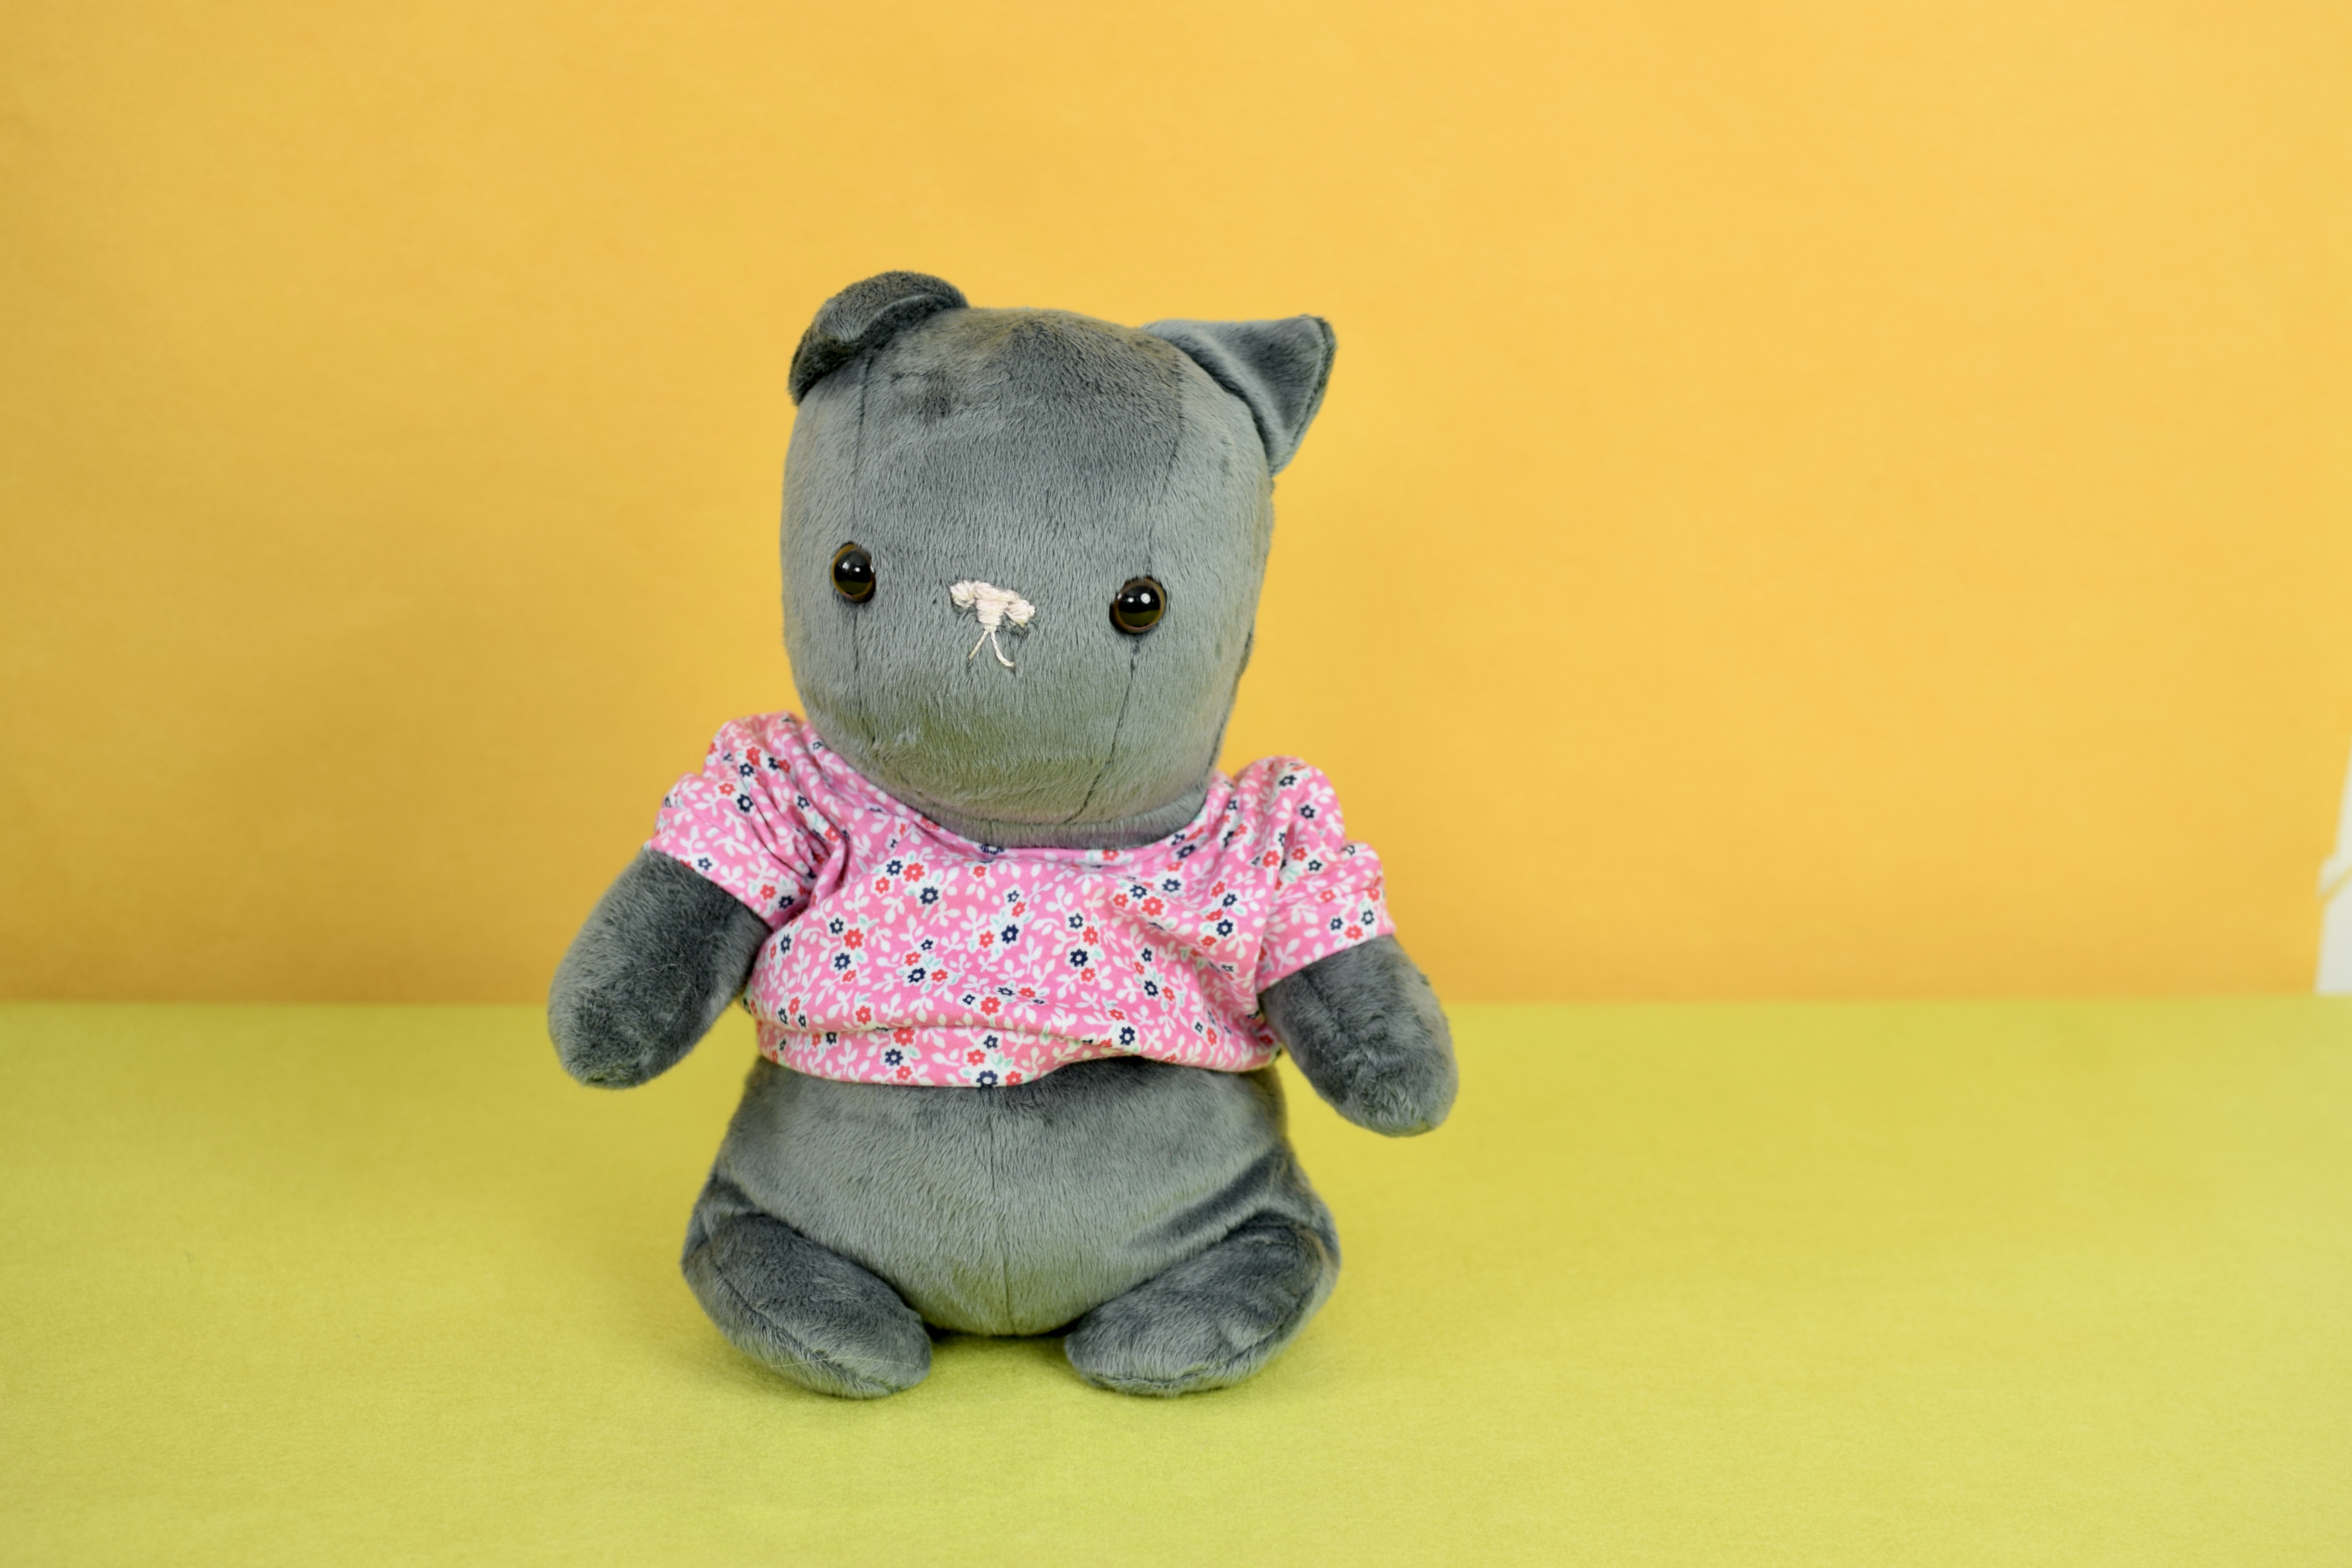
And the kitten you see at the top of this post is the most recent iteration. I ended up making a special liner to go in the lower two thirds of the body, including the legs, so that I could fill it almost completely with pellets rather than my usual method which is to put pellets in a sack and position that inside of the belly. The result is heavy, saggy, sloshy goodness!
Even though I love making creatures, their heads are generally inspired or start out as patterns that resemble some kind of animal head. Recently I got very excited about making actual animal heads to go on the saggy body and I drafted a mole, elephant, hippo and rodent in addition to the kitten and bear heads! I don’t generally love doing straight-up animals anymore because I can get hung up on realism, but I think with this pattern I can keep it fun. I can’t wait to sew some more!
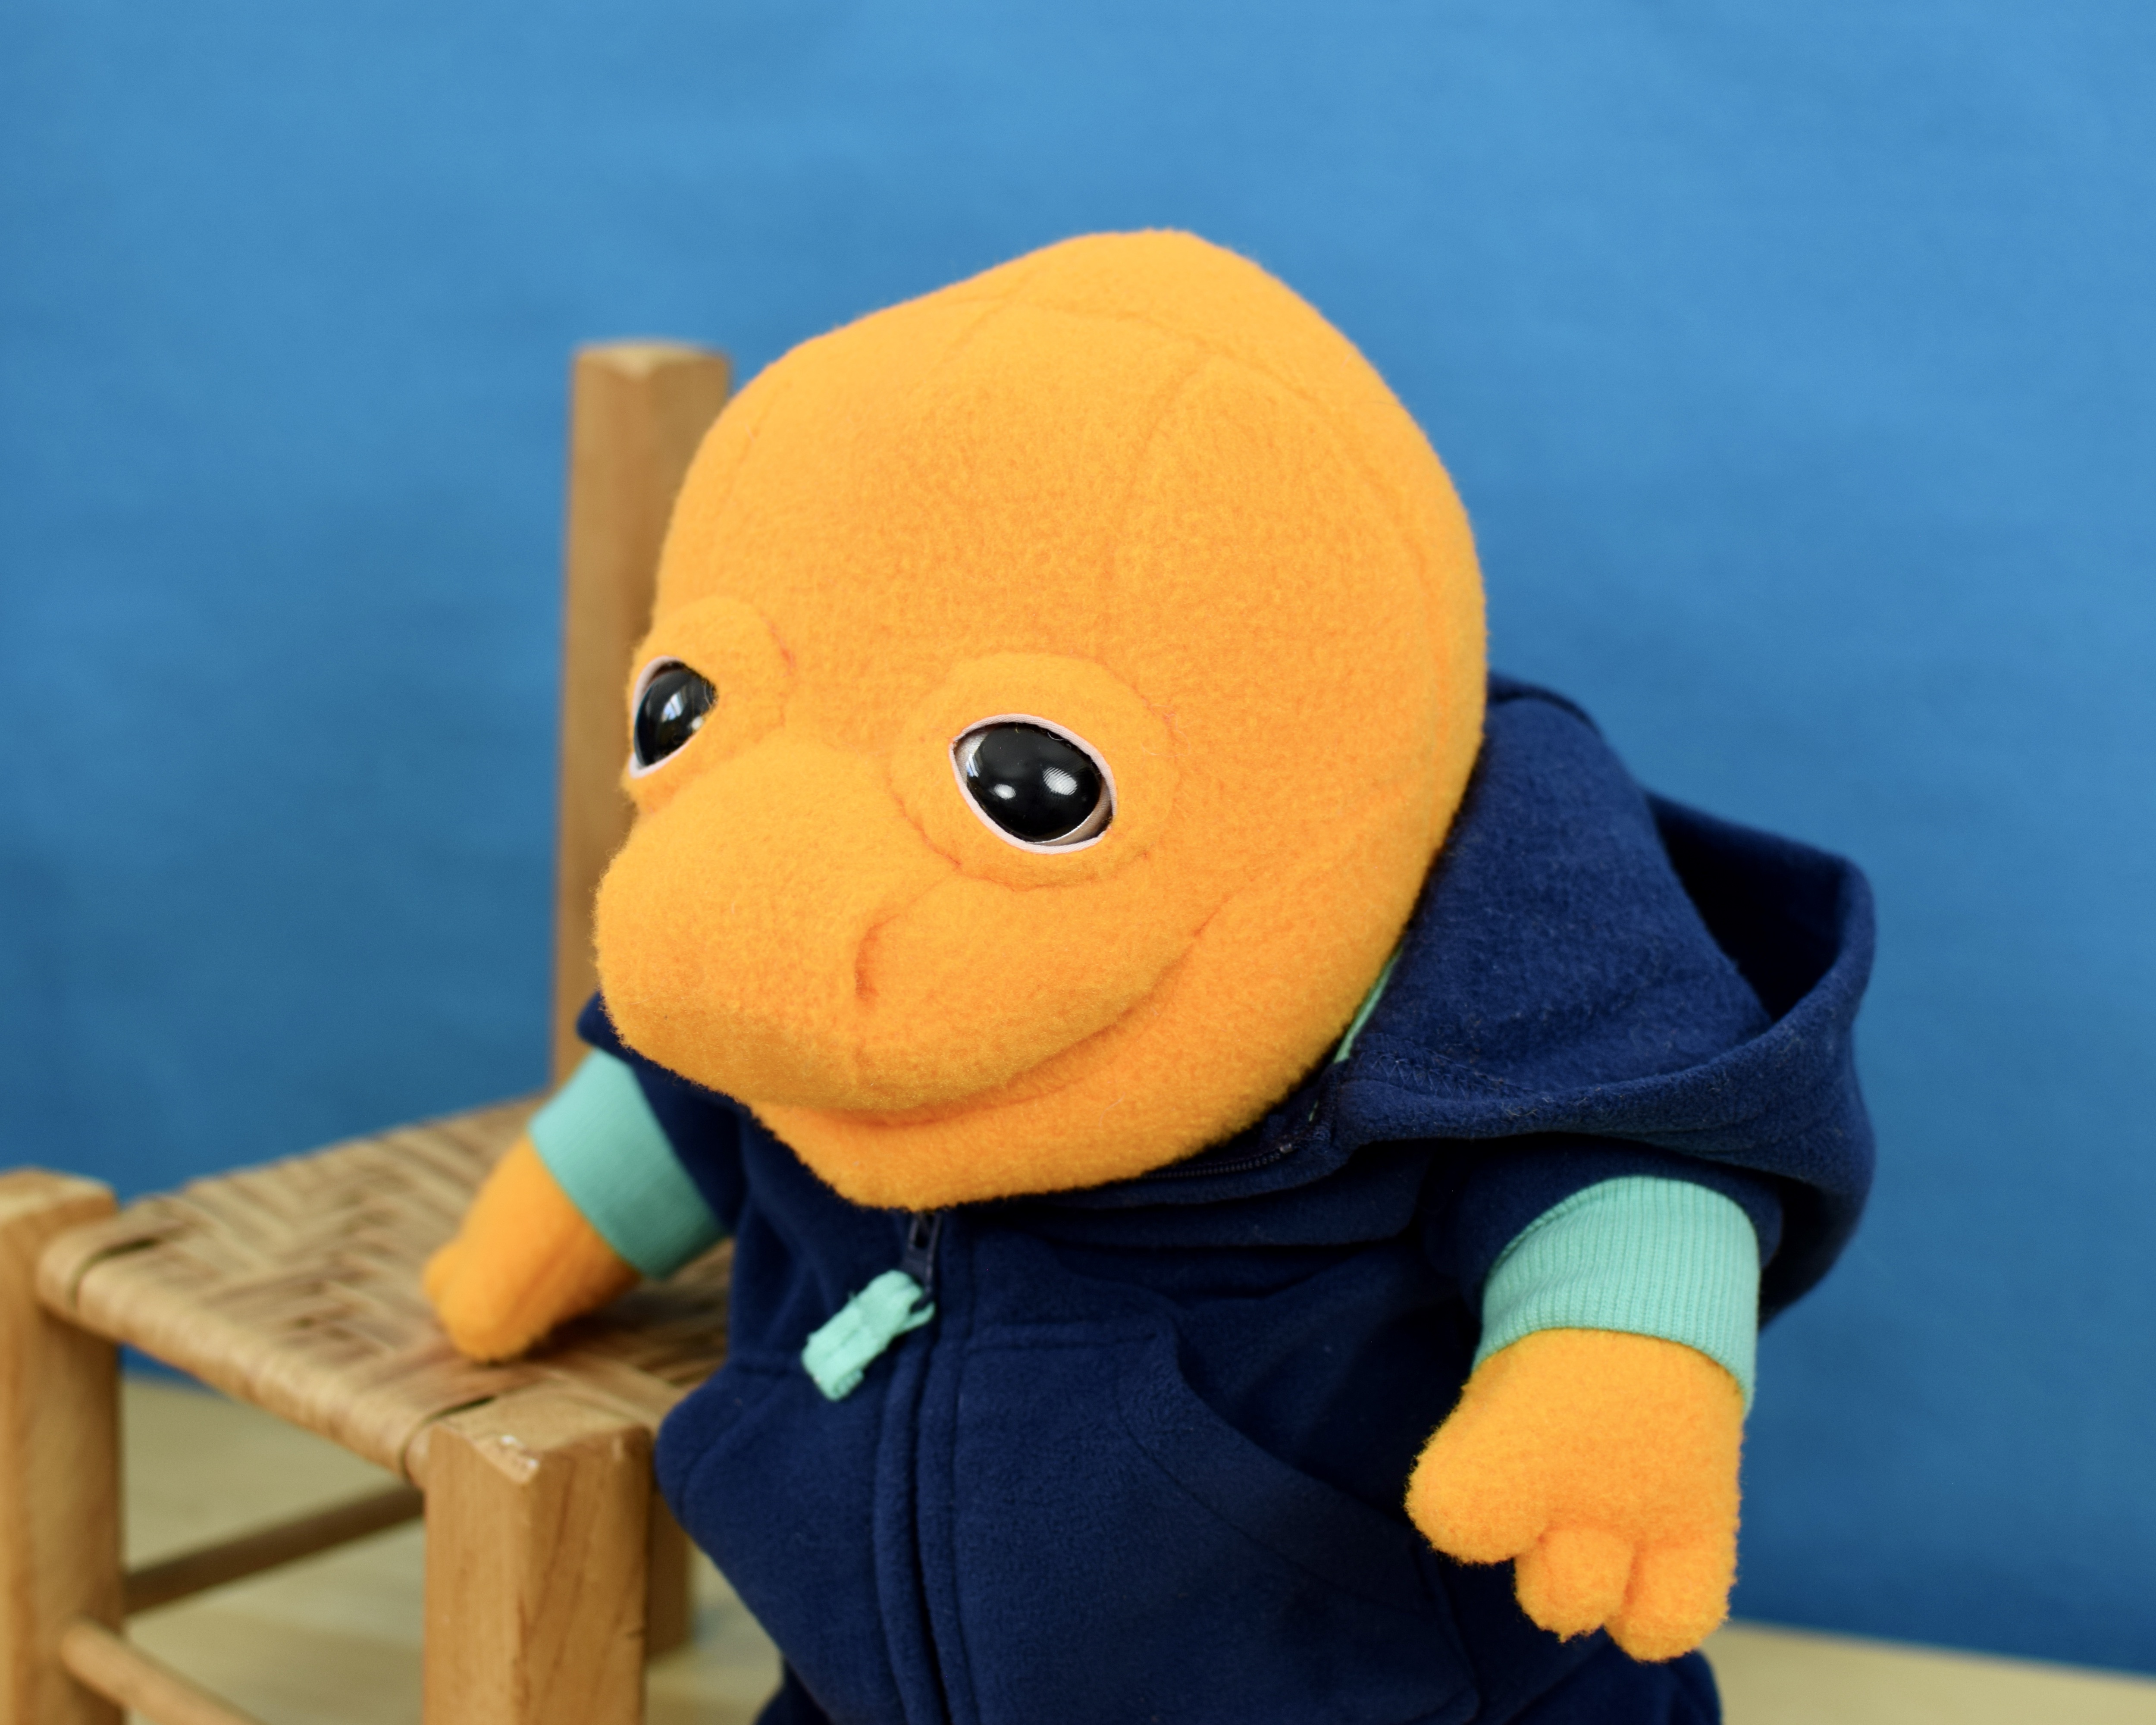
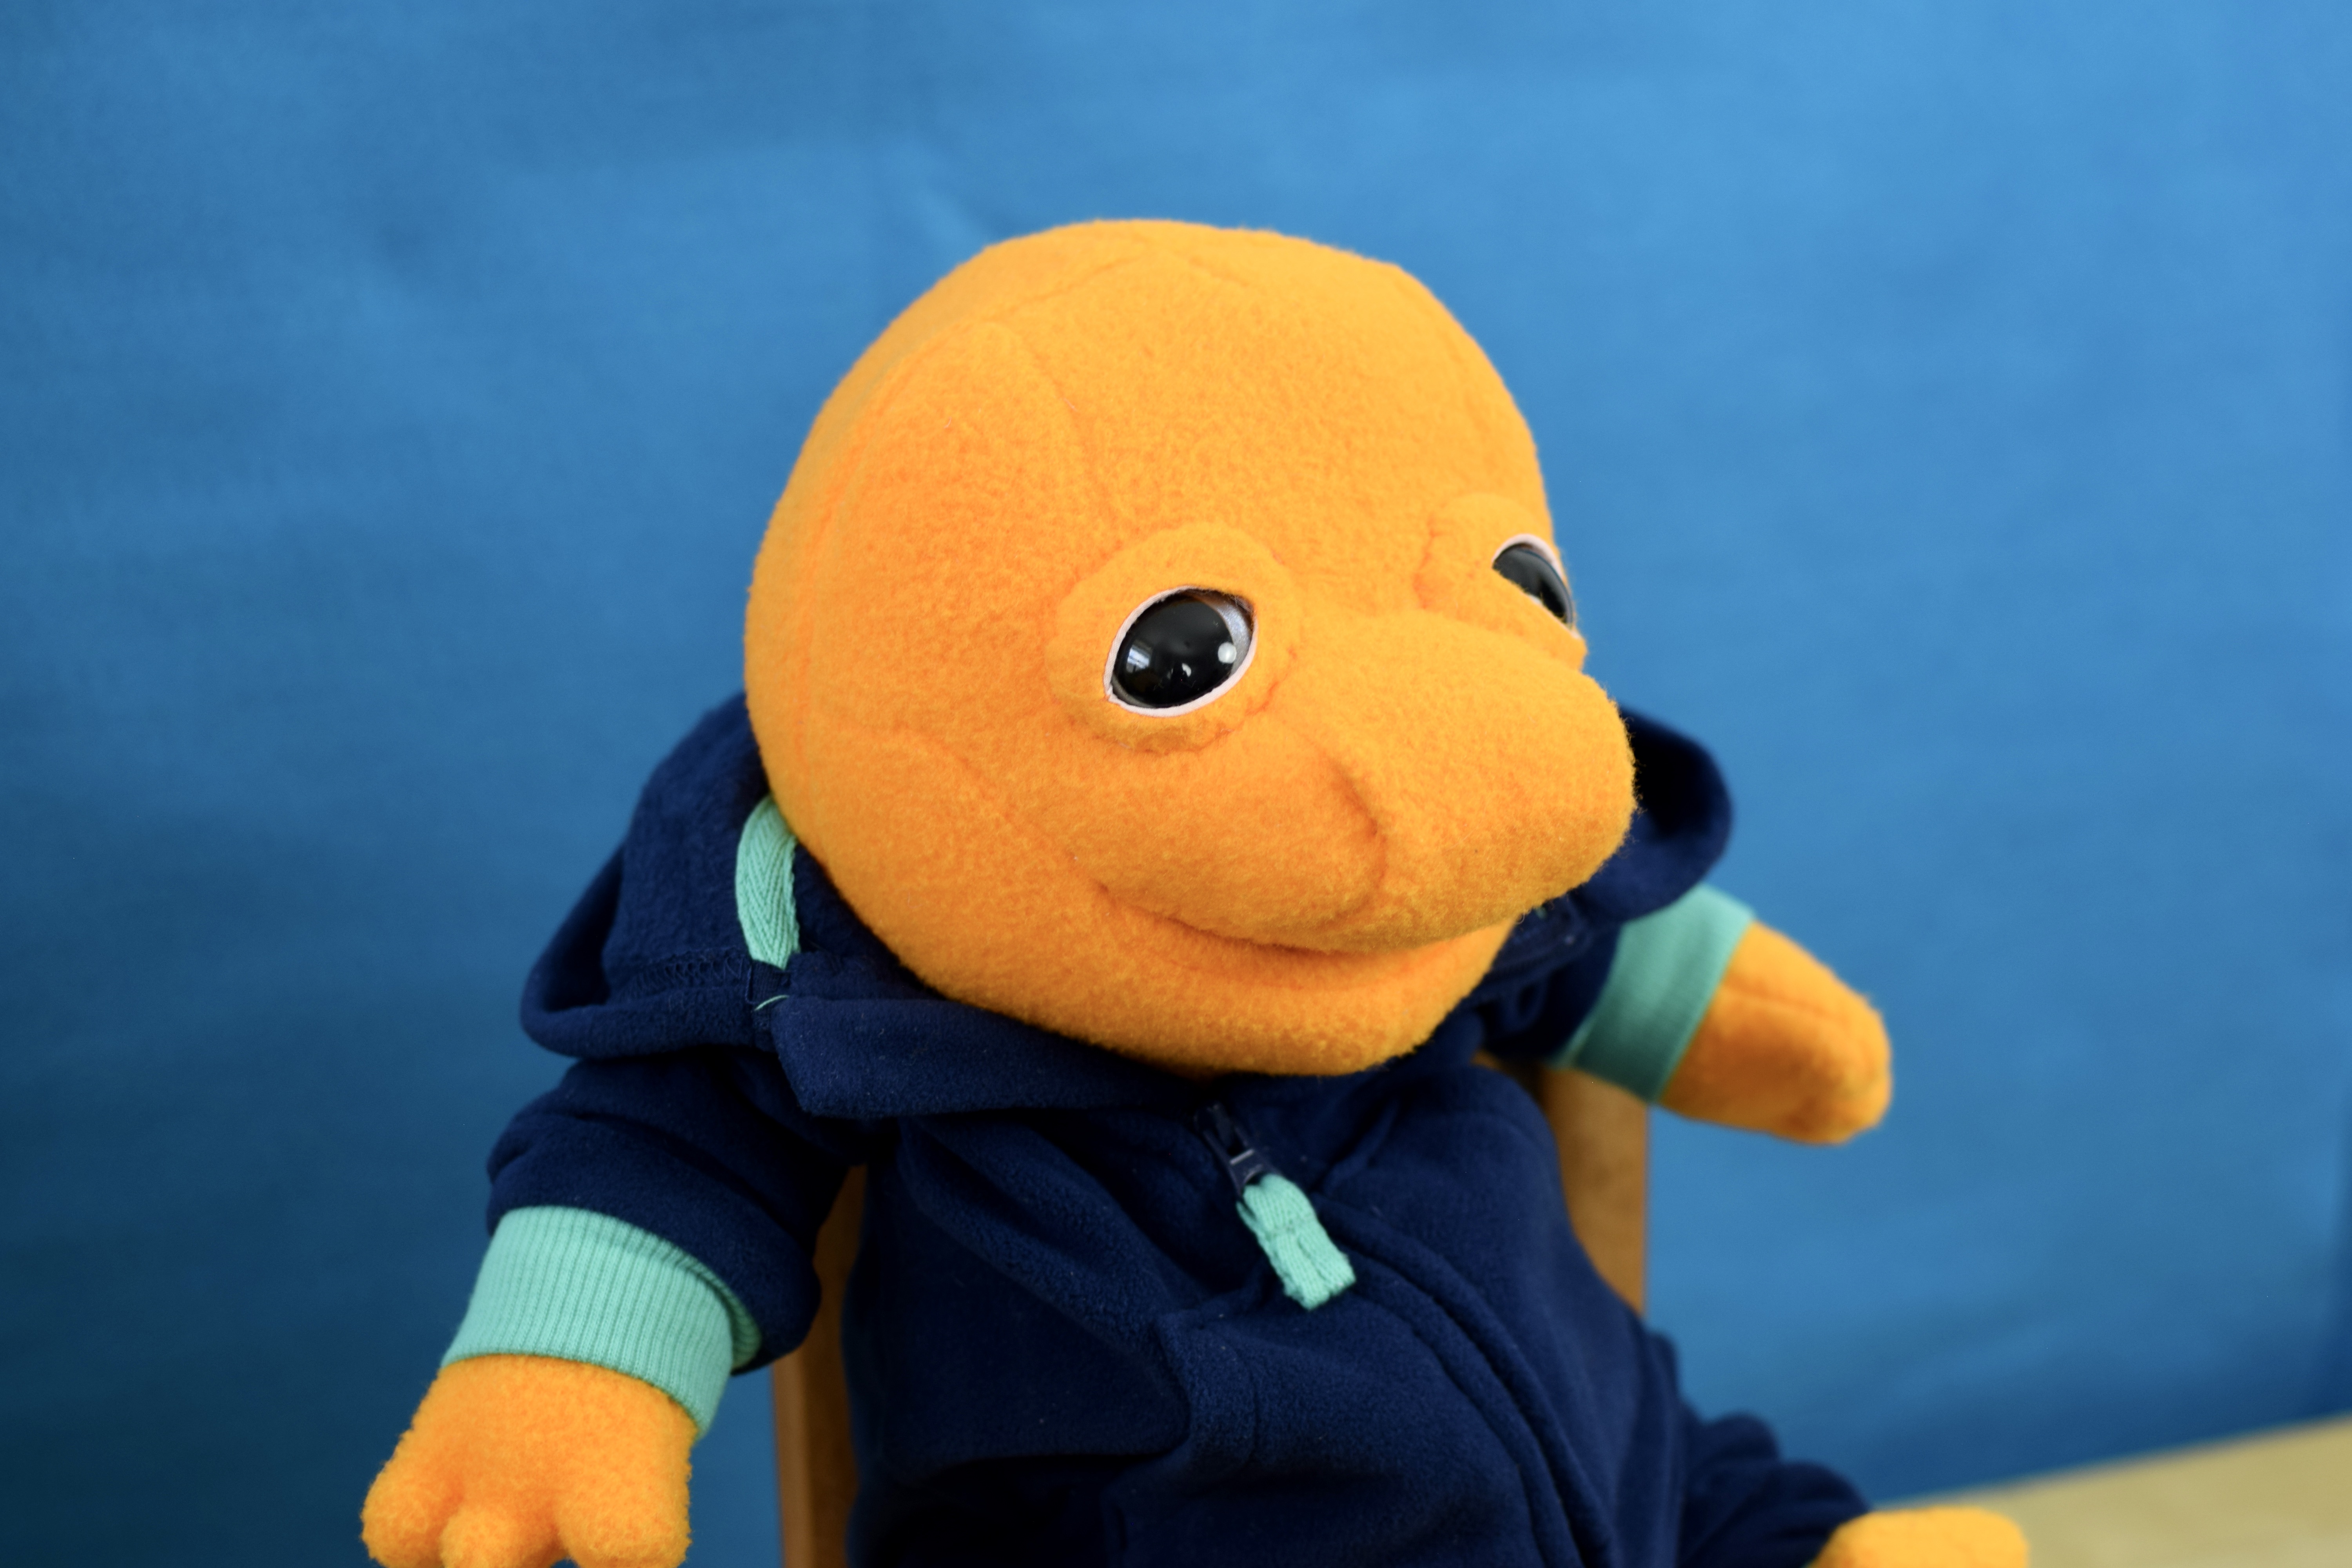
Introducing Seamus (blue bird goblin) and Ronald (orange happy dino).
I had been wanting to do a bird-inspired creature for a while. Whenever I want to make a new face style, I work from my front head foundation pattern and chop it up and swivel it around, sometimes adding new pieces (like this beak) until I have a new pattern. I then test that pattern and make changes until I’m satisfied. I pin the test versions to one of my shop creatures so that I can see how it will look. Because of the flat pattern drafting method, I know this new face will always attach perfectly to the existing back head pattern and body.
I love how Seamus has a no-nonsense kind of look to him! With his beak alone, he didn’t seem complete, so I added goblin ears!
Ronald’s face pattern began as an attempt to make a baby crocodile, but as I tested it, I found it looked more like a dragon or dinosaur. I decided to go in that direction instead (and will come back to the crocodile snout another time). I decided to line the mouth so that his smile would be more apparent.
These creature friends are both roughly 15-16″ tall and have jointed legs and semi-floppy arms. They will be available at my next shop drop.
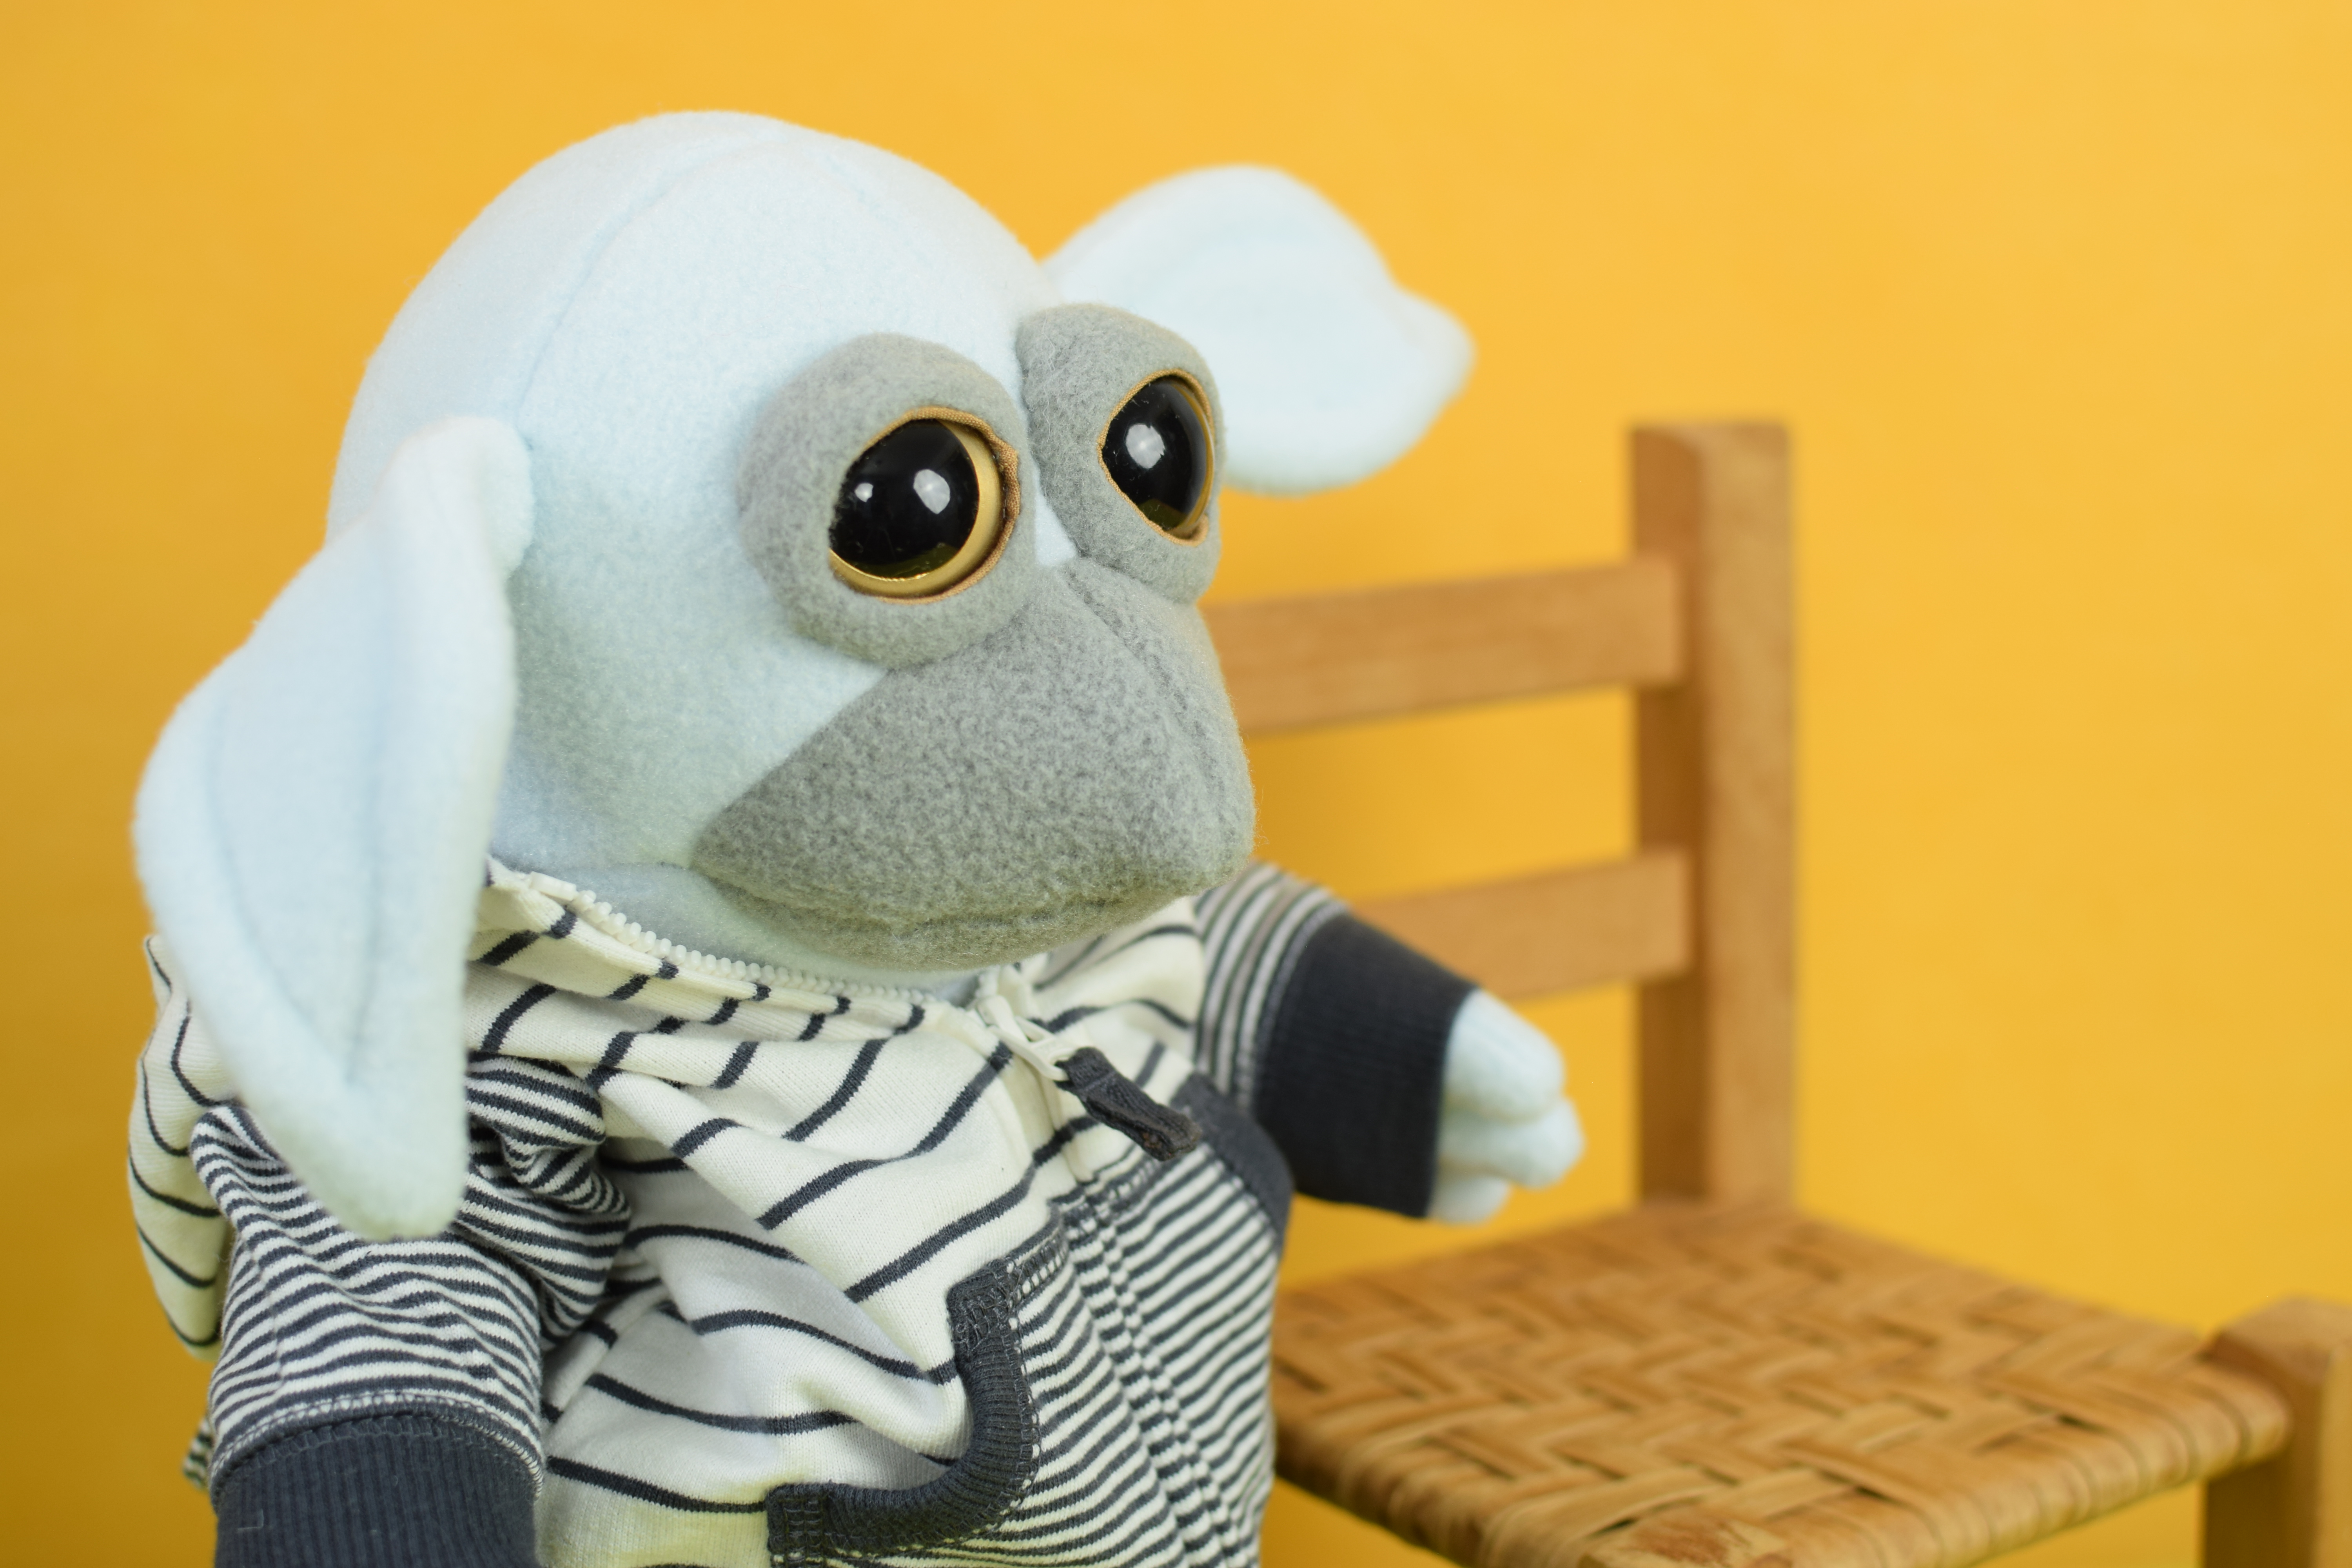
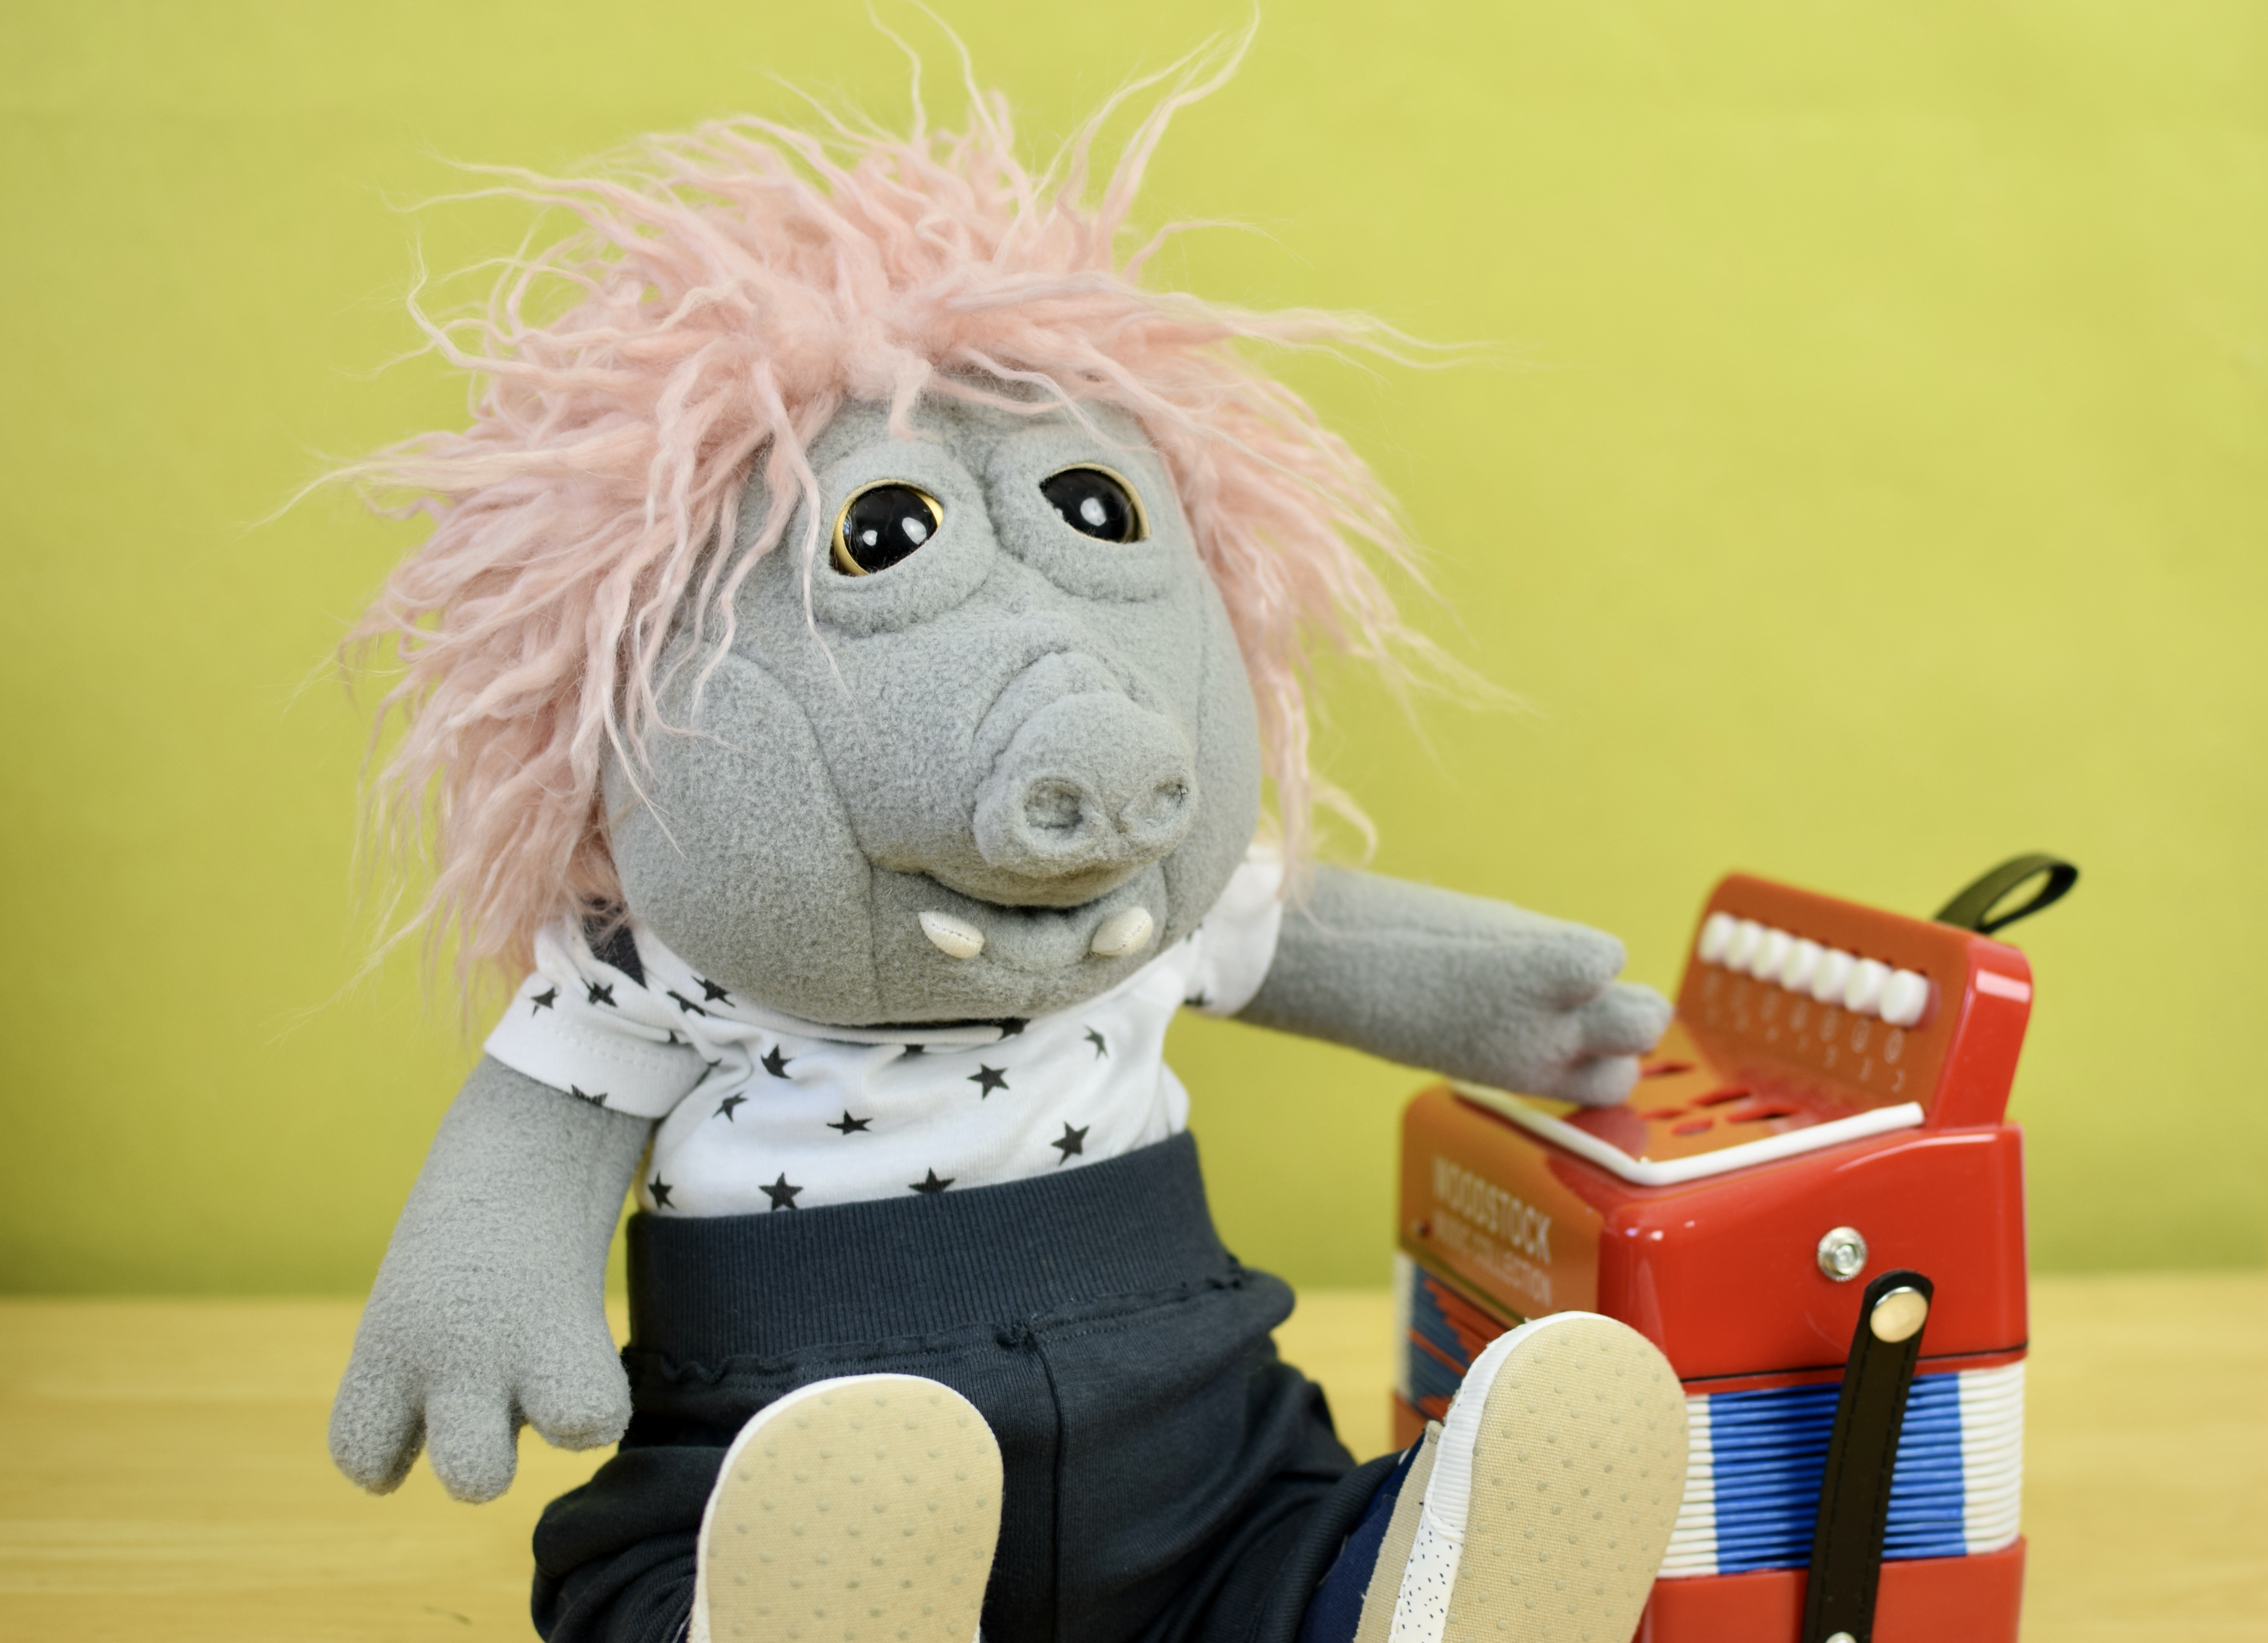
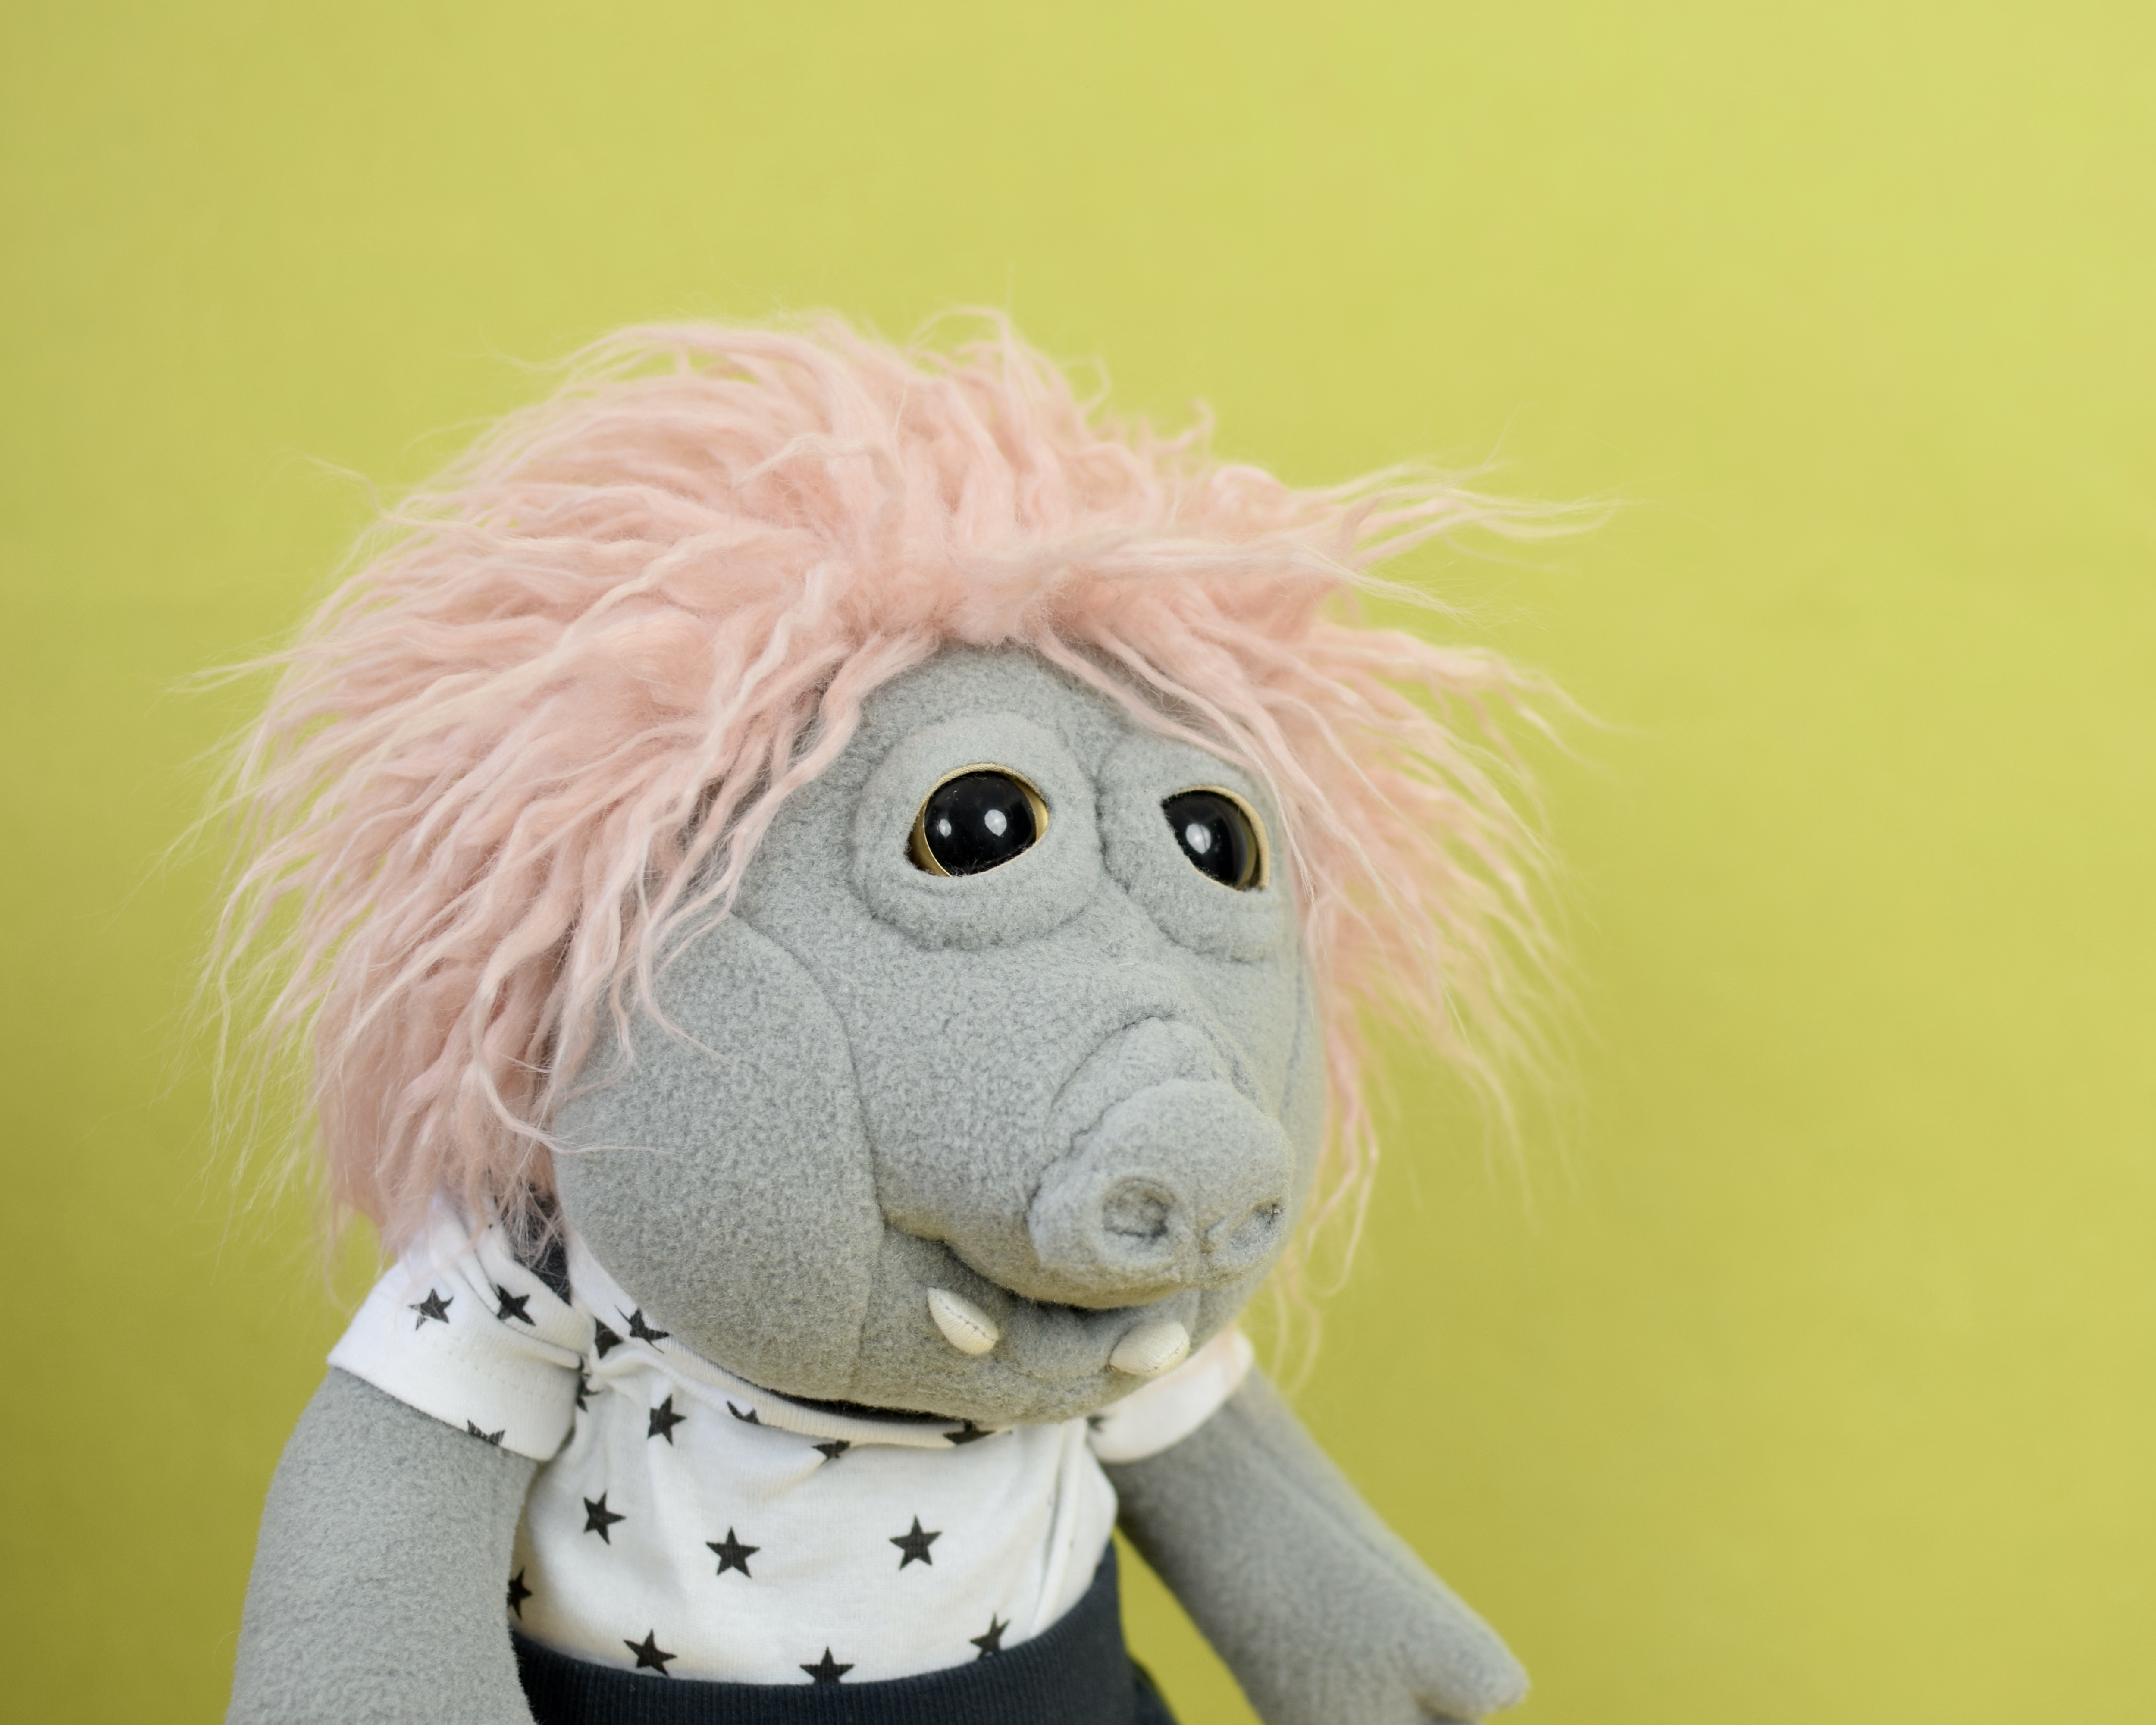
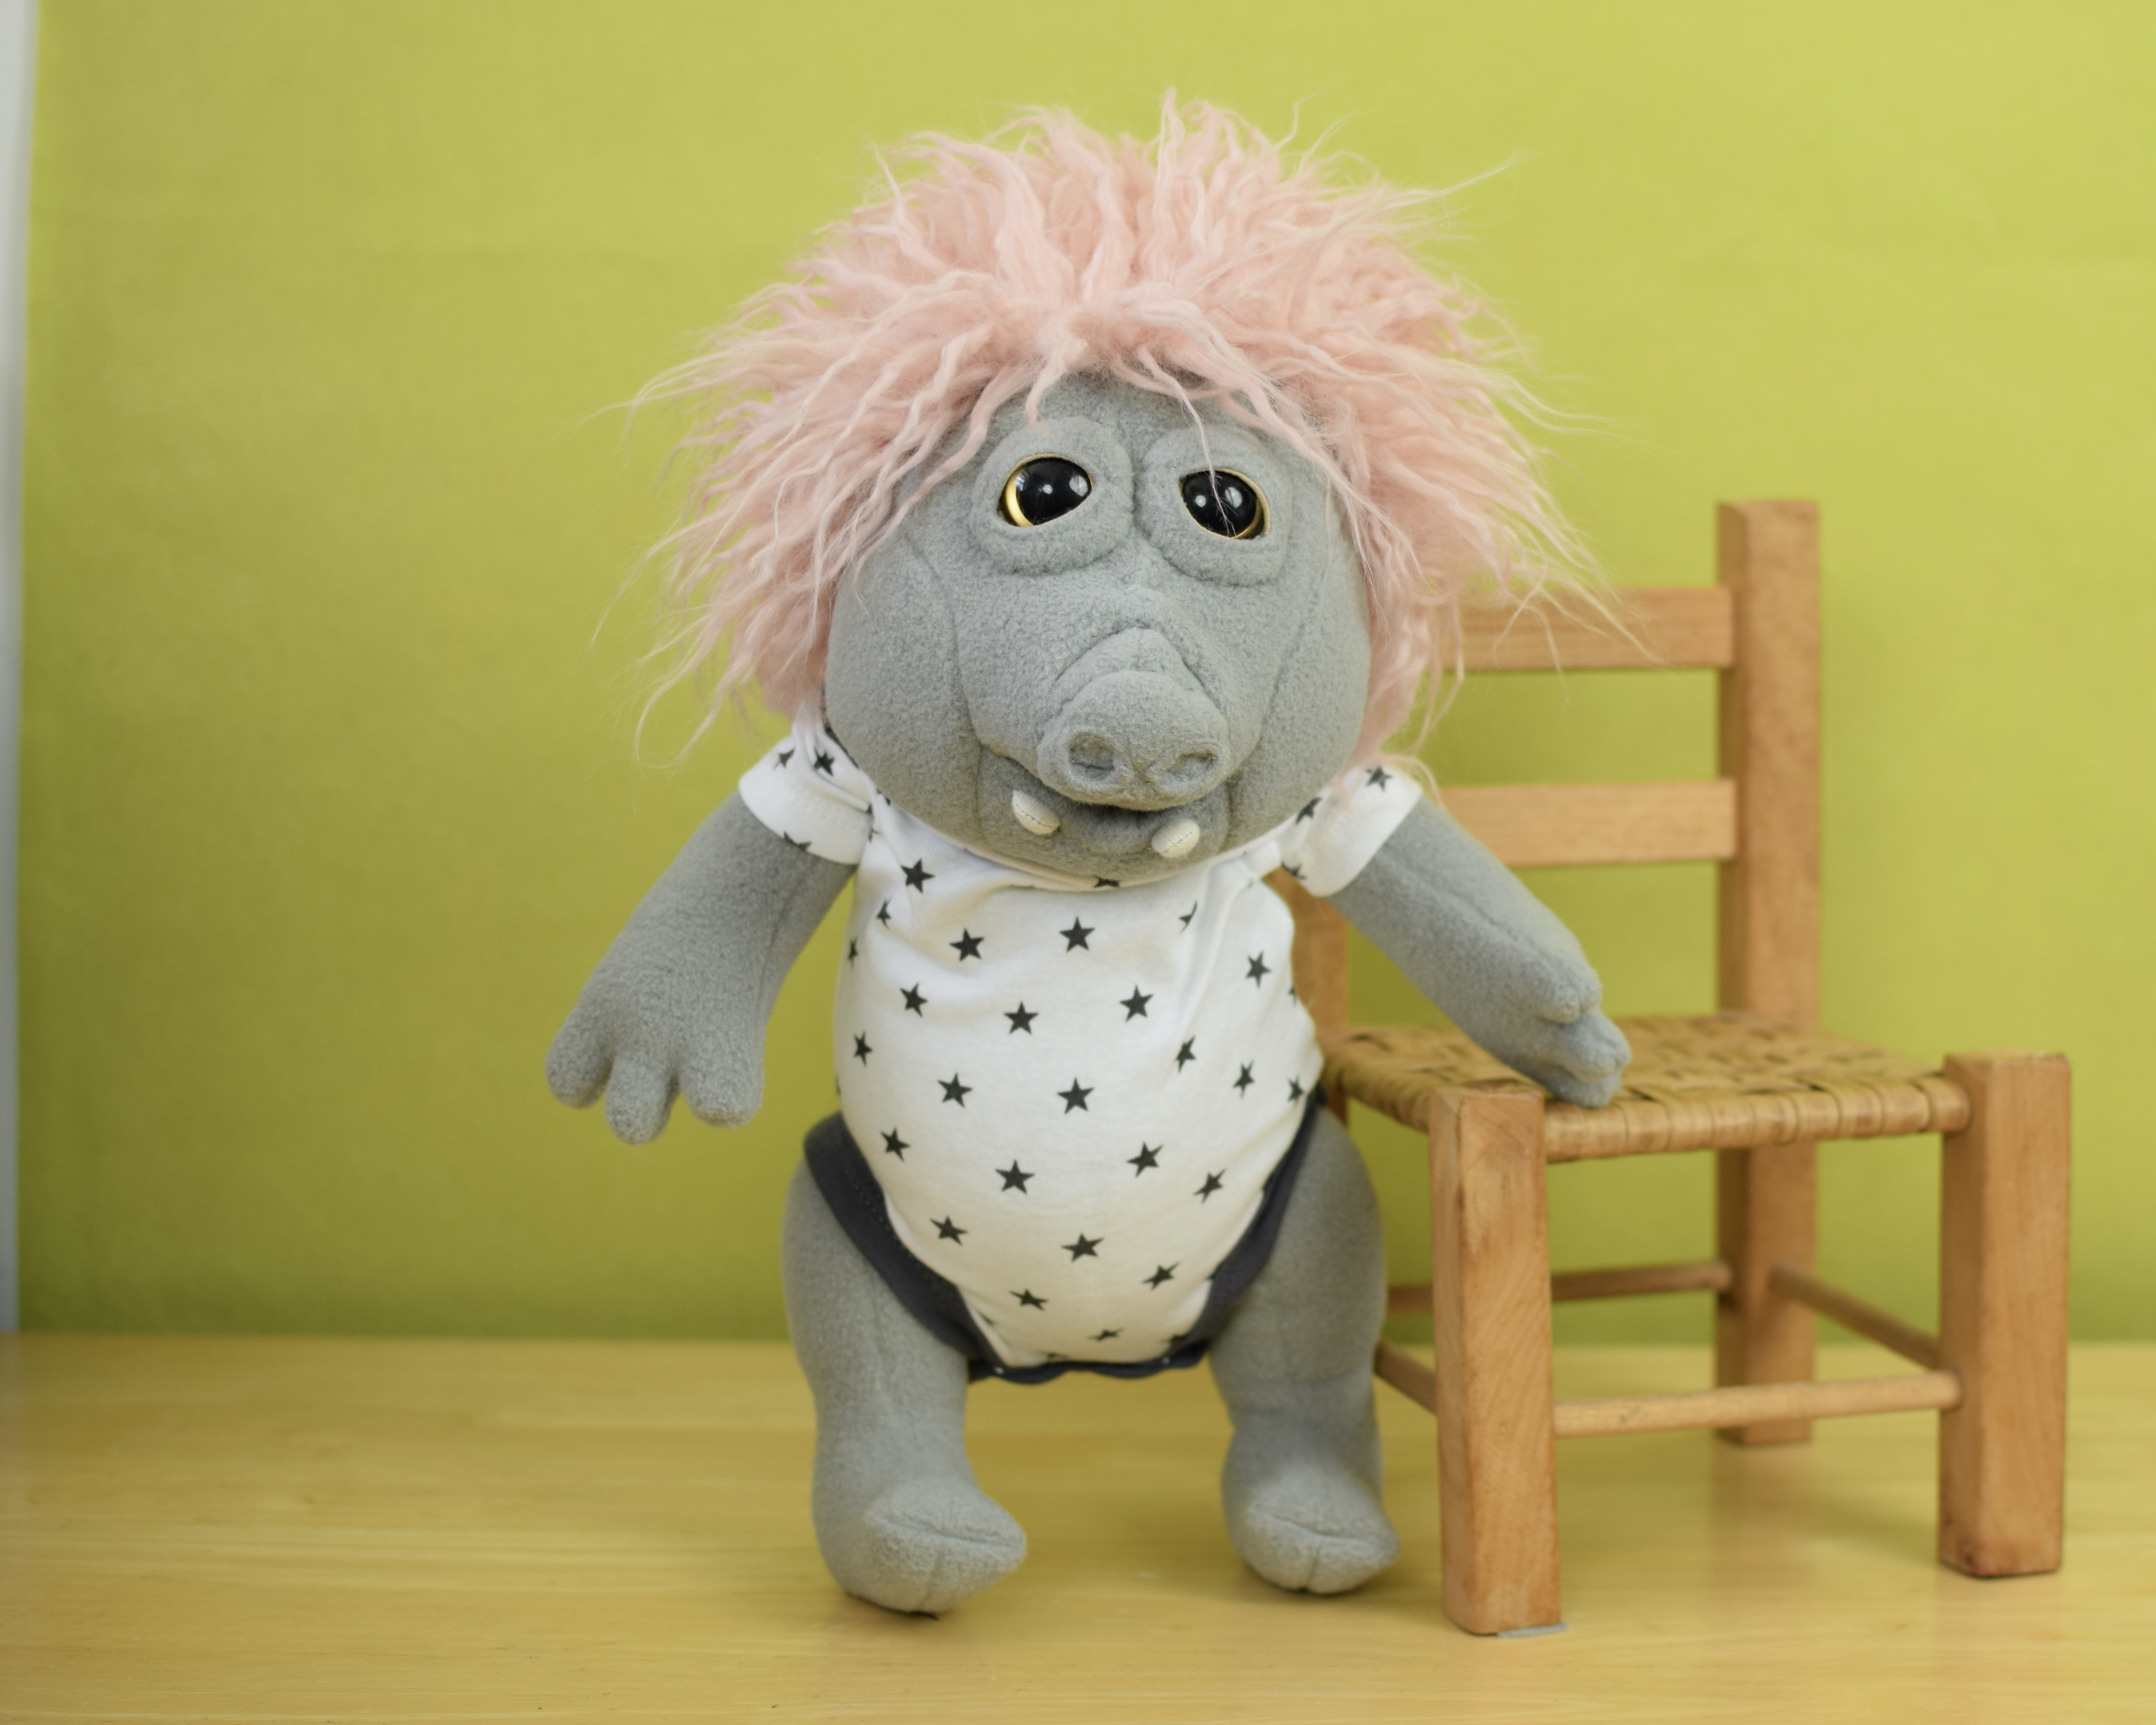
Betsy is related to Scooter but doesn’t have goblin ears. Instead she has fabulous pink hair. Her good-natured smile is made more endearing by her little teeth.
Betsy is something of a matriarch amongst the creature friends group. She earned an honorary band member role with the creature band (see my Instagram video) and her contribution was to dance feverishly since she doesn’t play an instrument…yet (she’s learning accordion).
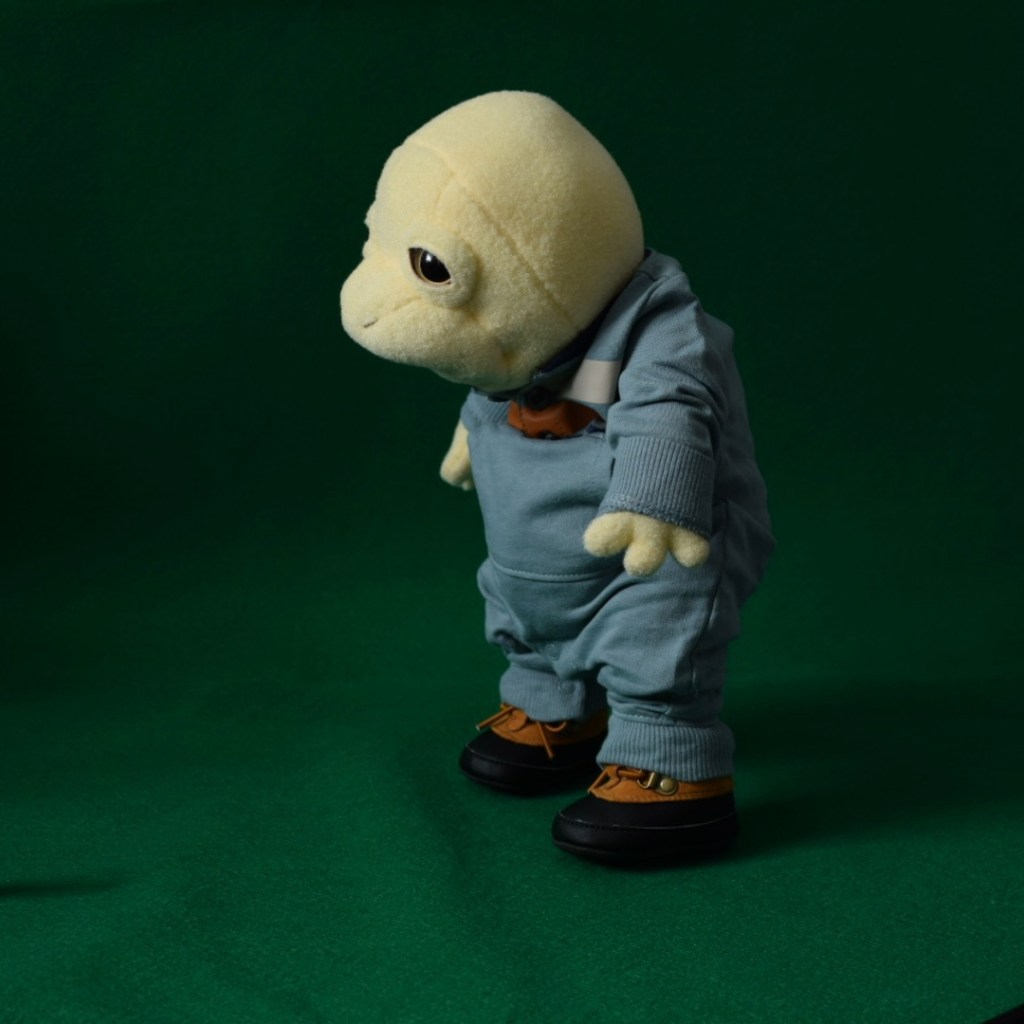
Meet one of the newest Way Home creatures, Rupert. Rupert’s pattern is one I’ve used before, but with an open mouth, some different sculpting and different eye placement, it’s a completely different look. I read somewhere recently that “discovery is superior to invention” and I have to agree. Even though I always start my dolls with some kind of intention, the final outcome is rarely about my plan and much more about experimenting until I feel that the character has let him or herself shine through.
Rupert’s pouty lower lip can be shifted side to side or sort of tucked back up for different looks. He’s a very hefty creature and can stand on his own with his shoes on! He will come with the outfit shown.
For my recent batch of creatures I tried to “recreate” two previous creatures. I use this term loosely as I wasn’t attached to them looking like replicas.
One such creature is my adorable turtle-ish baby. I have used this face pattern only two other times (not counting Barbara Ann which was also the same face pattern but used differently) and I really wanted to recreate the mischievous baby look. I also made a discovery about my open mouth liners recently, so I worked this one differently and I like how it sits better. I absolutely love how Cyrus turned out. He was tickling the ivories in my recent creature music video on Instagram.
I also made another doll in the vein of Sad Mitchell and his predecessor who doesn’t have a name (but who is among my top favorite dolls). This new doll is called Cecil and has electric yellow skin with neon blue hair! You might recognize Cecil from his drum solo in the creature music video.
These and other friends will be available soon! Keep an eye on your email for details and sign up for the mailing list if you haven’t already!
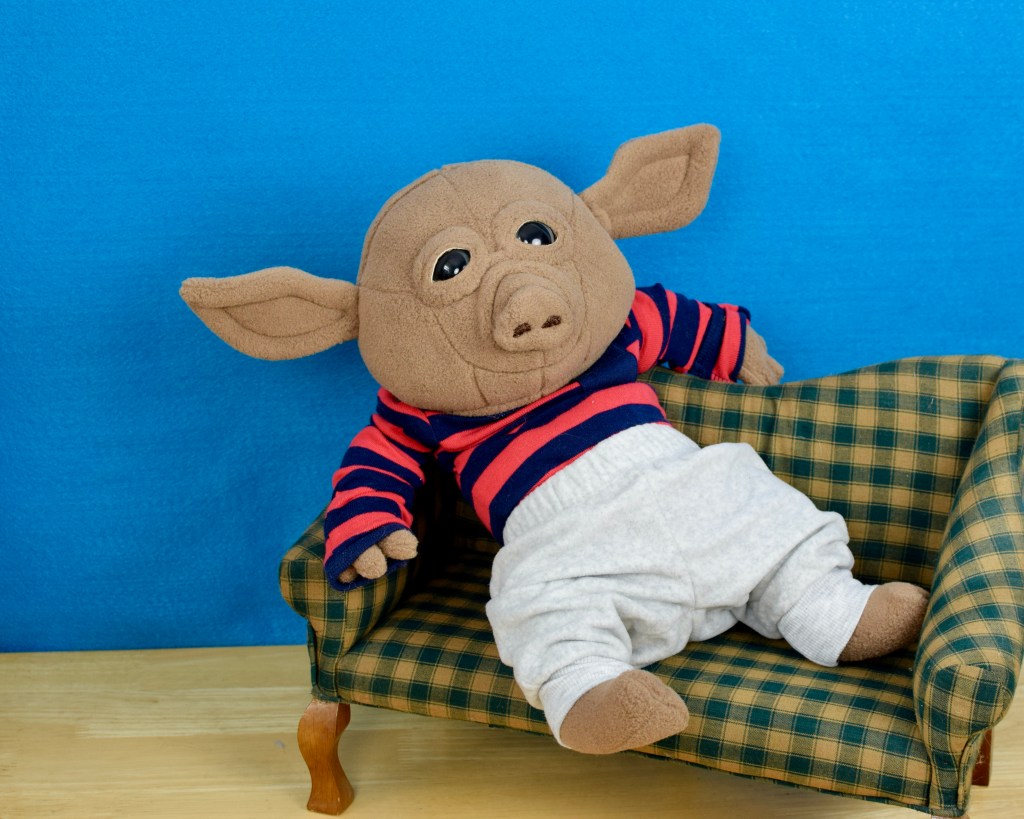
Another wonderful doll friend is also done: Scooter.
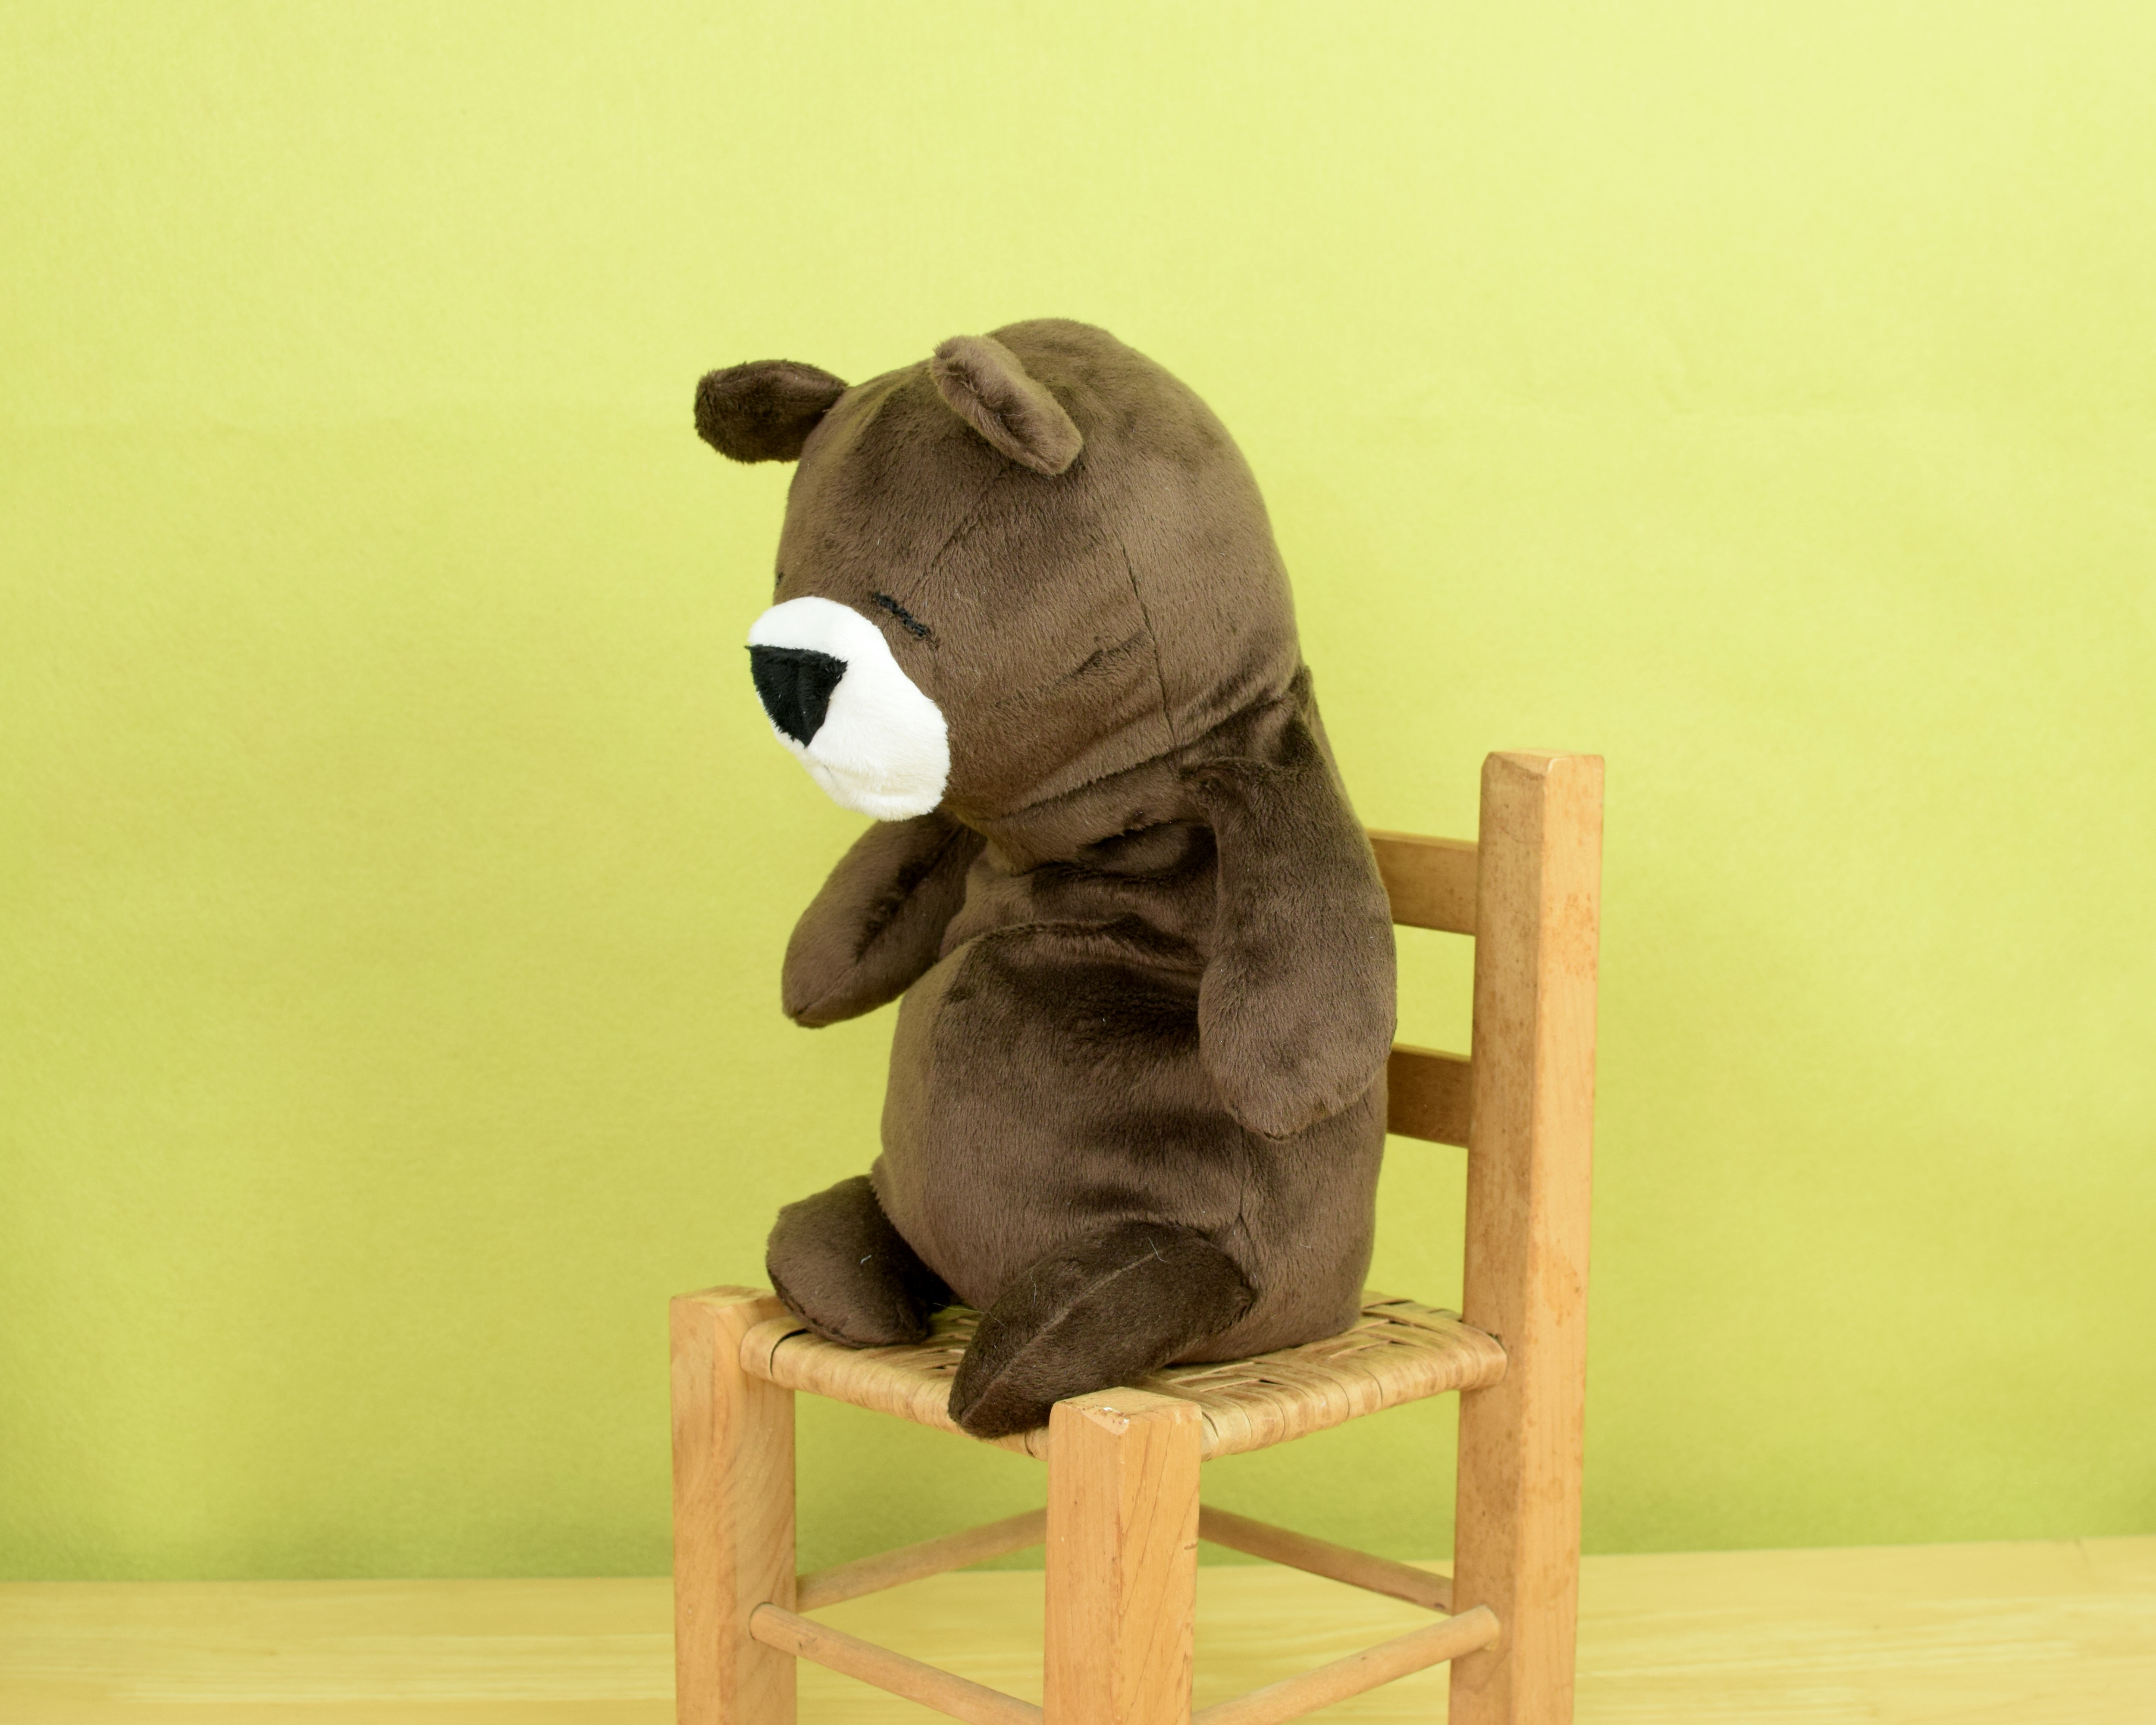
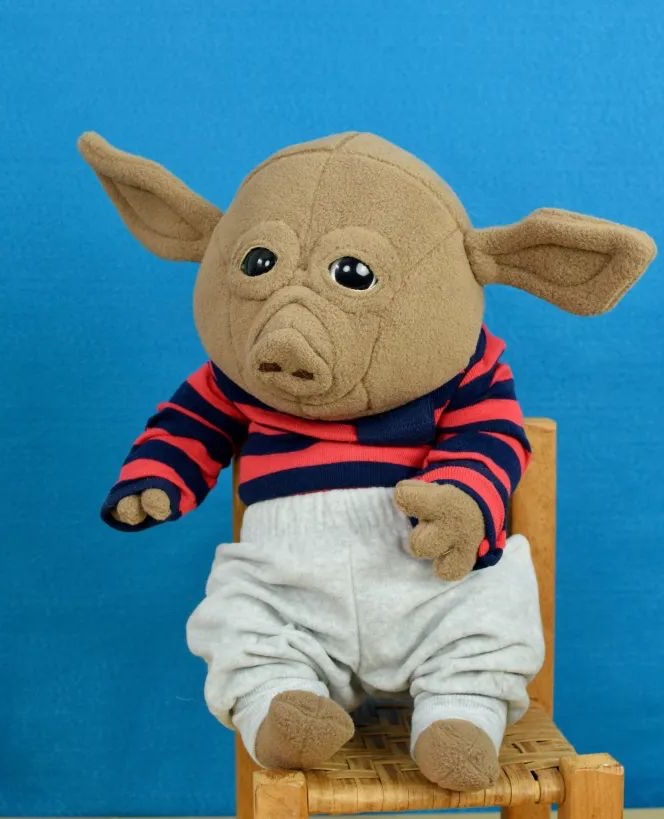
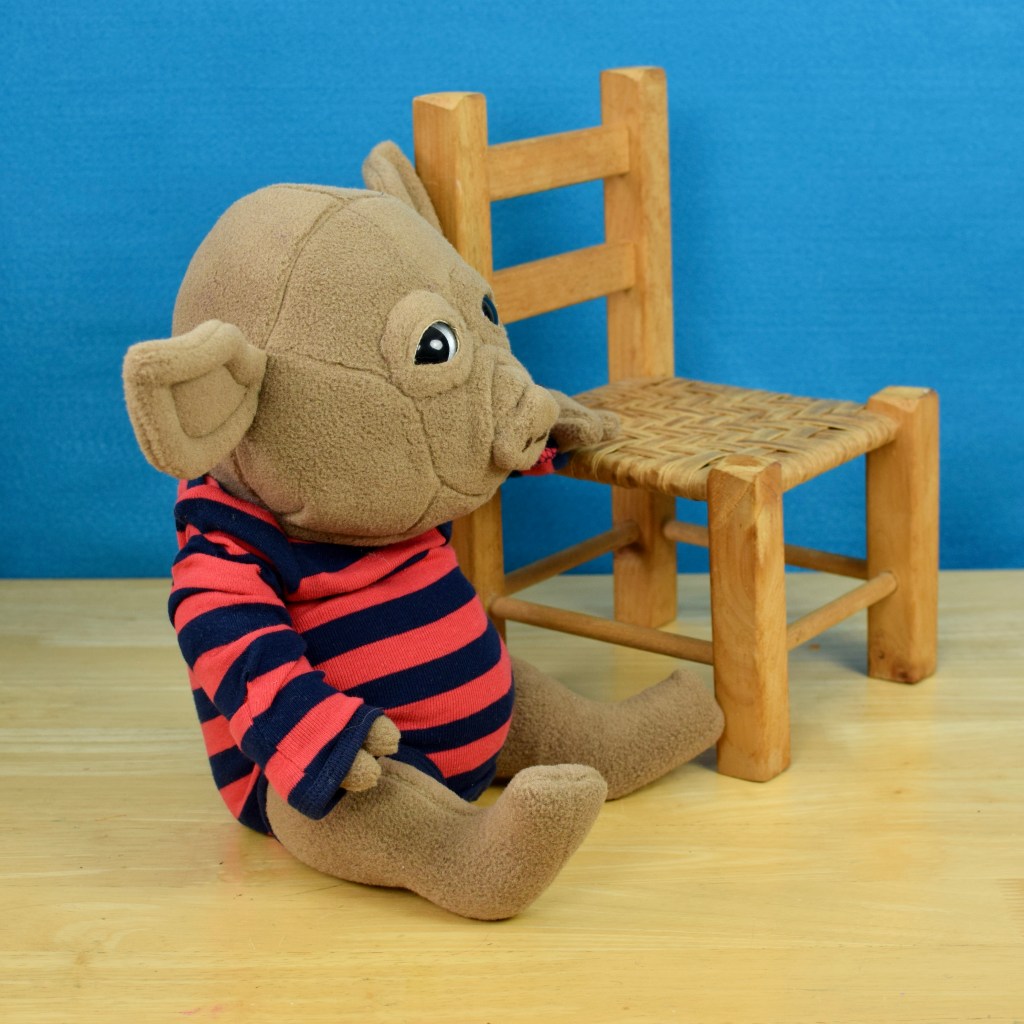
Since Sleeping Beauty has been viewed in my home roughly 1,353 times in the last two months (no complaints here, that movie rocks) I have been scheming to make a creature head pattern loosely inspired by Malificent’s goons. They’re essentially pig/warthog heads on humanoid type bodies.
I love his wrinkly snout and smile. I would like to make this again with an open mouth, and another time with a frown. I can play with inserting teeth, etc. Too much fun!
I decided to give him these elvin ears because it felt right.
Like his friend Willard, Scooter may have an auction rather than my typical Etsy listing format to allow more folks to have a chance to buy. Mailing list subscribers will get all of the details tomorrow!